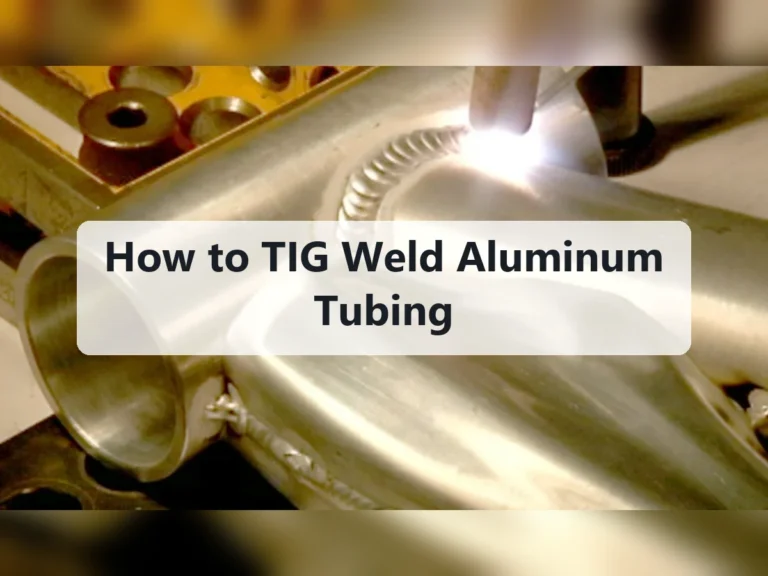
How to TIG Weld Aluminum Pipe: A Beginner’s Guide
Aluminum pipe looks simple to join, but it quickly exposes small mistakes in cleaning, fit-up, and heat control. The metal conducts heat away from the arc, its oxide layer melts at a much higher temperature than the aluminum underneath, and the surface can suddenly collapse into a puddle once it gets hot. That combination makes a clean-looking practice weld harder than welding mild steel.
The attainable goal is a sound, neat joint on clean aluminum tubing or pipe, not a pressure-certified or structural weld. For most beginners, the practical method is an AC TIG setup with pure argon, a properly prepared tungsten, and a compatible aluminum filler rod. A short practice session on the same alloy and thickness is more valuable than copying one machine setting.
This guide explains how to TIG weld aluminum pipe from preparation through inspection. You will learn how to identify compatible material, prepare a butt joint, set up the torch and gas, establish the puddle, add filler without contaminating the tungsten, control heat around the circumference, and check whether the finished weld is usable. It also explains when to stop and ask a qualified welder to handle the work.
At a glance
- Clean aluminum mechanically and chemically, but keep the stainless brush reserved for aluminum.
- Use AC TIG with 100% argon for typical aluminum pipe, then adjust amperage to the actual wall thickness.
- Judge the joint by penetration, continuity, porosity, and cracks—not by shiny appearance alone.
Confirm the pipe, joint, and safety requirements
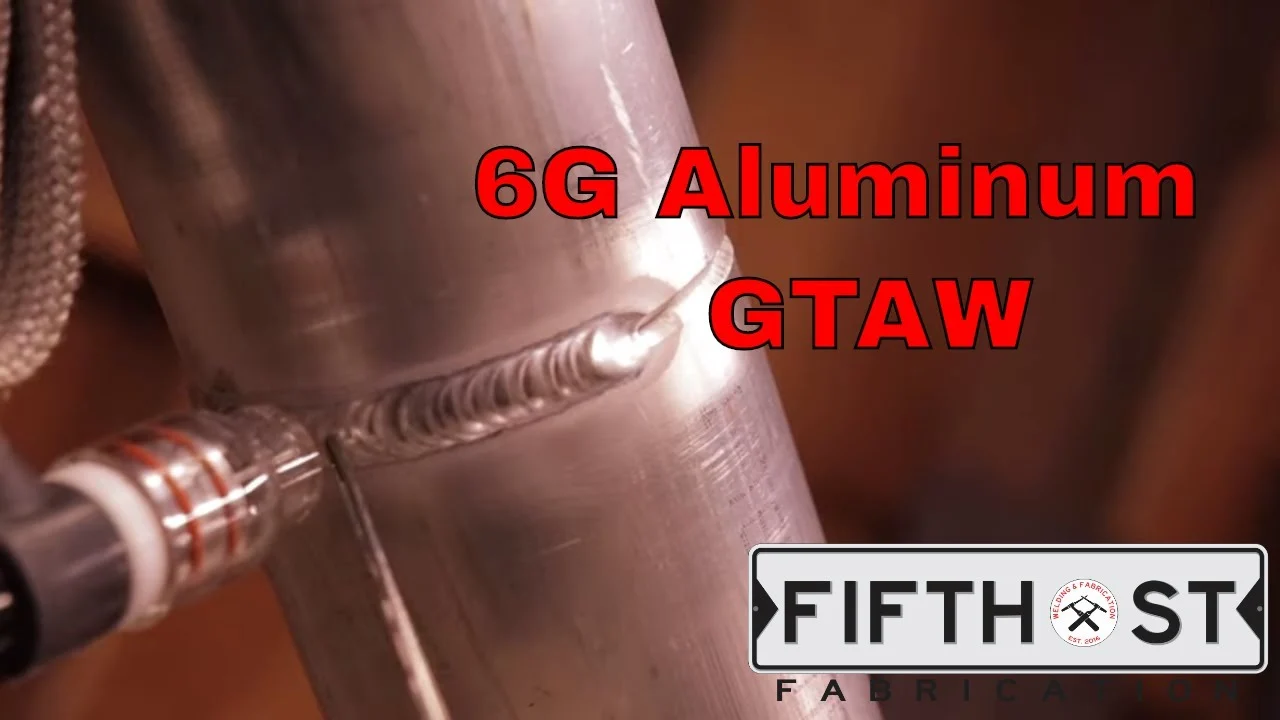
Before striking an arc, identify the pipe alloy, wall thickness, and intended service. Aluminum alloys do not all weld equally well. Common tubing alloys such as 6061 can be welded, although the heat-affected zone loses some of its original strength; 3003 and 5052 are generally more forgiving.
Some high-strength or free-machining alloys are poor choices for a beginner.
If the pipe will carry gas, fuel, drinking water, steam, hydraulic pressure, or anything safety-critical, a visually acceptable weld is not enough. The joint may require a qualified welding procedure, certified welder, nondestructive testing, pressure testing, or an alloy-specific heat-treatment plan. Stop and get qualified help rather than relying on this general-purpose practice method.
STEP 1 Gather the correct equipment and consumables
You need an AC-capable TIG welder, a TIG torch, a foot pedal or hand control if available, a work clamp, and a welding helmet with a suitable shade. Use flame-resistant clothing, welding gloves, leather footwear, hearing protection where needed, and adequate ventilation or local fume extraction. Do not weld in ordinary synthetic clothing, near flammable materials, or in a poorly ventilated enclosed space.
For typical aluminum pipe, prepare these consumables and tools:
- 100% argon shielding gas, a regulator or flowmeter, and an appropriate hose.
- A 2% lanthanated or ceriated tungsten, commonly in a size suited to the machine current and pipe thickness.
- Aluminum filler rod, often 4043 or 5356, selected for the base alloy and service requirements.
- A dedicated stainless-steel brush used only on aluminum, clean lint-free cloths, and a suitable degreaser.
- A non-chlorinated solvent, such as acetone, used according to its label and with good ventilation.
- A chop saw, band saw, or tubing cutter that leaves a square, clean end; a file or deburring tool; and clamps or a fixture.
- Clean backing or a heat sink when practical, plus a small stainless cup or other suitable torch accessories.
Do not use compressed oxygen as shielding gas, and do not substitute shop air. Oxygen and nitrogen contamination can cause severe oxidation, porosity, and an unstable arc. Keep the gas cylinder upright and secured, inspect hoses for damage, and open the cylinder valve slowly.
Before you continue
Aluminum welding can produce intense ultraviolet light, hot metal, and irritating fumes from coatings or contamination. Remove paint, oil, and unknown coatings before heating. If the pipe previously carried chemicals, have it professionally cleaned and declared safe before welding.
STEP 2 Choose a joint that matches the beginner’s goal
A square butt joint is the clearest place to learn. Two pipe ends meet edge to edge, allowing you to observe whether the weld penetrates through the wall. A small, even root gap can help penetration on thicker wall, but an excessive gap makes the molten aluminum fall through.
For thin tubing, a tight fit-up with no visible gap is often easier. For thicker wall, a modest bevel or controlled root opening may be appropriate, but the exact preparation depends on wall thickness, joint access, and the required welding procedure. Do not create a large bevel simply to make the joint look more professional; it adds filler and heat.
If the pipe is being joined around its circumference, plan how you will rotate it or position yourself. A slowly rotating workpiece can make an even weld easier, provided the fixture is stable and your hands remain clear. Otherwise, divide the joint into manageable sections and keep the torch angle consistent as the pipe changes position.
Why aluminum TIG welding behaves differently
Aluminum forms a tenacious oxide layer almost immediately. The oxide resists the arc more than the base aluminum does, so the AC welding current alternates between cleaning that oxide and melting the parent metal. This is why a conventional DC steel setup usually does not produce a reliable aluminum TIG weld.
AC balance controls the proportion of time spent in the cleaning and penetration portions of the alternating cycle. More cleaning can help with a stubborn surface, but it also puts more heat into the tungsten and may reduce penetration. Start with the machine manufacturer’s general aluminum setting, then change one control at a time while watching the puddle and tungsten.
Aluminum also spreads heat quickly. The beginning of a pipe joint may feel cold and require more time to form a puddle, while the same area becomes much easier to melt after the surrounding metal has warmed. This is called heat buildup.
You must gradually reduce pedal input or increase travel speed as you approach the end of the joint.
How to TIG weld aluminum pipe
The process below assumes clean, weldable aluminum pipe with an accessible butt joint. It is a learning method, not a substitute for a qualified welding procedure. The exact amperage, tungsten diameter, gas flow, cup size, AC frequency, and filler alloy should be refined for the pipe’s alloy and wall thickness.
STEP 3 Cut and fit the pipe ends accurately
Cut both pipe ends square to the centerline. A crooked end creates an uneven gap, forcing you to vary torch travel and filler placement around the joint. Remove burrs from the inside and outside without thinning the edge.
Bring the ends together in a clean fixture and check the alignment from several angles. The outside surfaces should remain flush, and the gap should be consistent. If one side has a large opening while the opposite side touches, correct the fit-up before welding instead of trying to bridge it with filler.
Make several small tack welds around the circumference. Place them far enough apart to hold alignment, then inspect for movement or burn-through before proceeding. Keep tacks small and clean; a large tack becomes a hard spot that can change the puddle as you cross it.
For pipe, tacking at four evenly spaced points is a useful starting arrangement, followed by additional tacks if the joint is long or prone to pulling out of alignment. Allow the part to cool if the tacks are overheating the thin wall. A useful way to approach how to tig weld aluminum pipe is to check your progress after each stage.
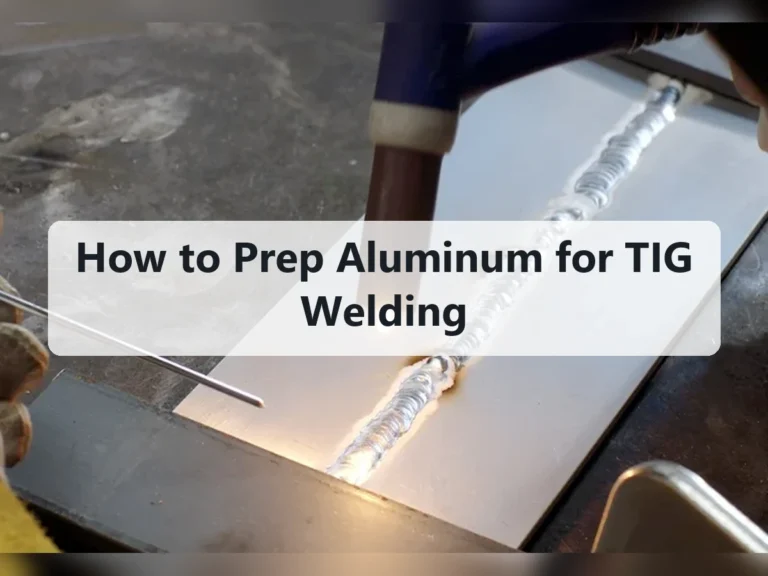
STEP 4 Degrease and mechanically remove the oxide
First remove oil, marker residue, and other organic contamination with a clean cloth and a compatible solvent. Let the solvent evaporate completely. Never weld over wet solvent, and never use a chlorinated cleaner near an arc because heating can create dangerous gases.
Next, scrub the joint area with a dedicated stainless-steel brush. Brush in one direction or with deliberate short strokes, and use a brush that has never touched carbon steel. Steel particles embedded in aluminum can contribute to contamination and corrosion.
Clean the filler rod as well. Wipe it before use and keep it covered so dust and shop grit do not settle on it. Do not handle the prepared joint with greasy gloves or bare hands immediately before welding.
Check your result
The prepared aluminum should look uniformly bright and free of oil, dark smears, paint, and loose oxide. If the arc later wanders or the puddle develops black particles, stop, let the work cool, and clean again rather than trying to burn the contamination away.
STEP 5 Prepare the tungsten and torch
Install a clean, correctly sized tungsten and grind it lengthwise to a smooth point or a small truncated point according to the electrode manufacturer’s guidance. A dedicated grinding wheel is preferable. Do not grind the tungsten on a wheel contaminated with steel dust.
Use a gas lens if available. A gas lens spreads the argon more smoothly and can make shielding easier around a pipe joint, especially when a slightly longer electrode extension is useful. Select a cup that gives clear visibility while still protecting the puddle from drafts.
Connect the torch, work lead, and gas line securely. Set the work clamp on bright, clean metal rather than on paint, heavy oxide, or a loose fixture. Check that the gas hose is not leaking and that the torch trigger or foot control operates before you begin.
STEP 6 Set AC TIG controls and shielding gas
Select AC TIG, high-frequency start if the machine provides it, and argon shielding gas. High-frequency start allows the arc to begin without touching the tungsten to the aluminum, reducing contamination. Set post-flow long enough to protect the hot tungsten as the arc stops; use the machine’s recommended starting range rather than guessing from a steel-welding chart.
Set amperage for the wall thickness, not the pipe’s outside diameter. Thin tubing needs a responsive, low-current setup, while thicker pipe may require substantially more current or multiple passes. A foot pedal is especially helpful because it lets you add heat during startup and reduce it as the part warms.
Begin with moderate argon flow appropriate for your cup and local conditions. Excessive flow can create turbulence that draws air into the shielding envelope, while too little flow leaves the weld gray, porous, or heavily oxidized. Protect the work from fans and drafts; increasing gas flow is not a reliable cure for a draft.
Start with the welder’s recommended AC balance and frequency for aluminum. If the cleaned surface still shows persistent oxide and the machine supports more cleaning, make a small adjustment. If the tungsten overheats or the weld lacks penetration, return toward a more penetration-focused setting and improve cleaning instead of relying on maximum cleaning action.
STEP 7 Practice the puddle on scrap from the same material
Before welding the pipe, use a piece of matching aluminum with similar thickness. Hold the torch about 70 to 80 degrees from the surface, with the electrode close to—but not touching—the work. Establish the arc without dipping the tungsten into the metal.
Watch for the surface to clean and then form a small, shiny molten puddle. The puddle should have a defined edge and should respond to small changes in torch movement or pedal pressure. If the aluminum suddenly sinks or spreads widely, reduce current or move faster; once the metal is overheated, stop and let it cool.
Practice adding filler by touching the rod at the leading edge of the puddle, then withdrawing it while keeping the torch steady. Do not wave the rod through the arc. A controlled series of small additions is easier to inspect than large, irregular drops.
STEP 8 Weld the tacked joint with steady travel
Position the pipe so the first section is comfortable and visible. Start the arc slightly ahead of the first tack or on the tack itself, depending on its size, and bring the puddle smoothly into the joint. Keep a short, consistent arc length and aim the torch so the arc heats both sides of the joint evenly.
Add filler at the front edge of the puddle, not behind it. The filler should melt into the puddle from the heat of the arc rather than being pushed forcefully into the cold joint. Feed with small, regular dips while moving at a speed that maintains the desired bead width.
Understanding how to tig weld aluminum pipe also means recognizing the limits of the method.
As the pipe heats, ease off the pedal or increase travel speed. The bead may begin narrow and become wider if you keep the same settings. This is normal heat buildup, but allowing the puddle to grow until it falls through is a common beginner error.
When the section is complete, taper the current gradually rather than snapping the arc off at full heat. Keep the torch over the ending crater during post-flow. A sudden stop can leave a crater crack, while moving away before the shielding gas finishes can oxidize the hot tungsten and weld.
For a circumferential joint, reposition your body or rotate the pipe so the torch remains stable. Avoid stretching around the work. If you must stop, finish in a controlled location, clean the restart area after it cools, overlap the new weld slightly, and check that the arc has remelted the previous bead rather than simply sitting on top.
STEP 9 Control contamination and common torch mistakes
If the tungsten touches the puddle or filler rod, stop welding. Let the electrode cool under post-flow, remove it, grind away the contaminated end, and reinstall it. Continuing with a balled or dirty tungsten often produces a wandering arc and black inclusions.
Keep the torch cup close enough to shield the puddle, but do not drag it through the joint. Maintain the torch angle as the pipe curves away from you. A steep angle can pull air into the gas coverage and create a sooty, rough bead.
Keep the filler rod inside the argon coverage as it approaches the puddle. If you repeatedly pull it far away and bring it back, the hot end oxidizes. That oxide can break off into the weld or make the filler refuse to flow smoothly.
Inspect and test the finished weld
Let the pipe cool naturally before judging it. Do not quench a hot aluminum weld unless a qualified procedure specifically calls for it; rapid cooling can distort the part and may affect the joint or surrounding material.
Clean light surface residue carefully, then inspect the entire circumference under bright light. A sound practice weld should have consistent width, smooth transitions at both toes, and no visible cracks, pinholes, deep undercut, or areas where the bead merely sits on top of the pipe.
Look at the inside of the pipe if access allows. For a butt joint, some controlled internal reinforcement or a visible line of penetration may be expected, depending on the fit-up and procedure. Complete lack of penetration can mean the joint is only attached at the surface.
Excessive internal sag or burn-through indicates too much heat, too large a gap, or too slow a travel speed.
Visual inspection cannot prove that a pipe is pressure-safe. For anything that contains pressure or hazardous material, use the specified inspection and testing method. A simple water test may reveal gross leakage in a nonhazardous practice assembly, but it does not replace engineering requirements, code inspection, or nondestructive examination.
Fix the result by identifying the symptom
| What you see | Likely causes and first actions |
|---|---|
| Gray, dirty, or sooty weld | Insufficient cleaning, contaminated surface, poor gas coverage, a draft, or an incorrect gas supply. Stop, clean the joint and filler, check for leaks, and verify that the cylinder contains pure argon. |
| Large puddle or burn-through | Too much current, too slow a travel speed, excessive root gap, or heat buildup. Reduce pedal input, move sooner, use a tighter fit-up, and allow the part to cool between sections. |
| Weld sits on top with little penetration | Insufficient heat, excessive travel speed, poor joint preparation, or too much filler. Increase heat modestly, slow down, and make sure the arc reaches both joint edges. |
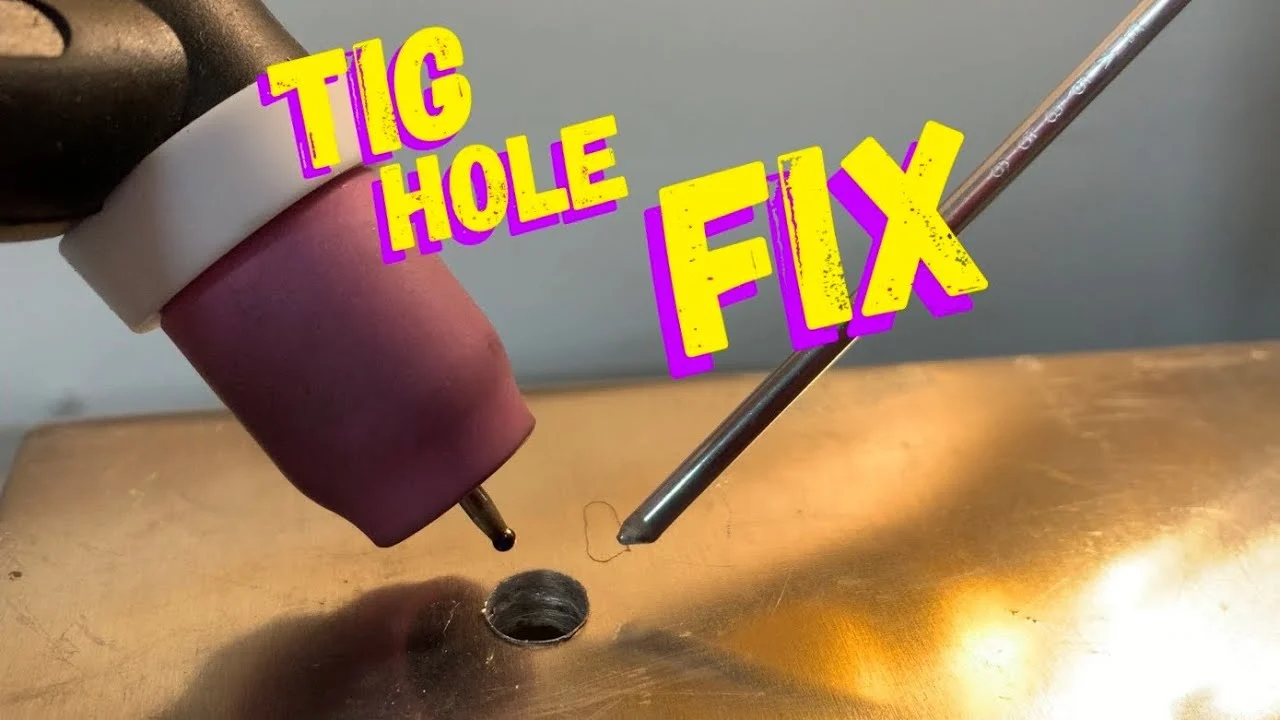
| Porosity or pinholes | Oil, moisture, oxide, gas turbulence, a leaking hose, or an obstructed cup. Reclean the work, inspect the gas system, reduce turbulent flow, and shield the puddle from drafts. |
| Unstable or wandering arc | Contaminated or poorly ground tungsten, an excessive arc length, a dirty work clamp, or incorrect machine mode. Regrind the electrode, shorten the arc, and verify AC TIG connections. |
| Crack at the end of the bead | A deep termination crater, incompatible filler, contamination, or excessive heat. Taper off current, fill the crater, confirm filler compatibility, and inspect the restart area closely. |
Do not solve every defect by changing amperage. Welding problems often come from fit-up, surface contamination, gas coverage, or technique. Change one variable at a time and make a short test weld on scrap before returning to the pipe.
Choosing filler and alternative methods
4043 aluminum filler is commonly selected for general-purpose welding because it flows readily and can reduce cracking in many applications. 5356 provides higher strength in some joints and may be required for certain alloys or service conditions, but it is not interchangeable for every application. Check the base alloy, required strength, corrosion environment, temperature, and applicable welding procedure before choosing.
Do not assume that the filler rod’s appearance identifies its alloy. Keep rods labeled and separated. If the pipe’s alloy is unknown, identify it through documentation or professional material analysis before making a joint that matters.
TIG is a good choice when control and appearance matter, especially on thin wall or visible pipe. MIG with a spool gun or push-pull system can be faster on production work, while brazing or mechanical fittings may be appropriate for some noncritical assemblies. Those alternatives have different strength, cleanliness, equipment, and qualification requirements.
Frequently asked questions
Can a regular TIG welder weld aluminum pipe?
It generally needs an AC TIG function for typical aluminum. A DC-only TIG machine is not the normal choice because it cannot provide the alternating-current cleaning action used to manage aluminum oxide.
What gas should be used for aluminum TIG welding?
Use 100% argon for typical aluminum TIG work. Helium or argon-helium blends can provide more heat in specialized applications, but they require different settings and are not necessary for most beginner pipe joints.
Should aluminum pipe be preheated before TIG welding?
Usually, clean aluminum pipe does not need routine preheating for a beginner practice weld. Preheating can reduce the current needed to start a puddle, but it also increases heat buildup and can make thin material burn through. Follow a qualified procedure if preheat is specified for the alloy or thickness.
Why does aluminum suddenly melt after seeming cold?
Aluminum conducts heat away from the arc, so the joint can resist puddle formation at first. Heat then accumulates around the weld and the surface melts rapidly. Use the pedal or current control to reduce heat as the pipe warms.
Can 6061 aluminum pipe be TIG welded?
Yes, 6061 is commonly TIG welded, but its heat-affected zone loses some strength after welding. The correct filler and design depend on the joint’s required strength and service, so a pressure or structural application should use a qualified procedure.
How do I know whether the weld penetrated?
Inspect the inside of an accessible open pipe for a continuous, controlled root profile or penetration line. For a closed or critical pipe, visual inspection alone is insufficient; use the required leak test or nondestructive examination.
Finish with a clean weld and an honest inspection
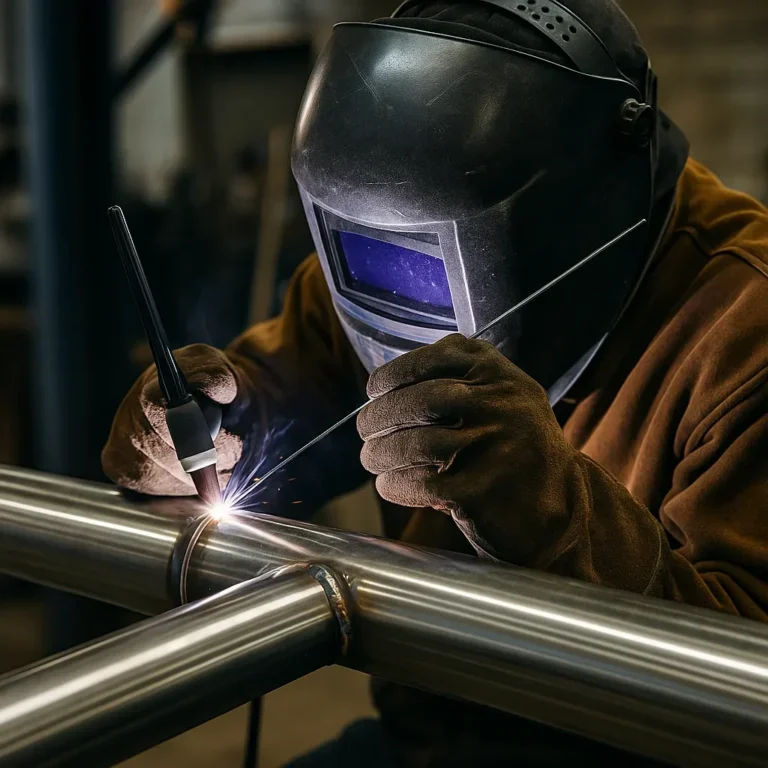
Learning how to TIG weld aluminum pipe comes down to controlling several details at once: accurate fit-up, oxide-free surfaces, AC TIG settings, stable argon coverage, a short arc, and heat management as the pipe warms. Practice first on matching scrap, then make small tacks and weld the joint in sections you can see and control.
Afterward, inspect both sides of the weld for continuity, penetration, porosity, cracks, and burn-through. If the pipe will carry pressure or support a safety-critical load, stop at visual inspection and have the joint handled or tested under the applicable qualified procedure. For ordinary practice work, correct the specific defect, re-clean the aluminum, and make the next test weld with only one setting changed.