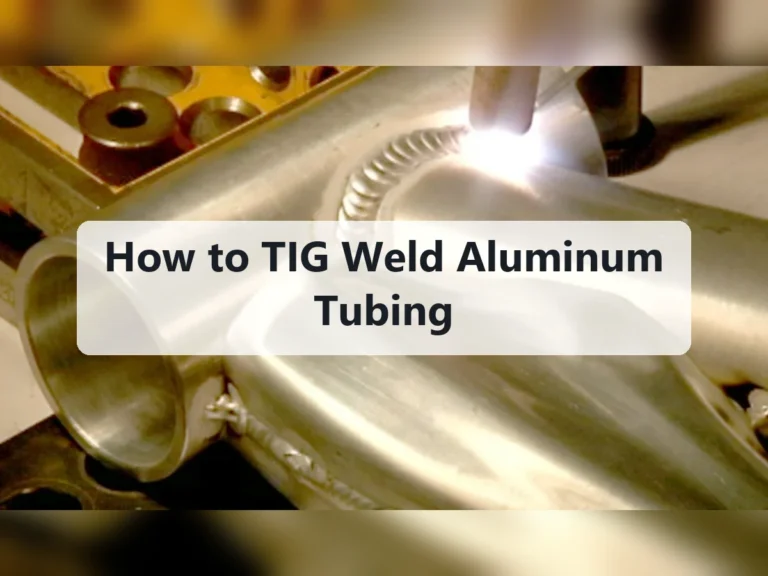
How to TIG Weld Inside Corners Cleanly
Inside corners look simple, but they concentrate heat and give the TIG torch less room to work. The two surfaces can pull heat away at different rates, the arc may favor one leg, and a long arc can quickly produce a wide, dirty bead. A beginner may end up with an undercut edge, a cold-looking side, or a hole where the corner overheated.
The good news is that how to tig weld inside corners becomes much more manageable when the joint is clean and tightly fitted before the arc starts. The key is not to point the torch straight into the corner. Instead, keep a short arc, aim the puddle at the root while sharing heat between both sides, and add filler at the front edge of the molten puddle.
This guide explains how to prepare mild steel, stainless steel, or aluminum inside corners, choose a sensible starting setup, position your hands, run the bead, and inspect the result. It also covers what to change when one leg is cold, the corner burns through, or the weld looks tall and lumpy. These techniques apply to a common 90-degree fillet joint, whether the corner is inside a box, tray, bracket, or frame.
At a glance
- Fit and tack the joint so the corner stays closed while you weld.
- Use a short arc and distribute the puddle across both legs instead of burying the torch in the corner.
- Judge the weld by fusion at both toes, a consistent profile, and the absence of cracks, pinholes, or trapped contamination.
How to TIG weld inside corners with controlled heat
A 90-degree inside corner is usually welded as a fillet weld: the bead joins two surfaces meeting at an angle. For a beginner, the most forgiving approach is a flat-position joint that is clean, well fitted, and tacked at several points. Work on scrap of the same alloy and thickness first, because the correct amperage and filler size depend heavily on the material.
Tools you will need
- TIG welder with high-frequency or lift-arc start, suitable direct-current or alternating-current output, and a foot pedal or fingertip amperage control
- Air-cooled or water-cooled TIG torch with a suitable cup, collet, and sharp tungsten electrode
- 100% argon cylinder, regulator, flowmeter, hose, and leak-free connections for shielding
- Base metal and compatible filler rod matched to the alloy
- Stainless steel brush or dedicated abrasive for cleaning the joint without transferring contamination
- Clamps, magnets, or a fixture that can hold the two pieces at 90 degrees
- Welding helmet with the correct shade, fire-resistant clothing, TIG gloves, safety glasses, and hearing protection
- Optional: foot pedal, gas lens, tungsten grinder, and a small stainless wire brush for post-weld cleaning
Step 1 Confirm the joint, alloy, and welding position
Identify the base metals before choosing filler or machine settings. Mild steel, stainless steel, and aluminum do not use the same filler, polarity, or cleaning routine. For example, aluminum normally requires AC and a tungsten suitable for AC operation, while mild steel and stainless steel are commonly welded with DC electrode negative.
Check that the joint is a true inside corner rather than a gap disguised by a heavy bevel or burr. Measure the material thickness and note whether one piece is much thinner than the other. The thinner leg will heat rapidly, so it may need less torch dwell or a small amount of heat directed toward the thicker side.
Start in a position where both hands are supported. A flat-position corner with the joint horizontal is easier than a vertical or overhead corner because gravity helps keep the puddle in place. If the work must be welded in another position, practice the same joint on scrap in that position before working on the final part.
Step 2 Clean and fit the pieces tightly
Remove oil, paint, oxide, mill scale, moisture, and sharp burrs from both legs of the joint. Wipe the metal with a clean solvent appropriate for the material, let it dry completely, and then brush the welding area. Use a brush reserved for stainless steel or aluminum when working with those materials; a carbon-steel brush can embed contamination.
Bring the pieces together so the corner is consistent from end to end. A small, intentional root gap may be useful on some thicknesses, but do not assume that a large gap improves penetration. Excessive space makes the puddle sag, increases shrinkage, and demands more filler and heat.
Clamp the pieces without blocking the torch path. Make sure the clamps and fixture are electrically sound and cannot become hot enough to create a burn hazard. A clean, tight fit is one of the most important parts of how to tig weld inside corners because TIG cannot hide poor preparation as easily as a high-deposition process.
Step 3 Select the tungsten, cup, gas, and starting settings
Grind the tungsten to a clean, lengthwise point for DC welding. For AC aluminum, use a tungsten and tip preparation recommended by the electrode manufacturer and your machine manual; do not rely on an oversized ball or a contaminated tip. A gas lens can improve shielding and make it easier to extend the tungsten slightly, but it is not required for a basic corner weld.
Use pure argon and set the flow according to the cup, gas lens, torch position, and surrounding air movement. Too little gas allows oxidation and discoloration; too much can create turbulence that pulls air into the shielding zone. Keep the torch hose and regulator connections protected from damage, and check for leaks if the cylinder empties unexpectedly fast.
Set the machine near the lower-middle part of the useful amperage range for the material thickness, then use the pedal or fingertip control to adjust while welding. A useful rule is to begin with enough current to form a fluid puddle without forcing you to move excessively fast. Set a moderate pulse only if it helps you control heat; pulse settings are not a substitute for a stable torch hand.
Choose filler close to the thickness of the joint or slightly smaller when you need controlled additions. Use filler approved for the base alloy and keep the rod clean. Do not use filler simply because the puddle looks slow to form; first verify that the tungsten, polarity, gas, and surface preparation are correct.
Step 4 Tack the corner and plan the travel direction
Place tacks at the ends and at intervals along the joint, adjusting the spacing for the size and flexibility of the parts. The tacks should hold the angle and close the seam without being so large that they become separate lumps. If the pieces move during tacking, stop and correct the fit rather than trying to chase the shifting corner.
Plan where the torch cable, filler hand, and non-dominant hand will rest. Begin at an end where you can establish the arc without striking the cup against a tack. Welding toward a tack can help tie into it, but stop briefly on each tack so it fully blends into the bead instead of leaving a crater beside it.
For a long seam, alternate sections or distribute heat when practical. This reduces distortion, especially on thin sheet. Before making the final pass, inspect the tacks for cracks, contamination, or visible gaps and grind or remove a defective tack if necessary.
Step 5 Position the torch to reach both legs
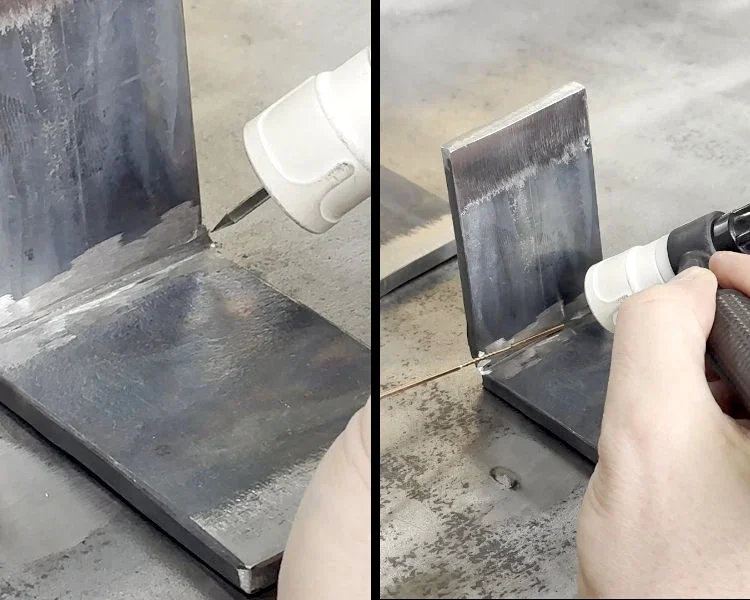
Hold the torch so the tungsten points into the corner at a shallow angle rather than directly at one wall. A starting torch angle of roughly 45 degrees between the two legs, with a small travel lean in the direction of movement, often gives balanced access. The exact angle changes with the cup size, joint depth, and available hand room.
Keep the tungsten close enough for a short arc, commonly about the diameter of the tungsten or less when the joint allows it. The tip must not touch the puddle, filler, or workpiece. A long arc spreads heat, weakens shielding, and makes it harder to control where the arc lands.
Move the torch so the arc cone can see both sides of the corner. Do not bury the cup against either leg or aim the entire arc at the root. If one leg is thicker, angle the torch slightly toward that leg while using travel speed and pedal control to prevent the thinner side from overheating.
Important
Never weld over unknown coatings, solvents, galvanized material, or enclosed containers. Welding fumes and ultraviolet radiation are hazardous; use effective ventilation and the protective equipment specified for the material. Stop if the metal contains a coating you cannot safely remove or identify.
Step 6 Establish a small puddle at the root
Start the arc without touching the tungsten to the work. Bring the torch over the beginning of the joint and increase current gradually until a small, shiny puddle forms at the root and wets both legs. On aluminum, wait for the oxide film to clear and watch for a clean, fluid puddle rather than adding filler immediately.
The puddle should be wide enough to touch both surfaces but not so large that it runs ahead of the torch. A properly established puddle has a defined leading edge and lets you see the metal flow into each toe, where a weld meets the base metal. If only one wall appears to melt, adjust torch angle or pause slightly on the cold side.
Keep the torch moving once the puddle is established. Holding the arc in the corner for too long drives heat into a small area and may produce a hole, especially in thin sheet. If the puddle suddenly grows, release some pedal pressure or increase travel speed smoothly rather than jerking the torch away.
Step 7 Add filler at the front of the puddle
Feed filler into the front or leading edge of the puddle, not directly into the arc or the back of the molten pool. Briefly dip the rod, withdraw it, and repeat as you travel. Keep the rod end inside the argon shield as much as possible so it does not oxidize between additions.
Use small, regular additions. The filler should blend into the puddle and leave a bead that reaches both toes without piling high in the center. If the filler balls up instead of melting, the rod may be outside the puddle, the surface may be contaminated, or the base metal may not be hot enough.
Keep the filler hand steady and move it in a controlled rhythm. A beginner often makes an exaggerated weave in an inside corner, but a narrow stringer bead is usually easier to control and creates less heat. For a wider joint, make multiple controlled passes only when the joint design and material thickness call for them.
A useful way to approach how to tig weld inside corners is to check your progress after each stage.
Step 8 Travel steadily through the corner
Move at a speed that keeps the puddle consistent from one tack to the next. Watch the puddle and the two toes more than the bright arc. The visible result should be a continuous wetting line along both legs, with the bead advancing smoothly instead of stopping and restarting between filler dips.
Use the pedal to reduce current as the workpiece heats up. Near the end of the seam, the same machine setting can produce a larger puddle because heat has accumulated. Taper the current down while continuing to move and add enough filler to fill the ending crater.
If the joint is long, pause only at tacks or planned transitions, and keep the arc protected during any brief stop. Restart slightly ahead of the previous crater, remelt the edge, and blend forward. A visible crater or pinhole at a restart is a defect to correct, not a feature to hide with a quick extra dab.
Step 9 Finish the bead and allow the shielding to continue
At the end of the weld, reduce current gradually and fill the crater before breaking the arc. Keep the torch over the hot bead for several seconds after the arc stops, using post-flow to protect the cooling tungsten and weld pool. The exact post-flow setting depends on tungsten size, current, cup, and the machine manual.
Do not move the part immediately if it is hot enough to distort or burn skin. Let it cool in a clean location, away from water, drafts, flammable materials, and anyone who might touch it. Quenching a hot weld can increase distortion or stress and is unnecessary for this basic operation.
Clean the finished area only after it is safe to handle. Remove loose residue with the appropriate brush and wipe away soot or discoloration where the material allows. Do not grind away a questionable weld before inspecting its shape and deciding whether it needs repair.
Torch control and settings that make corner welds easier
The most important control is the relationship between arc length, torch angle, and travel speed. A short arc concentrates heat and keeps the shielding gas effective, while a shallow travel angle lets the torch see the joint without aiming the arc into one wall. A small adjustment can change which leg receives most of the heat, so move the torch deliberately rather than twisting your wrist mid-bead.
Why the inside corner changes the puddle
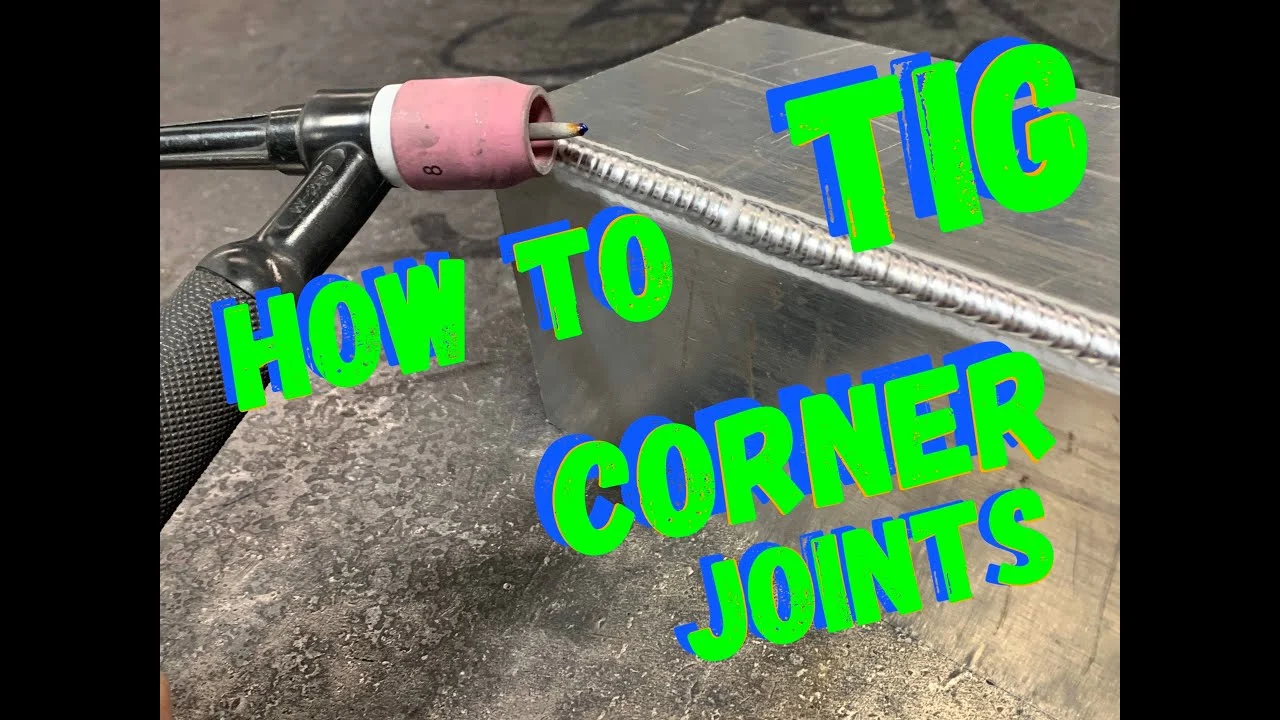
The corner geometry reflects heat and limits access. The root can appear to melt quickly while the outer edges remain cold, or one leg can absorb more heat because it is thicker or connected to a larger mass. This is why a bead that looks full at the root may still lack fusion at one toe.
When the corner is deep, the cup may strike the work before the tungsten can reach the ideal position. Use a smaller cup only when it still provides adequate shielding, or change the work angle and travel direction. Extending the tungsten too far can make the arc unstable and reduce gas coverage, so use a gas lens and extra stickout only within a controlled setup.
How material changes the approach
For mild steel, remove scale and rust thoroughly and watch for a dark, contaminated puddle. Use the filler specified for the steel grade, maintain clean argon coverage, and avoid excessive heat that enlarges the heat-affected area.
Stainless steel retains heat and can discolor or distort when overheated. Use a clean fit-up, controlled amperage, and enough post-flow to protect the tungsten. Heavy gray or black oxidation around the weld often points to poor shielding, contamination, drafts, or too much heat rather than a need for more filler.
Aluminum conducts heat rapidly but its oxide layer melts at a much higher temperature than the base metal. AC cleaning action, a properly prepared tungsten, and a clean stainless brush are important. Aluminum can suddenly collapse after appearing solid, so use the pedal to back off as the puddle grows and avoid dwelling in the corner.
When a fillet weld needs more than one pass
A single pass is appropriate only when it provides the required throat size and fusion for the joint. A deep or heavily loaded corner may require multiple passes or a different joint design, but adding layers without removing contamination can trap defects between passes.
For a multipass weld, allow the bead to cool enough to remain controllable, clean each pass, and keep the next pass tied into both the previous weld and the base metal. If the part is structural, pressure-containing, safety-critical, or governed by a drawing or welding code, use the specified procedure and qualified supervision rather than choosing pass size by appearance alone.
How to inspect the finished inside corner
Inspection starts with the surface but should not stop there. Let the weld cool, clean it, and use bright light to examine both toes, the root area that is visible, the starts and stops, and the surrounding base metal. A sound-looking bead is encouraging, but appearance alone cannot prove internal fusion.
Visual signs of a sound bead
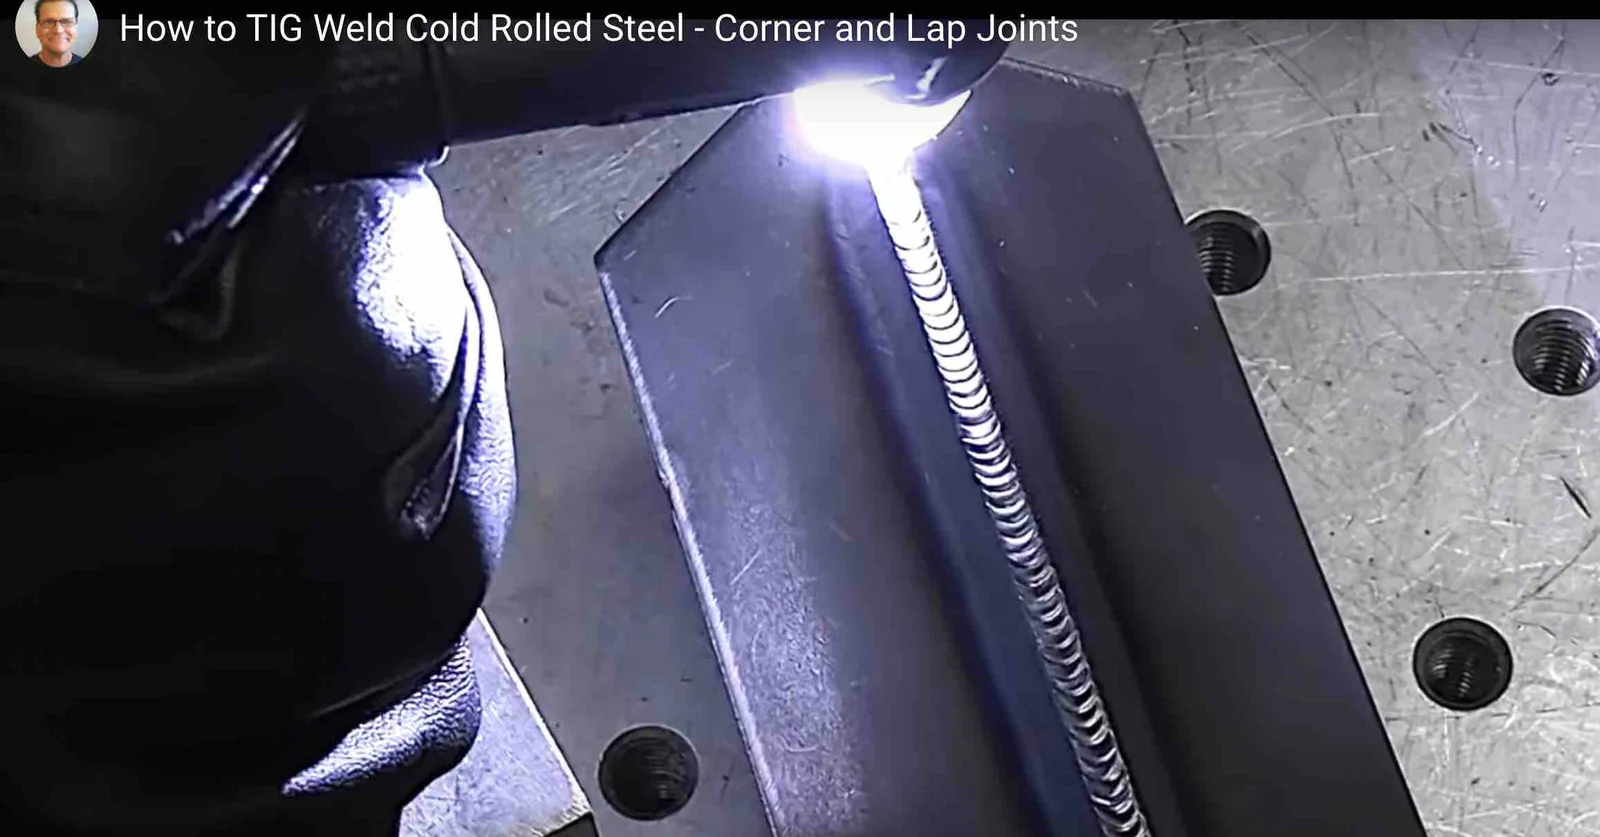
- The bead follows the joint without abrupt changes in width or height.
- Both toes blend smoothly into the base metal rather than forming a sharp undercut or an unbonded shelf.
- The weld has no visible cracks, pinholes, open crater, trapped debris, or heavy soot.
- The bead is not excessively convex, which can indicate too much filler, too little heat, or poor wetting.
- There is no melted edge or burn-through on the thinner leg.
- Color and surface condition are reasonable for the alloy and shielding used; discoloration alone is not a complete strength test.
Check your result
For practice coupons, cut or break a sample when appropriate and safe, then inspect the cross-section for fusion into both legs. A non-destructive visual check cannot reveal every lack-of-fusion or subsurface defect.
Simple checks for practice pieces
On scrap that is not part of a real assembly, a bend, break, or sectioning test can show whether the weld fused into both sides. The exact test depends on the material and thickness, and a destructive test of one coupon does not certify another weld, but it is useful feedback while learning.
Compare the weld profile with the joint requirement rather than trying to make every bead large. A larger bead can add distortion and heat without improving the connection. If the weld will carry a specified load, follow the design, welding procedure, inspection requirement, and qualified personnel applicable to that work.
Troubleshoot common inside-corner TIG defects
Change one variable at a time when practicing. Record the material, tungsten, polarity, amperage range, gas flow, filler, and travel direction so you can tell whether a change actually improved the weld.
| What you see | Likely causes and first checks |
|---|---|
| One leg is cold or has a sharp edge | Arc is favoring the other wall, travel is too fast, or the surface is contaminated. Reposition the torch to see both legs, briefly favor the cold side, and clean the joint. |
| Corner burns through or sags | Too much heat, too slow a travel speed, excessive root gap, or a thin leg. Reduce current, move sooner, add small filler additions, and improve fit-up. |
| Bead is tall and rope-like | Insufficient base-metal heat, too much filler, or travel that is too fast. Increase heat slightly or reduce filler while confirming both toes are wet. |
| Gray, black, or heavily oxidized weld | Gas coverage is poor, the torch is too far away, there is a draft, the cup is dirty, or the material is contaminated. Check the gas system and clean the tungsten and joint. |
| Tungsten becomes contaminated | The electrode touched the puddle or filler, or shielding stopped too soon. Stop, remove the contaminated section, regrind it lengthwise, and restart with a shorter arc. |
| Pinholes or a porous bead appear | Moisture, oil, dirty filler, leaks, turbulence, or inadequate shielding may be involved. Clean everything, inspect connections, protect the weld from drafts, and repair the cause before continuing. |
When to stop instead of chasing the defect
Stop welding if the part moves, the joint opens, the tungsten repeatedly contaminates, or the gas supply becomes unreliable. Continuing over a changing gap or contaminated bead usually makes repair harder and can conceal the original problem.
Stop and seek qualified help when the work is structural, pressure-containing, part of lifting equipment, a vehicle safety component, or subject to a code or engineered weld procedure. A visually attractive practice bead is not evidence that a safety-critical weld meets its required strength.
Beginner FAQs about inside-corner TIG welding
Should the tungsten point directly into the corner?
No. Pointing directly into the corner often concentrates the arc at the root and makes one or both toes cold. Start with the torch angled so the arc can reach both legs, then make small adjustments based on which side is melting.
Do I always need filler rod on an inside corner?
No. Some thin, tightly fitted joints can be fused autogenously, meaning without added filler, but that requires reliable fit-up and careful heat control. Filler is often useful for controlling the bead profile, filling a small root opening, and avoiding an undersized joint; use the correct alloy rather than improvising.
What causes a groove along one side of the weld?
That groove is often undercut, where the arc melts the base metal beside the bead without filling it. Excessive current, a long arc, too much travel speed, or directing the arc at one wall can cause it. Shorten the arc, reduce heat or slow slightly, and add filler at the leading edge while keeping both toes wet.
Can I TIG weld an inside corner without tacking it first?
Only when the pieces are rigidly held and cannot shift, which is uncommon for small or thin parts. Tacking preserves the angle and controls distortion. If a tack cracks or leaves a gap, correct it before running the bead instead of welding over the problem.
Why does aluminum suddenly melt away in the corner?
Aluminum conducts heat into the surrounding work, so you may increase current to start the puddle and then encounter a rapidly expanding molten area. Use AC with correct cleaning and a clean joint, watch the puddle rather than the surface color, and reduce current or travel faster as the part heats up.
Finish with a controlled, inspectable corner weld
Good results from how to tig weld inside corners come from preparation and consistency more than from a dramatic torch motion. Clean and fit the joint, tack it securely, maintain a short arc that reaches both legs, add compatible filler at the puddle’s leading edge, and taper the heat as the workpiece warms.
After cooling and cleaning, inspect both toes, the start and finish, and the overall profile. Practice on matching scrap until you can produce repeatable fusion without burn-through, then apply the same controlled technique to the real part only when its material, joint design, and safety requirements are within your ability to verify.