How to TIG Weld Cast Aluminum: A Beginner’s Practical TIG Guide
Cast aluminum can look simple to repair, but it often contains oil, paint, trapped moisture, and impurities that rise into the weld. Its high thermal conductivity also pulls heat away from the joint, while the aluminum oxide layer melts at a much higher temperature than the base metal. Those differences are why a weld that appears smooth at first can still be weak or porous.
For a small, sound, non-pressurized part, how to tig weld cast aluminum comes down to four fundamentals: identify the alloy as well as you reasonably can, clean the joint thoroughly, use alternating-current TIG with pure argon, and control heat as the casting warms. A beginner can achieve a reliable repair, but some castings are too contaminated, thin, cracked, or safety-critical to weld responsibly at home.
This guide explains the complete process, from inspecting and preparing the casting to setting up the machine, establishing the puddle, adding filler, and checking the finished weld. It also covers common defects, when a different filler or repair method makes sense, and when to stop and have the part evaluated by a qualified welding professional.
At a glance
- Remove oxide, oil, paint, and moisture before striking an arc.
- Use AC TIG, 100 percent argon, and a clean aluminum filler that suits the base metal.
- Judge the repair by penetration, fusion, porosity, cracking, and the part’s intended safety duty.
How to TIG Weld Cast Aluminum Safely and Cleanly
The method below is intended for manageable castings such as brackets, housings, covers, and non-pressurized components. It is not a substitute for engineering approval on wheels, suspension parts, pressure vessels, aircraft components, lifting hardware, fuel-system parts, or anything whose failure could cause injury.
Tools you will need
- AC/DC TIG welder with high-frequency start and foot or hand amperage control
- 100 percent argon cylinder, regulator, flowmeter, and suitable hose
- Properly prepared tungsten electrode and collet assembly
- Aluminum filler rod matched as closely as practical to the casting
- Stainless-steel brush reserved for aluminum cleaning
- Degreaser that leaves no residue, clean lint-free cloths, and a scraper or small file
- Clamps, heat-resistant work surface, and a bright inspection light
- Welding helmet, flame-resistant clothing, welding gloves, safety glasses, hearing protection, and adequate ventilation
- Optional: infrared thermometer for watching part temperature without touching the hot casting
Step 1 Confirm that the casting is a reasonable repair candidate
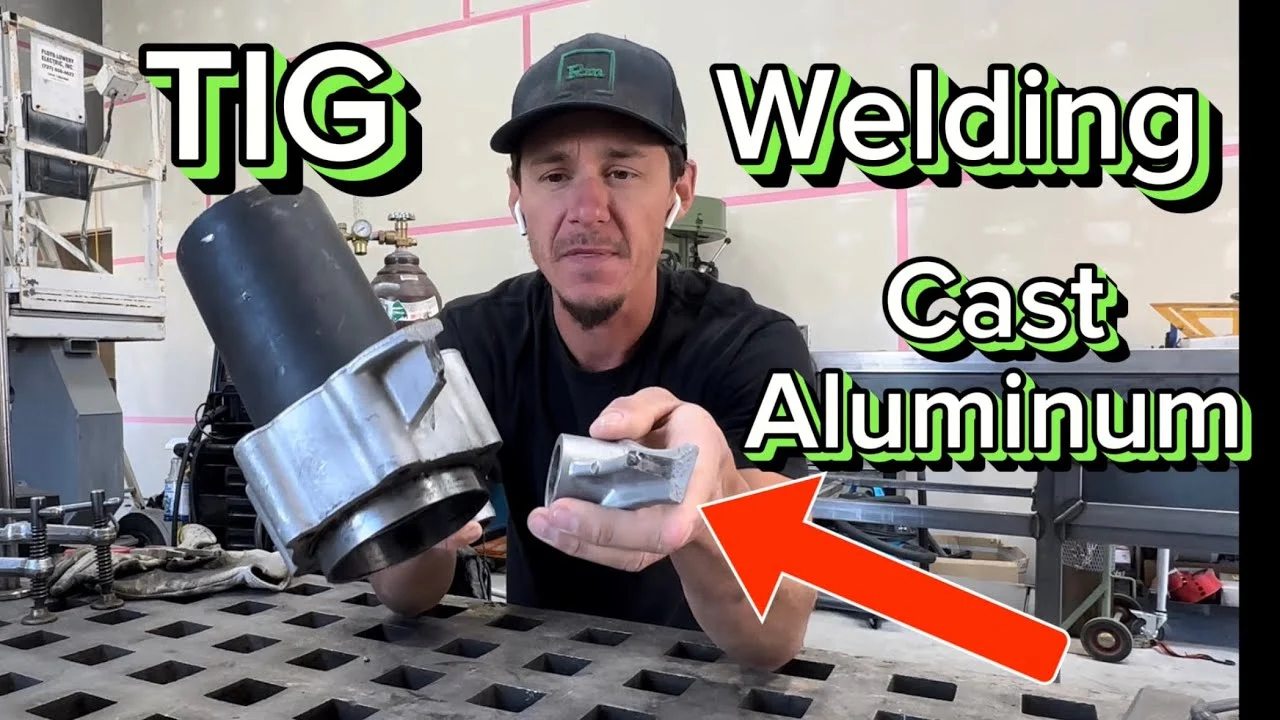
Begin with the part cold and removed from the machine or assembly whenever possible. Look for the alloy marking, manufacturer information, previous repairs, deep cracks, severe corrosion, and areas that may have absorbed oil. Cast aluminum is commonly made from alloys such as A356, 319, or 6061-type material, but its exact composition is often unknown.
Do not weld over a crack without finding its full length. Use a file, small abrasive tool, or careful grinding to expose clean metal at the crack and inspect both sides. If the break reaches a bearing seat, threaded structural area, pressure cavity, or highly loaded mounting point, stop and obtain a professional assessment before applying heat.
A good candidate has enough surrounding thickness to form a weld without burning through, can be cleaned completely, and does not contain a hidden oil passage or sealed cavity that could release fumes or pressure. If the part is a sealed container, drain, vent, and clean it according to the manufacturer’s procedure; never heat an unknown closed cavity.
Step 2 Remove paint, oxide, oil, and contamination from the joint
Strip the joint back to bright metal on both sides. Remove paint, powder coating, anodizing, sealant, and heavy oxidation with a scraper or file first. Then degrease the area and wipe it with clean cloths until the cloth no longer picks up residue.
Use a stainless-steel brush that has not been used on steel, and brush the aluminum immediately before welding. Aluminum forms a tough oxide film almost instantly, so cleaning several hours earlier is less useful than cleaning just before the joint is assembled. Keep the brush and filler rods protected from dirt.
Oil is a special problem in porous castings. Warm the part gently to help draw contamination toward the surface, allow it to cool enough to handle safely, then degrease and brush again. Repeat only as needed, and stop if oil continues to seep from the casting; persistent contamination usually produces porosity and may make the repair unreliable.
Important
Never use chlorinated solvent on or near a welding area. Arc radiation can convert residues into highly toxic gases. Follow the cleaner’s label, allow all solvent to evaporate, and provide ventilation before welding.
Step 3 Prepare the crack or joint for complete fusion
For a crack repair, remove a shallow V-shaped groove along the entire defect instead of placing a bead over the surface. A small file or suitable grinder can create the groove, but leave enough surrounding metal to support the weld. At each crack end, extending the groove slightly beyond the visible line can help expose its true termination.
For a broken edge, fit the pieces together without forcing them into a distorted position. A small, consistent root gap can help the arc reach the joint, but a large gap demands more heat and filler and increases the chance of warping. Clamp the pieces securely while leaving the torch and filler access clear.
After machining or grinding, degrease and stainless-brush the exposed groove again. The final surface should look bright and dry rather than gray, greasy, painted, or heavily pitted.
Step 4 Set up the AC TIG machine and shielding gas
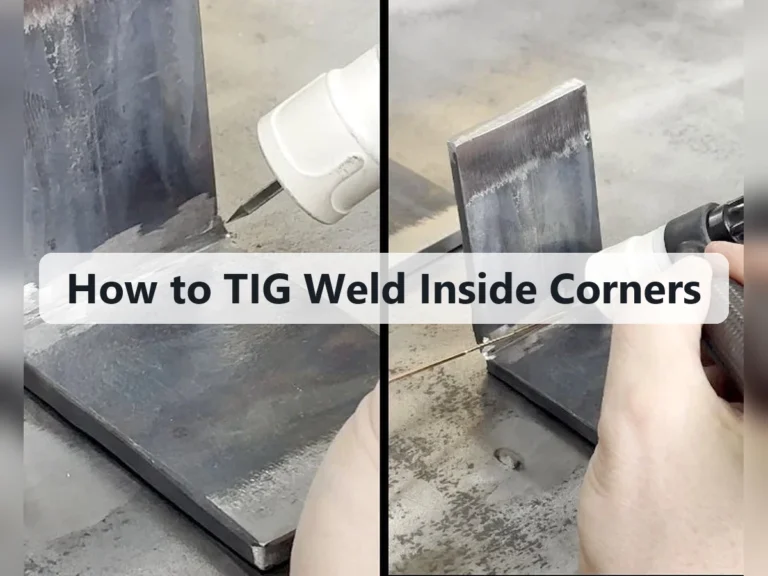
Connect the work lead directly to clean metal on the casting or to a clean fixture that is electrically connected to it. Set the TIG torch for alternating current. AC helps the arc break up the aluminum oxide while still providing enough heat to melt the base metal.
Use 100 percent argon rather than an argon-carbon-dioxide mixture or an oxygen-containing gas. Set gas flow according to the torch, cup, and workspace, following the welder and regulator instructions. Excessive flow can create turbulence and pull air into the shielding zone, so more gas is not automatically better.
A medium-to-large gas cup and a properly shaped tungsten can make the puddle easier to protect. Begin with the machine’s recommended aluminum range for the material thickness, then use the foot pedal or hand control to adjust as the part heats. The correct setting is the one that produces a fluid puddle with fusion before the edges collapse.
Step 5 Choose and prepare the tungsten and filler rod
Use a tungsten diameter suitable for the machine current and joint thickness. A modern lanthanated tungsten is a practical general-purpose choice for AC TIG; follow the electrode manufacturer’s preparation guidance because some machines and electrodes tolerate different tip shapes.
Grind the tungsten lengthwise on a dedicated wheel or abrasive surface, and keep the tip free of grease. If the tungsten touches the puddle or filler, stop, allow it to cool if necessary, and regrind the contaminated section before continuing. A contaminated electrode can make the arc wander and introduce inclusions.
A useful way to approach how to tig weld cast aluminum is to check your progress after each stage.
Select filler based on the known alloy and the repair’s requirements. When the alloy is unknown, a commonly used aluminum-silicon filler may flow well on many castings, while a 4043-type filler is often chosen for general cast-aluminum repairs. This is not a universal match; a filler manufacturer’s compatibility chart or an experienced welding professional is the better authority for a critical component.
Step 6 Preheat the casting only as much as needed
Large castings draw heat away from the joint, so a controlled preheat can make the puddle easier to establish and reduce the need for excessive amperage. Heat the part evenly rather than concentrating a torch flame on the crack. The goal is to bring the casting to a warm, manageable condition, not to make it glow or approach its melting range.
Use the material manufacturer’s guidance when available. If the alloy and condition are unknown, conservative heating is safer than guessing at a high temperature. Avoid direct flame contamination, and never preheat a part that may still contain fuel, solvent, oil, or a sealed cavity.
As the casting becomes warm, the same machine setting may produce a larger, faster-moving puddle. This is normal. Be prepared to reduce amperage with the pedal, increase travel speed, or pause briefly to control heat input.
Step 7 Tack the pieces and verify alignment
Place small tacks at the ends and then at intermediate points, alternating sides when the joint allows it. Tacking holds the repair in alignment and limits the amount of movement as the casting expands. Let each tack solidify before adding the next.
Check that the crack edges have not opened, shifted, or pulled out of position. On a shaped housing or machined component, compare the alignment with an undamaged mating part before committing to a full bead. Correcting distortion after welding is much harder than preventing it with fit-up and balanced tacks.
Step 8 Establish a clean puddle before adding filler
Hold the torch so the tungsten is close to the work without touching it, and keep the arc centered over the joint. Start the arc with high frequency if available, then use enough amperage to form a small, shiny puddle that wets both sides of the groove.
Watch the edges of the puddle rather than only the bright center. Successful fusion shows the molten metal flowing into both joint faces. If the surface merely beads up or remains dull and unmelted, the joint is still dirty, the heat is too low, or the torch is not positioned correctly.
Keep the torch moving smoothly once the puddle is established. Aluminum can go from cold-looking to collapsed in a short time, especially at a thin edge. A beginner mistake is to hold the arc in one place while waiting for the joint to melt; this often overheats the casting without improving cleaning or penetration.
Step 9 Add filler rod with steady torch control
Feed the filler rod into the leading edge of the puddle, not directly into the tungsten and not so far outside the shielding gas that its end oxidizes. Add small, consistent amounts while maintaining a short arc and a torch angle that keeps argon over the molten metal.
Move along the joint at a pace that leaves a continuous bead with complete fusion. The bead should be slightly raised and uniform, but a large mound does not compensate for poor penetration. If you need to stop, withdraw the filler from the puddle, taper the current down, and keep shielding gas over the cooling area.
For a deep groove, use multiple controlled passes only after the first pass is sound and clean. Brush each cooled pass with the dedicated stainless brush, remove any visible contamination, and avoid trapping slag-like oxide or pockets between layers. TIG aluminum does not produce conventional slag, but oxide and dirty surfaces can still become inclusions.
Step 10 Finish the weld and allow the part to cool gradually
At the end of the joint, reduce current gradually while maintaining shielding gas over the crater. This helps prevent a small crater crack, which can form when the puddle is abruptly extinguished. Keep the torch in position for the machine’s post-flow period.
Do not quench the hot casting in water or place it on a cold, wet surface. Let it cool in still air unless a qualified procedure specifies otherwise. Rapid cooling can increase distortion and thermal stress, while moisture near a hot weld can create dangerous steam and contamination.
Understanding how to tig weld cast aluminum also means recognizing the limits of the method.
Once the part is cool enough to handle, remove discoloration and residue with a clean brush or suitable finishing method. Do not grind away a questionable weld simply to make it look smooth; preserve enough metal for inspection and repair evaluation.
Step 11 Inspect the repair before returning the part to service
Start with a visual inspection under bright light. Look for a continuous bead, complete wetting at both sides, undercut, crater cracks, surface pores, pinholes, trapped debris, and areas where the arc appears to have merely deposited filler on top of unmelted metal.
Clean the repair and, where appropriate, perform a leak or dimensional check that matches the part’s function. A non-pressurized bracket may only need careful visual and fit checks, while a coolant housing may need a controlled leak test. Do not apply more pressure than the component is designed to withstand.
Surface appearance cannot prove internal soundness. For a loaded or safety-critical part, use an appropriate nondestructive examination such as dye penetrant testing, radiography, or another method specified by a qualified inspector. If the casting has deep porosity, repeated cracking, or uncertain alloy condition, the safest result may be replacement rather than another weld pass.
What Makes Cast Aluminum Difficult to TIG Weld?
Cast aluminum differs from clean rolled or machined aluminum because the casting process can leave pores and inclusions inside the material. Those voids may hold cutting fluid, oil, coolant, or moisture and release it as the part heats. The resulting bubbles become porosity, visible as pinholes or hidden voids in the weld.
Aluminum oxide is another challenge. The base metal melts at a much lower temperature than its oxide film, so the arc must clean the surface while also melting the joint. AC balance, correct torch technique, and thorough mechanical cleaning work together; changing only one machine setting rarely fixes a contaminated casting.
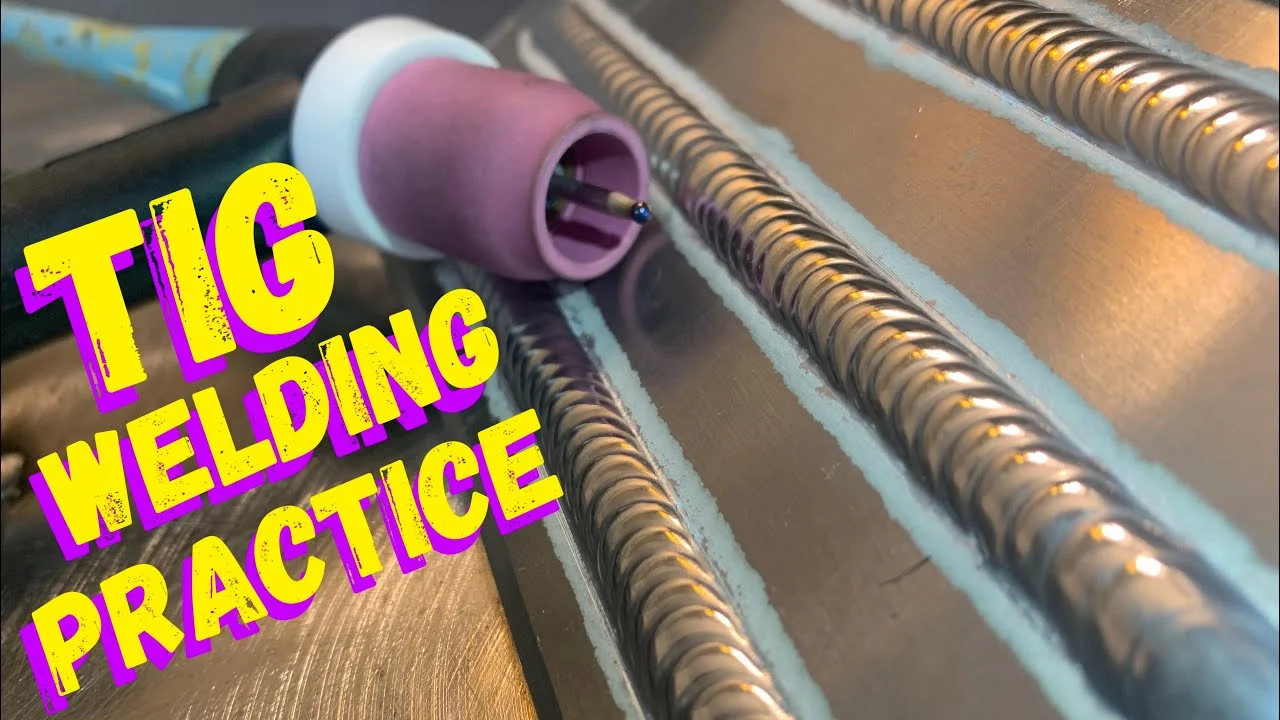
Why AC balance and heat control matter
AC TIG alternates between electrode-negative and electrode-positive portions of the current. The electrode-negative portion delivers useful penetration, while the electrode-positive portion helps remove oxide but puts more heat into the tungsten. Many modern machines allow AC balance adjustment, but the exact useful range depends on the machine and joint.
Use the manufacturer’s starting values rather than copying a setting from an unrelated welder. Too much cleaning action can overheat the tungsten and reduce penetration; too little can leave oxide in the puddle. Heat control also changes as a heavy casting warms, so the foot pedal is often more useful than a fixed amperage alone.
When a different repair method is better
Do not assume TIG is the best answer for every damaged casting. A replacement part may be safer for a highly loaded or safety-critical component. Brazing, metal stitching, mechanical fastening, specialized aluminum repair processes, or professional welding with controlled preheat may suit a particular defect better.
TIG is especially unsuitable as a casual experiment on parts that contain fuel, refrigerant, hydraulic pressure, or unknown chemicals. If cleaning cannot remove contamination, if the alloy is highly crack-sensitive, or if the repair affects public safety, stop rather than making the defect harder to evaluate.
How to Check the Finished Weld
A useful inspection asks whether the weld is fused, clean, appropriately shaped, and fit for the part’s actual duty. A shiny bead alone is not proof of strength. Cast aluminum can hide lack of fusion and internal porosity beneath an attractive surface.
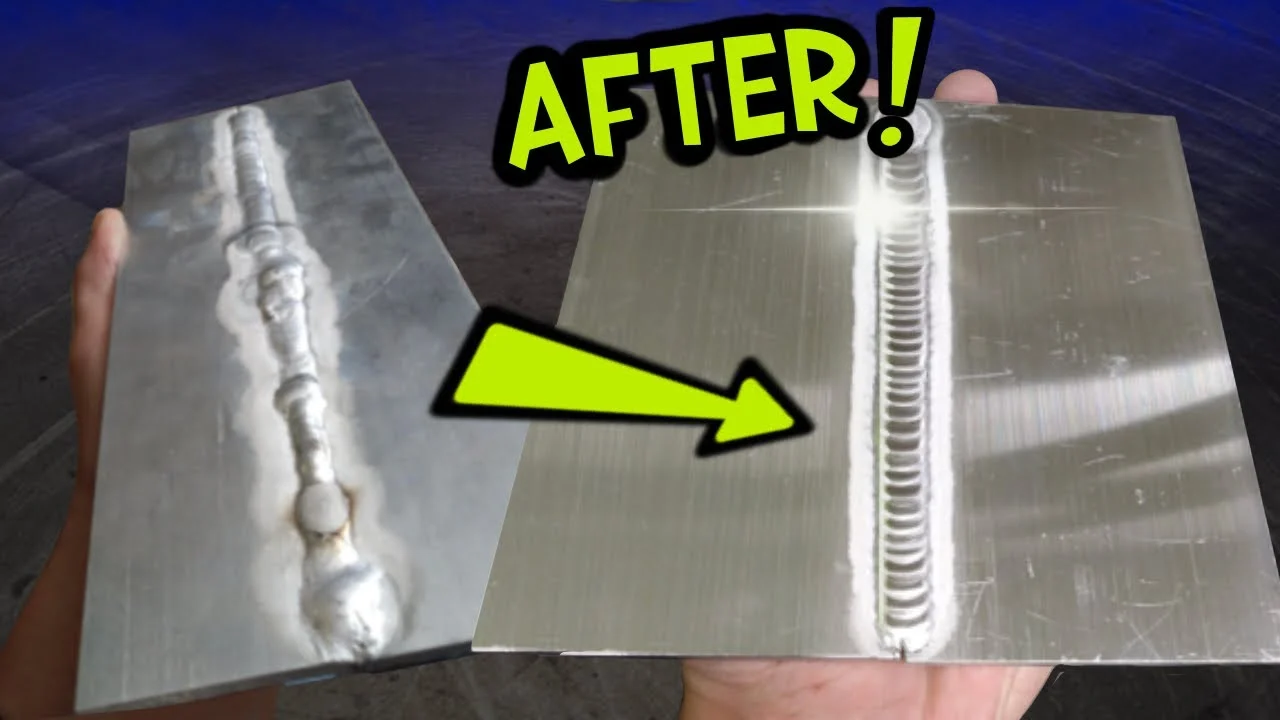
- Fusion: The bead edges flow into both sides of the joint instead of sitting on top like a raised strip.
- Continuity: There are no visible gaps, crater cracks, pinholes, or abrupt unfilled sections.
- Profile: The bead is reasonably even without severe undercut, excessive reinforcement, or melted-away edges.
- Cleanliness: There is no trapped black residue, heavy oxide, oil bubbling, or visible tungsten inclusion.
- Function: The repaired part fits, moves, seals, or holds alignment as intended without forcing it into position.
For leak-prone castings, clean the part thoroughly and use a controlled test appropriate to the service. If a weld leaks, do not simply smear more filler over the pinhole. Remove the defective area, clean again, and determine whether the leak comes from weld porosity or from porosity in the surrounding casting.
Common Cast-Aluminum TIG Problems
Most beginner defects have a small number of likely causes. Stop welding when the puddle becomes unstable or the tungsten is contaminated, then correct the cause before adding more metal.
| What you see | Likely cause and correction |
|---|---|
| Black specks, smoke, or many pinholes | Oil, moisture, paint, or porous casting contamination. Stop, cool safely, remove more material, degrease, brush, and reassess whether the part can be cleaned. |
| Bead sits on top without joining the sides | Insufficient heat, excessive travel speed, oxide, or poor joint access. Improve cleaning and fit-up, then establish a puddle that visibly wets both faces. |
| Edges melt away or the joint collapses | Too much heat, a casting that has become saturated with heat, or an excessive arc dwell. Reduce current, travel sooner, and use pauses or balanced welding. |
| Arc wanders or the puddle is dirty | Contaminated or poorly prepared tungsten, a dirty filler rod, or unstable shielding. Regrind the tungsten, clean the rod, and check gas flow and hose connections. |
| Crack appears at the crater or beside the weld | Improper termination, incompatible filler, contamination, excessive restraint, or a crack that extends farther than visible. Stop and investigate instead of welding over it. |
Beginner FAQs About TIG Welding Cast Aluminum
These answers address common decisions before and after a first repair. When the part carries a serious load or pressure, the part-specific repair procedure takes priority over general advice.
Can I TIG weld cast aluminum with a DC-only welder?
Usually not for a dependable conventional repair. Aluminum oxide is difficult to disrupt with ordinary DC TIG, so an AC-capable TIG welder is the practical choice. Specialized processes exist, but they require different equipment and procedure control.
What gas should I use for cast aluminum TIG welding?
Use 100 percent argon for typical TIG welding of aluminum. Avoid oxygen and carbon-dioxide mixtures, which are intended for other welding processes and can contaminate the weld or damage the tungsten.
Do I always need to preheat a cast aluminum part?
No. Small castings may weld without preheat, while large or thick parts often benefit from controlled warming. Preheat is not a cure for oil, oxide, poor fit-up, or incorrect settings, and excessive heat can increase distortion and contamination problems.
Which filler rod is best when the alloy is unknown?
There is no universally correct filler for an unidentified casting. A 4043-type aluminum-silicon filler is commonly used for many general repairs because it flows readily, but consult a compatibility chart or welding specialist when strength, corrosion resistance, heat treatment, or cracking behavior matters.
Why does the weld look good but still leak?
The casting may contain internal porosity, or the weld may have surface sealing without complete fusion. Clean the area and use an appropriate inspection or leak test. For pressure-bearing service, have the component evaluated rather than relying on appearance alone.
A Careful Way to TIG Weld Cast Aluminum
Learning how to tig weld cast aluminum is mainly an exercise in preparation and heat control. Identify the part’s risk, expose and clean the entire defect, use AC TIG with pure argon, choose a compatible filler, and watch for a puddle that genuinely fuses both sides of the joint.
After welding, inspect more than the bead’s shine. Check for cracks, pinholes, lack of fusion, distortion, and functional problems, and use professional nondestructive testing when the component’s failure could cause injury or release pressure. If contamination persists or the alloy and duty are uncertain, replacing the part or seeking qualified repair help is the safer next action.