How to TIG Weld Aluminum With DC: A Practical Beginner Guide
Aluminum is usually associated with AC TIG welding, so a DC machine can seem like the wrong tool for the job. In reality, you can make sound aluminum welds with DC when you use the right polarity, shielding gas, tungsten preparation, and heat-control technique. The process is less forgiving than AC, but the limitations are predictable.
The main practical difference is gas. Pure argon, which works well for most AC aluminum TIG welding, generally does not provide enough heat on DC to make this process useful. Pure helium with DCEN is the usual beginner-accessible approach because helium produces a hotter arc and DCEN keeps most of the heat in the workpiece.
DCEP can provide oxide cleaning, but it places substantial heat into the tungsten and is difficult to control.
This guide explains how to tig weld aluminum with dc on clean, weldable stock, from checking your machine and preparing the joint through striking the arc and inspecting the finished bead. It also shows when to stop and switch to AC, how to recognize contamination, and how to verify that a weld is more than a shiny surface bead.
At a glance
- Use pure helium and DCEN for the most practical DC aluminum setup.
- Remove aluminum oxide mechanically and chemically without contaminating the joint.
- Check penetration and fusion, not just the bead’s shiny appearance.
How to TIG Weld Aluminum With DC: A Practical Method
DC TIG aluminum welding is best treated as a specialized method rather than a direct substitute for AC. It is most realistic on relatively thin, clean material when the machine can supply adequate current and the torch can carry the required heat. Before starting, confirm that the material is a weldable aluminum alloy and that the finished weld does not require a code-qualified procedure or certified welder.
Tools you will need
- TIG machine with DC output, a foot pedal or fingertip amperage control, and a high-frequency or lift start
- TIG torch rated for the planned current, with a gas lens and suitable cup
- 2% lanthanated or ceriated tungsten, sharpened for DCEN use
- Pure helium shielding gas, regulator, hose, and leak-free connections
- Stainless-steel brush reserved for aluminum and clean, lint-free wipes
- Compatible aluminum filler rod, matched as closely as practical to the base alloy
- Approved welding helmet, gloves, flame-resistant clothing, safety glasses, and adequate ventilation
- Optional: an infrared thermometer for checking workpiece temperature between passes
Step 1 Confirm that the machine and material are suitable
Read the welder’s manual and verify that it can run DCEN, the electrode-negative setup used for the main procedure. Check the torch duty cycle, maximum output, gas connections, and whether the machine has high-frequency starting. A stable start matters because touching the tungsten to aluminum can instantly contaminate the electrode.
Choose clean, weldable stock without paint, oil, anodizing, or unknown surface treatments. Common wrought alloys can weld well, but some high-strength or highly alloyed aluminum grades are prone to cracking. If the joint is structural, pressure-containing, safety-critical, or made from an unidentified alloy, stop here and use a qualified welding procedure rather than relying on a beginner experiment.
Step 2 Prepare a safe, flat welding station
Place the work on a stable, noncombustible surface with the joint positioned so you can keep the torch close to perpendicular and see the puddle clearly. Aluminum reflects ultraviolet radiation and conducts heat quickly, so use a properly rated helmet, full hand and arm protection, and ventilation that removes welding fumes without blowing shielding gas away.
Keep helium cylinders upright and secured, and inspect the regulator, hose, torch, and fittings for damage. Helium is inert but can displace oxygen in a poorly ventilated space. Never weld on containers, tanks, or metal that may have held flammable substances unless the item has been professionally cleaned and declared safe.
Step 3 Fit and sharpen the tungsten for DCEN
Install a clean 2% lanthanated or ceriated tungsten. A pointed electrode gives DCEN a focused arc; grind it lengthwise on a dedicated wheel so abrasive particles do not become embedded across the tip. The exact diameter depends on amperage and torch capacity, but the electrode must be large enough to avoid overheating and small enough to start and control the arc.
Use a sharp point with a short, even taper rather than a large balled end. Unlike some AC settings, DCEN does not require intentionally balling the tungsten. A small flat at the point can help prevent a needle-like tip from breaking, but an excessively blunt tip spreads the arc and makes aluminum fusion harder to judge.
Step 4 Clean the aluminum and joint thoroughly
First remove grease and oil with a suitable solvent on a clean wipe, allowing the surface to dry fully. Then use a stainless-steel brush that has never been used on steel. Brush the joint and the area around it in one direction with firm strokes to break up the aluminum oxide layer.
Aluminum oxide melts at a much higher temperature than aluminum itself. If you leave it in place, the base metal may melt underneath a stubborn skin, producing poor wetting, trapped inclusions, or a puddle that seems to move unpredictably. Brush immediately before welding and avoid touching the cleaned area with bare fingers.
Important
Do not use chlorinated brake cleaner, unknown degreasers, or solvents that can leave hazardous residue near an arc. Read the product safety information, provide ventilation, and let any cleaner evaporate completely before welding.
Step 5 Set DCEN, helium flow, and starting amperage
Connect the torch to negative and the work lead to positive, then select DCEN. This sends most of the arc heat into the aluminum and keeps the tungsten comparatively cool. DCEP is not the recommended starting setting: although it can break up oxide, it overheats the electrode and normally gives poor welding efficiency on aluminum.
Use pure helium rather than ordinary argon. Start with the gas flow recommended for your torch and cup, then adjust only if the puddle shows inadequate coverage or turbulence. Excessive flow can pull air into the arc, while too little flow allows gray, porous, or sooty-looking contamination.
Set a current appropriate for the thickness, joint design, and machine capacity, using the welder’s chart as the starting point. Aluminum often needs more amperage than steel of the same thickness because it conducts heat away rapidly. A foot pedal is particularly useful: begin below the maximum, add current to establish the puddle, and reduce it as the workpiece becomes hot.
A useful way to approach how to tig weld aluminum with dc is to check your progress after each stage.
Step 6 Make a dry run and position the filler
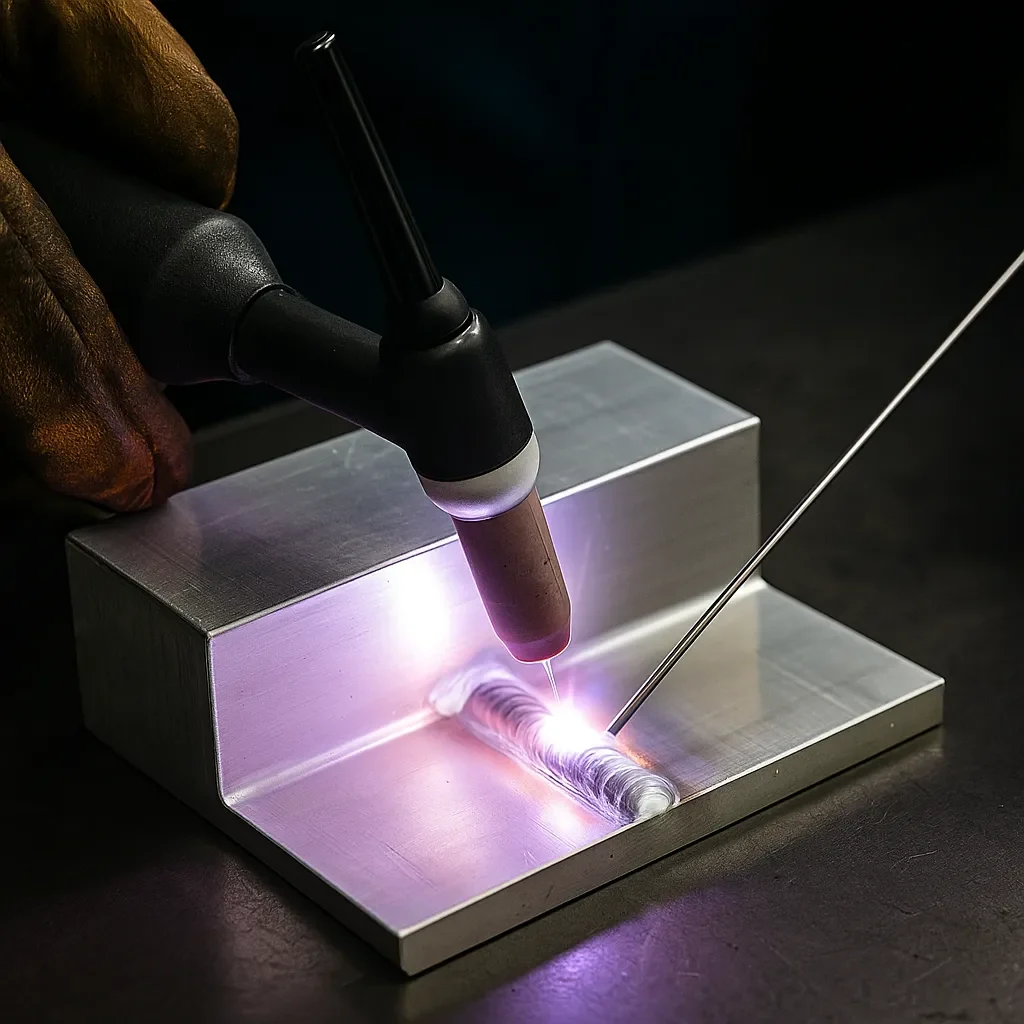
Before starting the arc, rehearse the torch movement along the joint. Keep the tungsten about 1/8 inch from the surface, or as close as the cup and joint allow without risking contact. Hold the torch around 70 to 80 degrees from the work and plan to push the puddle rather than drag the torch behind it.
Cut the filler rod to a manageable length and keep its end inside the shielded area. The filler should enter the leading edge of the molten pool with small, controlled additions. Do not wave the rod through the arc or pull it completely out into room air between dips; both habits can oxidize the filler and introduce contamination.
Step 7 Start the arc and establish a small puddle
Start with high frequency if available, or use the machine’s clean lift-start method. Do not scratch-start on the aluminum. Hold the torch steady until the surface begins to melt, then watch for a small, bright puddle that wets the joint edges.
DC helium arcs can look narrow and intense. The puddle may form quickly in one spot and then spread as the surrounding aluminum heats. If the surface stays dull and refuses to wet, increase current gradually, improve cleaning, check gas coverage, or reconsider whether the machine and gas combination can provide enough heat.
Step 8 Add filler and travel through the joint
Once both sides of the joint are molten, dab filler into the front edge of the puddle and move the torch a short distance. Repeat the rhythm of melt, dab, and advance while keeping the arc length consistent. A tight arc reduces the amount of air that can enter the shielding envelope and helps concentrate the limited control available with DC.
Keep the travel speed fast enough to avoid an oversized, sagging puddle but slow enough to maintain fusion at both edges. Aluminum’s surface can remain bright even when the bead is overheating, so judge the pool by its shape and movement rather than color alone. If the puddle suddenly becomes too fluid, back off the pedal or move forward; do not try to correct excessive heat by adding large amounts of filler.
Step 9 Finish the bead without leaving a crater
At the end of the joint, reduce current gradually while maintaining shielding gas until the metal solidifies. A controlled taper prevents a deep crater, which can become a crack initiation point. Keep the torch over the cooling end of the weld for the post-flow period set by the machine.
If the torch loses gas coverage before the metal stops glowing, the end may turn gray or develop surface contamination. Let the post-flow complete before lifting the torch away. Do not quench hot aluminum with water; sudden cooling can distort the joint and can create an unsafe steam or handling hazard.
Step 10 Inspect the weld and confirm the result
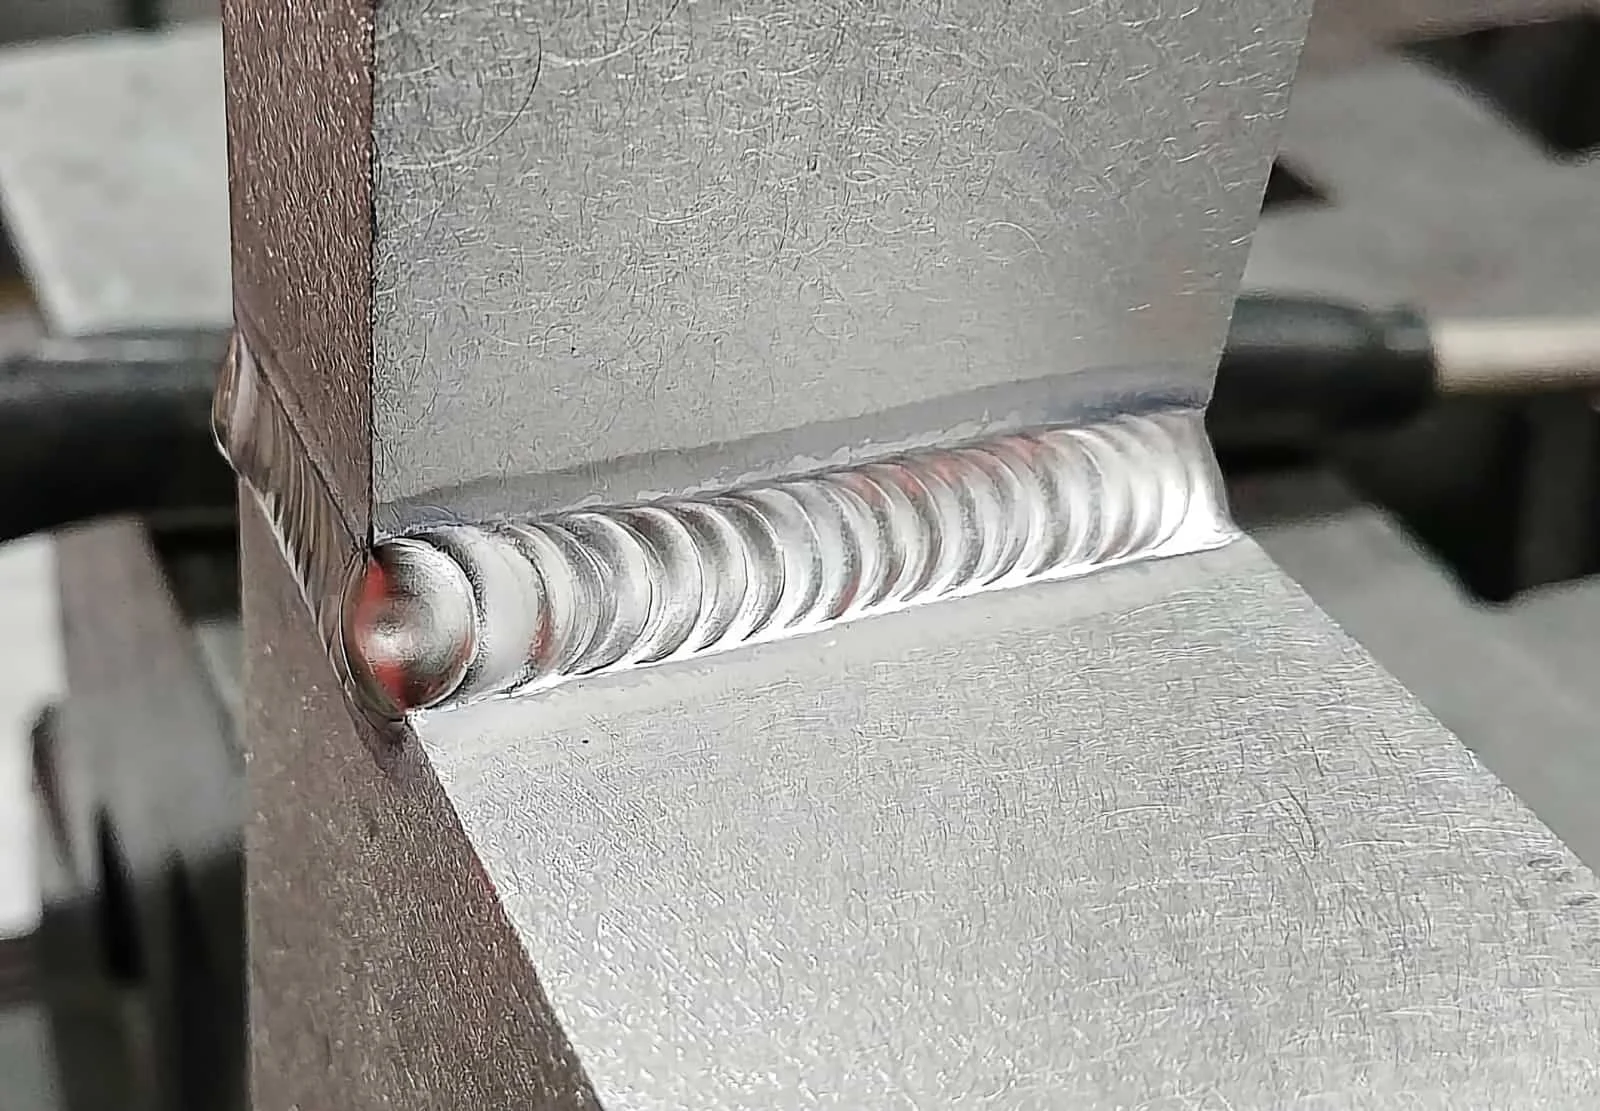
After the joint cools, wipe away residue and examine it under good light. A useful bead has consistent width, smooth tie-in at both edges, no visible pinholes or black inclusions, and no deep crater at the finish. Slight surface discoloration may indicate shielding trouble, but appearance alone cannot prove internal fusion.
If the workpiece allows it, cut through a test weld and inspect the cross-section. The weld should penetrate into the joint rather than sit as a rounded strip on top. For a lap or fillet joint, look for fusion along the intended interface; for a butt joint, check that the root is joined without excessive burn-through.
Check your result
A practical beginner check is to make several test coupons from the same thickness and alloy, then bend, cut, or otherwise destructively examine them before welding the actual part. Stop if the joint cracks, separates at the interface, or shows repeated porosity.
Why DC Aluminum TIG Welding Is Difficult
The challenge is not simply that aluminum melts differently from steel. Aluminum rapidly conducts heat away from the arc, while its oxide coating remains solid at temperatures far above the melting point of the base metal. AC TIG is normally preferred because its electrode-positive portion helps disrupt the oxide while its electrode-negative portion restores penetration and electrode cooling.
With DCEN, the arc puts useful heat into the workpiece but offers little oxide-cleaning action. That makes brushing and degreasing unusually important. The hotter helium arc compensates for some of the heat-transfer problem, but it does not eliminate the need for a clean surface or correct technique.
Understanding how to tig weld aluminum with dc also means recognizing the limits of the method.
DCEN, DCEP, and AC in plain terms
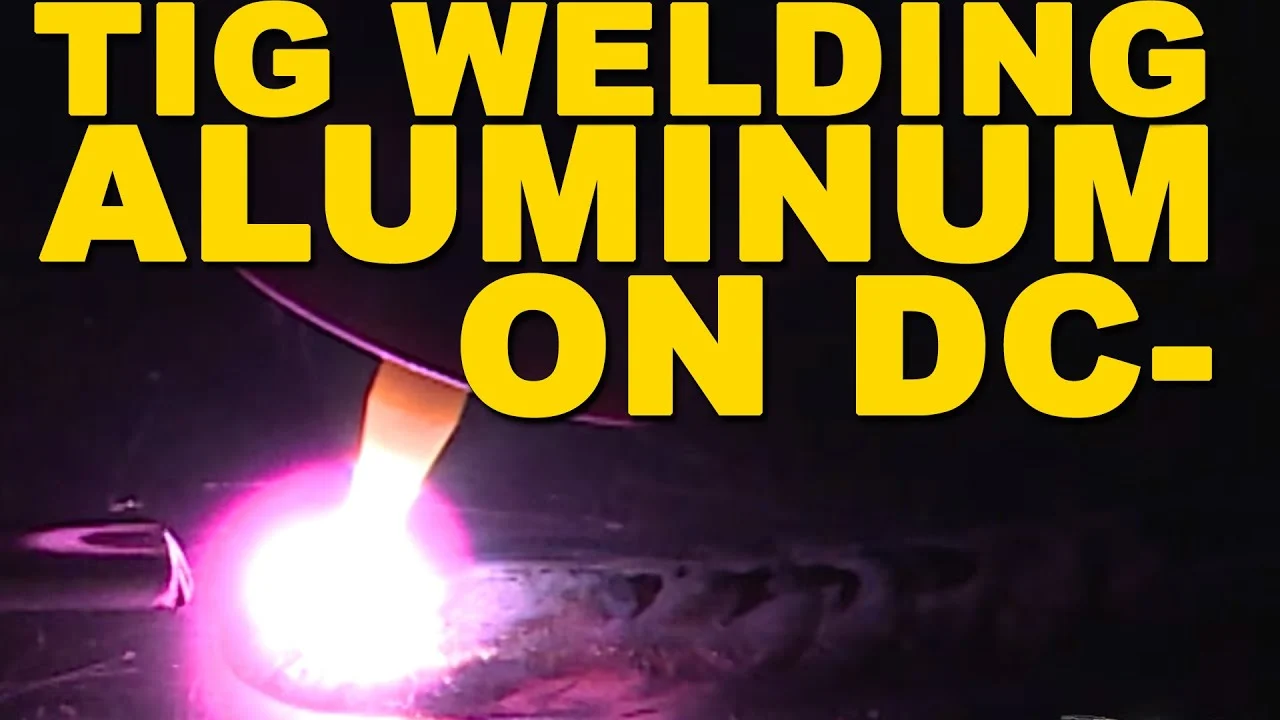
DCEN means direct current electrode negative. The tungsten is negative and the work is positive, producing a concentrated arc with good penetration and comparatively low tungsten heating. For a DC aluminum experiment, this is normally the first polarity to try with helium.
DCEP reverses the connections. It can provide more cathodic cleaning of oxide, but most of the heat goes toward the tungsten. The electrode can overheat, ball, melt, or spit into the puddle, especially at the current needed for aluminum.
It is a specialized option, not a simple fix for dirty material.
AC alternates between the two polarities. Modern AC TIG machines let the operator adjust balance and frequency, making it the more practical choice for general aluminum work. If an AC-capable machine is available, it will usually provide a wider process window than DC with helium.
Why pure helium changes the setup
Helium has a higher ionization potential and produces a hotter, more energetic arc than argon. That extra heat is why pure helium is commonly paired with DCEN for aluminum. The tradeoffs are a less forgiving arc, more difficult starts on some machines, and shielding-gas consumption that can make leaks or poor flow settings especially noticeable.
An argon-helium blend may also be useful when supported by the machine and welding procedure, but its behavior depends on the blend ratio, flow rate, torch, and joint. Do not assume that a small amount of helium added to an argon bottle will duplicate a pure-helium setup. Use the gas supplier’s identification and the welder manufacturer’s guidance.
Troubleshooting Poor DC Aluminum Welds
Most failed beginner welds can be traced to contamination, inadequate heat, unstable shielding, or excessive heat after the material has warmed. Change one variable at a time on test coupons so you can identify the cause instead of masking it with several adjustments at once.
| What you see | Likely cause and response |
|---|---|
| Puddle will not wet the edges | Insufficient current, poor oxide removal, an arc held too far away, or unsuitable gas. Reclean, shorten the arc, and increase current gradually. |
| Gray, sooty, or porous bead | Contaminated aluminum, filler, tungsten, or shielding. Stop, let the part cool, clean again, inspect for leaks, and regrind contaminated tungsten. |
| Tungsten balls or melts | Wrong polarity, excessive current for the electrode, arc contact, or DCEP overheating. Return to DCEN and use a correctly sized sharpened electrode. |
| Bead starts well but becomes wide and sagging | Heat has accumulated in the workpiece. Increase travel speed, reduce pedal input, use a heat sink if appropriate, or pause between sections. |
| Crater cracks at the finish | Current was stopped too abruptly or the crater was left unfilled. Taper current while maintaining shielding and finish with a filled, shallow crater. |
When the tungsten touches the aluminum
Stop welding as soon as contact occurs. A contaminated tungsten can transfer particles into the weld and make the arc wander. Allow it to cool if necessary, remove the contaminated section, and regrind a clean point with the grinding marks running lengthwise.
Do not simply continue after wiping the tip. Aluminum on the tungsten may remain hidden in the electrode’s surface, and the next arc can release it into the puddle. If repeated contact occurs, shorten the electrode extension, improve hand support, or practice torch movement without an arc.
When the weld looks good but has no strength
A smooth, shiny bead can still be sitting on top of the joint. This happens when the oxide layer prevents the molten metal from joining the base, when the current is too low, or when travel is too fast. Make a test cross-section or destructive test rather than trusting the surface profile.
For a butt joint, an unfused seam often appears as a line beneath the bead. For a fillet joint, inspect whether the bead actually blends into both legs. Increase cleaning quality and heat in small increments, and avoid compensating for poor fusion by simply depositing more filler.
Beginner Questions About DC TIG Welding Aluminum
These questions address the limits of the method before you commit a valuable part or a safety-critical repair. When the answer depends on a specific machine, alloy, or procedure, the equipment manual and a qualified welding professional take priority.
Can I TIG weld aluminum with DC using argon?
You may be able to strike an arc, but ordinary argon with DC is generally a poor combination for practical aluminum welding. The arc often lacks the heat and cleaning behavior needed for reliable fusion. Pure helium, or a manufacturer-approved argon-helium blend, is usually more suitable.
Should I use DCEN or DCEP for aluminum?
Start with DCEN for the main method because it concentrates heat in the work and limits tungsten overheating. DCEP offers oxide-cleaning action but puts substantial heat into the electrode, so it is a specialized approach rather than the normal beginner setting.
Can I use a regular steel TIG filler rod?
No. Use an aluminum filler alloy compatible with the base metal and the intended service. Aluminum filler rods are softer and have a different appearance, so store them clean and keep them separate from steel filler to prevent mix-ups.
Why is AC normally recommended for aluminum?
AC alternates between penetration and oxide-cleaning portions of the cycle. That balance makes it easier to remove the oxide while controlling tungsten temperature. DC with helium can work, but it has a narrower operating range and depends more heavily on mechanical cleaning.
Is DC TIG aluminum suitable for a structural or pressure repair?
Not as an improvised beginner repair. Structural, pressure-containing, vehicle-safety, lifting, and other critical work may require a specified alloy, joint preparation, filler, preheat control, inspection method, and qualified welder. Practice on coupons and seek qualified help for those applications.
Confirm the Weld Before You Trust It
Learning how to tig weld aluminum with dc is possible when the setup is deliberate: use DCEN, supply the hotter helium arc, remove oxide immediately before welding, keep the tungsten clean, and control heat as the part warms. The process rewards a small, stable puddle and careful observation more than a large amount of filler.
For your next attempt, make test coupons from the same aluminum and thickness, record the polarity, gas, tungsten, and current settings, then inspect or destructively test the welds. If the bead repeatedly lacks fusion or the tungsten overheats, switch to AC TIG or ask a qualified welder to establish a procedure rather than forcing DC beyond its practical limits.