How to MIG Weld Aluminum Without a Spool Gun: Practical Guide
Yes, you can MIG weld aluminum without a spool gun by using a short, straight gun setup, a polymer liner, and careful wire-feed control.
That answer has an important boundary the method works best with a conventional push gun a short cable soft aluminum wire and relatively light welding demands Aluminum wire.
For that reason how to mig weld aluminum without a spool gun is less about finding one magic machine setting and more about controlling the entire wire path.
This guide explains the equipment limits gun and liner setup shielding gas wire sizes starting settings welding technique common defects and practical decision points By the end you.
- ✓A conventional MIG gun can feed aluminum when the cable path is short, straight, low-friction, and properly configured.
- ✓Use pure argon, a clean aluminum-specific liner, a suitable contact tip, and soft-start wire-feed settings.
- ✓Push technique, clean base metal, and correct wire stickout matter more than simply turning up voltage.
- ✓A spool gun remains the better choice for long cables, high production, large wire, or repeated aluminum work.
How to MIG Weld Aluminum Without a Spool Gun?
Aluminum can be MIG welded with a standard push-style gun but it is less forgiving than steel The wire must travel from the drive rolls through the liner.
A conventional gun is most practical for short welds small projects repairs and occasional use It becomes progressively less convenient as the gun cable gets longer the wire.
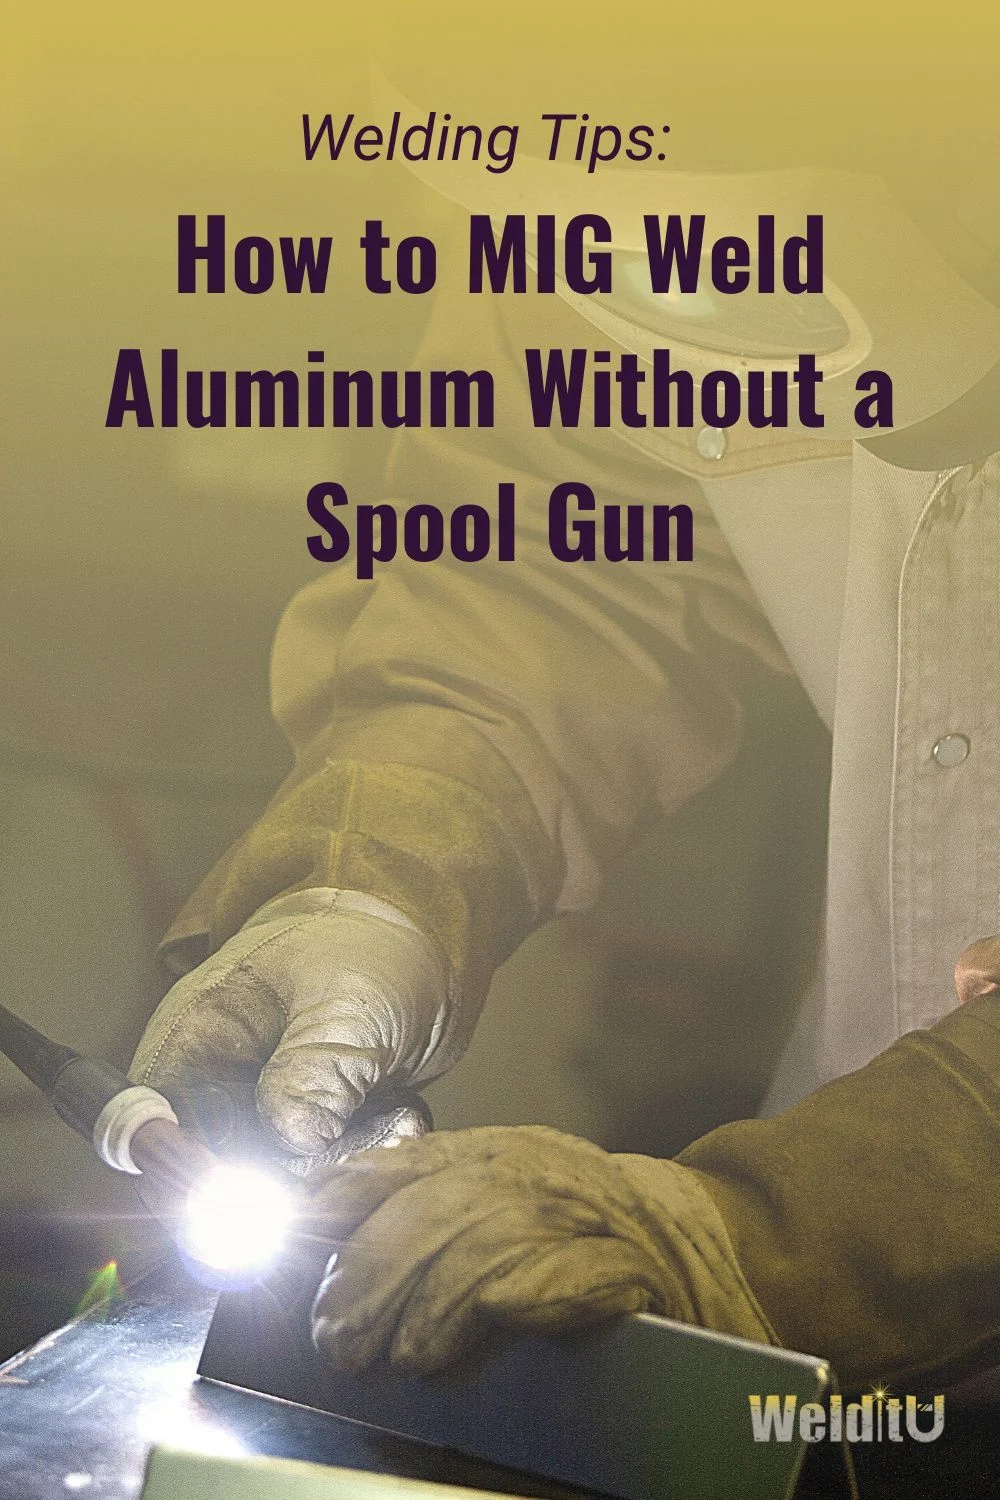
- Feeder capability: Confirm that the welder accepts the aluminum wire size and can run a smooth, controllable feed rate.
- Cable length: A short gun lead with gentle bends creates less resistance than a long, tightly coiled lead.
- Project scale: Thin brackets and short seams are better candidates than heavy structural fabrication or continuous production work.
- Operator control: You must keep the gun cable reasonably straight while welding to reduce feeding friction.
Why aluminum wire is harder to feed
Steel wire is relatively stiff and tolerates more pressure from the drive rolls Aluminum wire is softer and more easily deformed If the drive-roll tension is high the.
The contact tip also matters Aluminum expands more with heat than steel so a tip that is too tight can bind the wire as it warms A tip.
When the method is a poor choice
Do not force a conventional gun approach when the job requires long uninterrupted welds, frequent repositioning, heavy aluminum sections, or highly consistent production output. A spool gun places the wire drive close to the work, which greatly reduces the distance the soft wire must travel.
A push-pull gun or dedicated aluminum feeder may be justified when you need longer reach without sacrificing feed reliability. If the wire repeatedly bird-nests after careful setup, the limitation may be the equipment rather than your technique.
Equipment and Consumables You Need
The most important preparation is to make the wire path as forgiving as possible Start with a MIG welder that has adjustable voltage and wire-feed speed accepts shielding.
Use a standard gun that is short enough to manage easily The gun should have a liner intended for aluminum or other soft wire the correct contact tip.
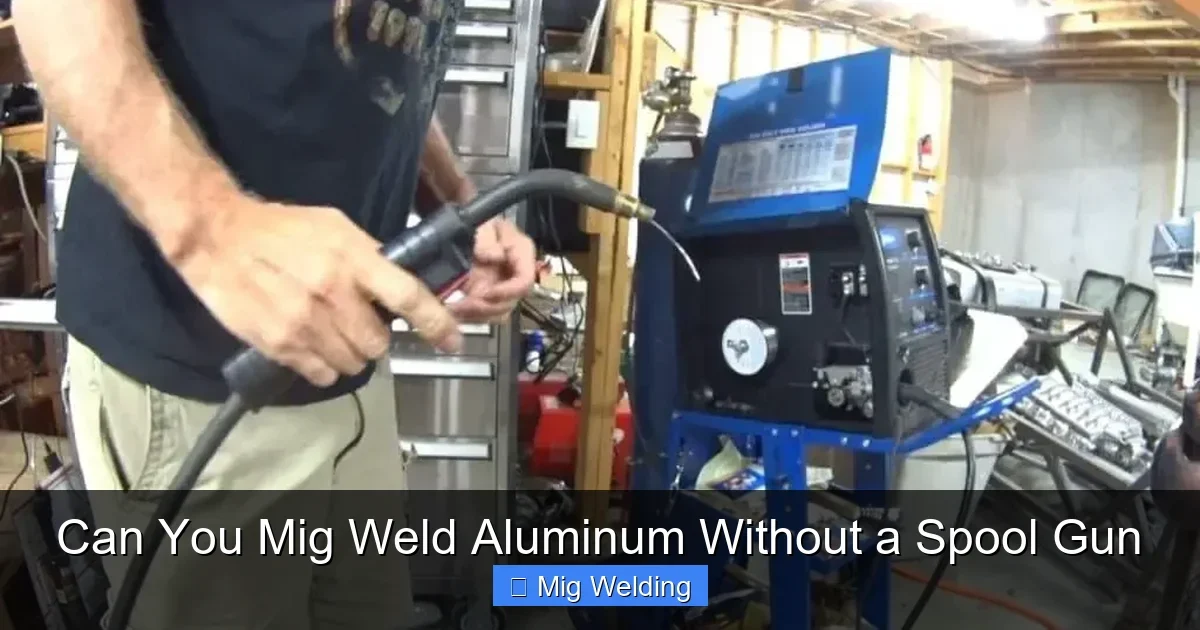
- Shielding gas: Use 100% argon for common aluminum MIG work; an argon-rich mixed gas is not automatically an equivalent substitute.
- Wire choice: ER4043 is commonly selected for general-purpose work and easier fluidity, while ER5356 offers higher strength and better color match in some applications.
- Wire diameter: Larger wire is generally easier to feed than very small wire, but the machine must support its current range.
- Drive rolls: Use U-groove rolls or another aluminum-compatible design rather than aggressively gripping V-groove steel rolls.
Choosing aluminum wire
ER4043 is often a practical starting point for castings, general repairs, and situations where a fluid puddle is helpful. ER5356 is commonly considered when higher tensile strength, greater stiffness, or improved anodized color matching is important. The base alloy and service conditions should guide the final choice.
Wire diameter affects both feeding and welding behavior A larger diameter can be more stable in a conventional gun but it requires enough current and may be unsuitable.
Preparing the gun
Replace a steel liner with a clean polymer liner designed to reduce friction. Keep the liner as short as the gun design allows, and inspect the liner end for burrs or contamination. A damaged liner can create drag even if the rest of the setup is correct.
Install a fresh contact tip with the correct bore. Do not use a tip that has been enlarged by arcing or worn irregularly. Make sure the gun connection is fully seated and that the wire enters the liner without a sharp misalignment at the feeder.
Feeder tension and wire loading
Set drive-roll pressure only high enough to feed the wire A useful check is to release tension at the gun and apply a small amount of resistance to.
Keep the spool brake tight enough to prevent overrunning but loose enough that the feeder does not fight the spool When loading the wire straighten the gun cable.
Machine Setup: Gas, Polarity, and Starting Settings
Aluminum MIG generally uses direct current electrode positive, commonly called DCEP or reverse polarity. This polarity supports the arc behavior and cleaning action needed for aluminum. Always verify the machine’s terminal arrangement because an incorrect connection can produce unstable welding and poor penetration.
This distinction matters when answering “how to mig weld aluminum without a spool gun”.
Set the cylinder upright and secure it connect the regulator and flowmeter and check all hose connections for leaks A clean gas lens or nozzle is helpful but.
- Gas coverage: Use pure argon and set flow according to the nozzle, joint, and workspace rather than copying an arbitrary high number.
- Polarity: Confirm the gun is connected to positive and the work lead to negative for the intended aluminum MIG process.
- Feed direction: Use the machine’s recommended wire-feed mode and make sure the spool unwinds without jerking.
- Test material: Begin on clean scrap of the same alloy and thickness as the actual workpiece.
Starting ranges rather than fixed recipes
Voltage and wire-feed speed depend on wire diameter material thickness joint design transfer mode and machine characteristics A published chart for your specific welder is a better starting.
For thin aluminum, excessive heat can quickly enlarge the hole or collapse the edge. For thicker material, too little heat can leave a cold-looking bead with inadequate fusion. Listen for a consistent arc, watch the puddle, and judge the completed bead rather than relying on sound alone.
Arc length and stickout
Keep electrode stickout consistent and avoid allowing the wire to extend excessively from the contact tip. Long stickout changes resistance heating and can make the arc less predictable. A moderate, steady stickout gives the welder’s settings a better chance of working as intended.
Aluminum transfers heat quickly but its oxide layer melts at a much higher temperature than the base metal That difference is why surface preparation and arc behavior are.
Cleaning and Joint Preparation
Aluminum carries an oxide film that interferes with wetting and can trap contamination in the weld Remove oil and grease first with a suitable solvent and clean lint-free.
Clean only the area needed for welding and avoid touching it with bare oily hands afterward Fit-up should be close and consistent because excessive gaps increase the heat.
- Degrease first: Brushing over oil spreads contamination rather than removing it.
- Use a dedicated brush: Steel particles can contaminate the aluminum surface and weld.
- Control the gap: Tight, even fit-up reduces heat demand and improves puddle control.
- Remove sharp oxide: Brush immediately before welding, especially after handling or storage.
Joint design and backing
A lap or fillet joint may be easier to control than a wide butt-joint gap when you are learning Backing material can support a thin edge but it.
For thicker sections, beveling and multiple passes may be necessary, but a conventional gun without a spool gun is rarely the efficient choice for heavy aluminum preparation. The joint must be accessible enough to maintain a consistent travel angle and keep the cable from sharply bending.
Welding Technique for a Conventional Gun
The most reliable approach is usually a slight push angle rather than dragging the gun Pushing helps keep the shielding gas ahead of the puddle and lets you.
Start with short practice welds then examine the bead and the opposite side when possible Aluminum often remains bright and fluid longer than beginners expect so pausing in.
- Keep the cable straight: Reduce loops and tight bends while welding to protect feed consistency.
- Push gently: Maintain visibility of the leading puddle without turning the gun sharply.
- Watch the edges: The puddle should wet both sides of the joint instead of simply piling filler on top.
- Use short tests: Tune settings on scrap before committing to the finished component.
Travel speed and puddle control
Move quickly enough to avoid excessive heat accumulation but not so quickly that the puddle fails to wet the joint A consistent bead width is a more useful.
For a fillet, aim the arc so both members receive heat. If the bead sits mostly on one side, adjust the work angle and travel path rather than immediately increasing voltage. For a butt joint, keep the arc near the leading edge and avoid outrunning the molten metal.
Starting and stopping
At the start of a weld, establish the arc on clean material and move into the joint smoothly. Craters at the end can become crack-sensitive or leave an underfilled area, so fill the crater by briefly reducing travel speed or using the machine’s crater-control feature if available.
When welding thin sheet, a series of short stitch welds may control distortion better than one continuous pass. Allow enough cooling between stitches to prevent the base metal from accumulating heat. Do not use intermittent welding as a substitute for the penetration required by the joint’s purpose.
Keep these limitations in mind when considering “how to mig weld aluminum without a spool gun”.
Common Problems and Fast Troubleshooting
Most failed aluminum MIG attempts can be traced to one of four areas: wire feeding, shielding, surface contamination, or heat control. Diagnose the symptom before changing multiple settings. Adjusting voltage, wire speed, gas flow, and travel speed all at once makes it difficult to identify the cause.
The table below provides a practical starting diagnosis, but machine behavior varies. Make changes in small increments and retest on comparable scrap.
- Over-tight drive rolls: They deform soft wire and create feeding failures that look like a liner problem.
- Dragging the gun: This can reduce gas coverage and hide the leading edge of the puddle.
- Welding dirty material: Oil and oxide contamination contribute to porosity and poor wetting.
- Using steel settings: Aluminum requires different wire, gas, polarity, and heat management.
| Symptom | Likely causes | First corrective checks |
|---|---|---|
| Wire bird-nests at feeder | Excessive roll pressure, liner drag, sharp cable bend, blocked tip | Reduce pressure, straighten cable, inspect liner and replace the tip |
| Porosity or pinholes | Gas leak, insufficient coverage, dirty metal, drafts | Check hose and nozzle, clean the joint, block airflow, verify gas flow |
| Bead sits on top | Low heat, fast travel, poor angle, oxide contamination | Clean again, slow slightly, adjust settings, inspect joint wetting |
| Burn-through | Too much heat, slow travel, excessive gap, thin edge | Reduce heat input, increase travel speed, improve fit-up, use backing |
| Erratic arc | Wrong tip, unstable feed, poor ground, contaminated wire | Install correct tip, clean connection, check feeder and wire path |
Diagnosing bird-nesting
Stop immediately when the wire piles up near the drive rolls. Continuing to pull the trigger can make the nest larger and damage the wire path. Cut the wire near the feeder, remove the tangled section, inspect the liner entrance, and reload with the gun cable straight.
If the problem returns, check whether the wire spool is feeding freely and whether the liner is too long, dirty, kinked, or worn. Also check that the contact tip is not binding as it heats. Increasing drive-roll pressure is usually not the first solution.
Diagnosing porosity
Porosity often appears as small holes or a porous fracture in the bead Look for wind near the work a cracked gas hose a loose regulator connection a.
Contamination can produce similar symptoms. Degrease and brush the base metal again, use clean wire, and avoid welding over marker residue, paint, adhesive, or moisture. If the surface continues to release contamination when heated, stop and identify the source rather than burying it under another pass.
Safety and Quality Control
Aluminum welding produces intense ultraviolet light, hot metal, fumes from contaminants, and fire hazards. Wear a properly rated welding helmet, flame-resistant clothing, welding gloves, and appropriate footwear. Remove combustible materials from the work area and protect nearby people from arc flash.
Use ventilation appropriate to the work but do not position a fan so it blows shielding gas away from the puddle Secure the gas cylinder and inspect hoses.
- Protect your eyes and skin: Aluminum’s bright arc can cause serious exposure injuries without proper protection.
- Control fire risk: Hot aluminum and sparks can ignite materials outside your immediate view.
- Manage gas safely: Keep cylinders upright, secured, and away from heat or impact.
- Inspect the weld: Do not rely on appearance alone when the joint carries a meaningful load.
Checking the finished weld
Look for consistent width smooth tie-in at both sides reasonable reinforcement and an absence of visible holes or cracks A shiny surface alone is not proof of sound.
Practice coupons can reveal whether the problem is technique or equipment. Cut or bend test pieces only when that test is appropriate for the material and joint, and never treat a casual test as certification for a critical repair.
When a Spool Gun Is Still the Better Choice
A spool gun is not merely a convenience accessory. It solves the central problem of pushing soft aluminum wire through a long conventional gun cable by placing the small drive mechanism near the weld. That arrangement generally improves feeding reliability and makes the cable less sensitive to bends.
Use a spool gun when aluminum welding is frequent the welds are long the work is spread across a large area or the wire repeatedly jams despite correct setup The additional cost and bulk can.
- Choose a conventional gun: Occasional repairs, short seams, small wire runs, and projects where the gun can stay nearly straight.
- Choose a spool gun: Repeated aluminum work, longer reach, difficult positioning, or persistent bird-nesting.
- Choose push-pull equipment: Longer cable reach with controlled feeding for more demanding or professional work.
- Stop and reassess: If the machine lacks appropriate current control, gas capability, or compatible consumables.
Cost versus reliability
Using a standard gun can avoid buying another accessory, but it may require a polymer liner, aluminum drive rolls, fresh tips, and extra setup time. A spool gun may reduce troubleshooting and make production more predictable, even if its initial price is higher.
The best choice depends on the project rather than on whether one method is universally superior. A hobbyist making two short welds may reasonably optimize the existing gun, while someone repairing aluminum every week may save time with a dedicated feeder.
Frequently Asked Questions
Can any MIG welder weld aluminum without a spool gun?
No. The welder must support gas-shielded MIG, the appropriate polarity, suitable wire-feed control, and compatible aluminum consumables. A basic machine may technically arc but still feed aluminum too poorly for dependable results.
What gas should I use when welding aluminum with a standard MIG gun?
Pure argon is the usual choice for aluminum MIG. Check the regulator, hose, nozzle, and workspace for leaks or drafts, because inadequate shielding can cause porosity even when the machine settings appear correct.
Can I use the steel liner that came with my MIG gun?
It is better to replace it with a low-friction liner intended for soft aluminum wire. A steel liner can create enough drag to cause buckling, especially when the cable is bent or the wire diameter is small.
Should I push or pull the gun on aluminum?
A slight push technique is generally preferred because it helps you see the leading puddle and keeps shielding gas ahead of the weld. Avoid an extreme angle, and maintain consistent travel speed and stickout.
Why does my aluminum wire keep bird-nesting?
Common causes include excessive drive-roll pressure, a dirty or kinked liner, a worn contact tip, a tight cable bend, or too much resistance at the spool. Reduce roll pressure, straighten the gun, inspect the wire path, and reload carefully.
Is ER4043 or ER5356 better for aluminum MIG?
Neither is always better. ER4043 is often useful for general work and fluid puddle behavior, while ER5356 may be selected for strength, stiffness, or color-related considerations. Match the filler to the base alloy and service requirements.
Can I weld thin aluminum with a conventional MIG gun?
Yes, but thin aluminum is sensitive to heat and fit-up. Use clean, closely fitted material, short practice welds, controlled travel, and the smallest suitable wire and heat range that feeds reliably.
When should I stop trying and buy a spool gun?
Consider a spool gun when feeding remains unreliable after the liner, tip, rolls, tension, cable routing, and wire have been checked. It is also the practical choice for long welds, frequent aluminum work, and applications where consistency matters more than avoiding an accessory purchase.
Conclusion
Learning how to mig weld aluminum without a spool gun is realistic when the machine wire path shielding gas and joint preparation are all suited to the job.
The major limitation is feed reliability: a conventional gun is best for short, occasional work, not every aluminum welding application. If the project is safety-critical or the wire continues to jam after careful setup, use a spool gun or specialized feeder and have the finished weld inspected appropriately.
Install an aluminum liner and correct contact tip, load fresh wire with minimal roll pressure, then make a short test weld on clean matching scrap before welding the project.