How to Prevent Burn Through When MIG Welding: Detailed Guide
Prevent burn-through by reducing heat input, using the correct wire speed and voltage, tightening the joint fit-up, and moving steadily without dwelling.
You are welding a thin automotive panel, appliance bracket, or sheet-metal repair when the puddle suddenly drops through the joint. A rushed adjustment—turning the voltage down without correcting wire speed, or slowing down to “fill” the hole—can make the opening larger and leave a distorted, overheated panel.
Knowing how to prevent burn through when MIG welding starts with controlling the relationship between amperage voltage travel speed material thickness and joint design Thin steel can tolerate.
This guide explains how burn-through happens how to select a stable starting setup and how to use tack welds short stitch welds pulse-like spacing backing support and correct.
- ✓Lower total heat input, not just voltage, by balancing wire speed, voltage, travel speed, and weld timing.
- ✓Close gaps and support thin material before welding; poor fit-up often forces the arc to bridge too much space.
- ✓Use short tacks or stitch welds with cooling time instead of one continuous bead on thin sheet metal.
- ✓Test settings on scrap of the same thickness and inspect the backside for early signs of overheating.
How to Prevent Burn Through When MIG Welding
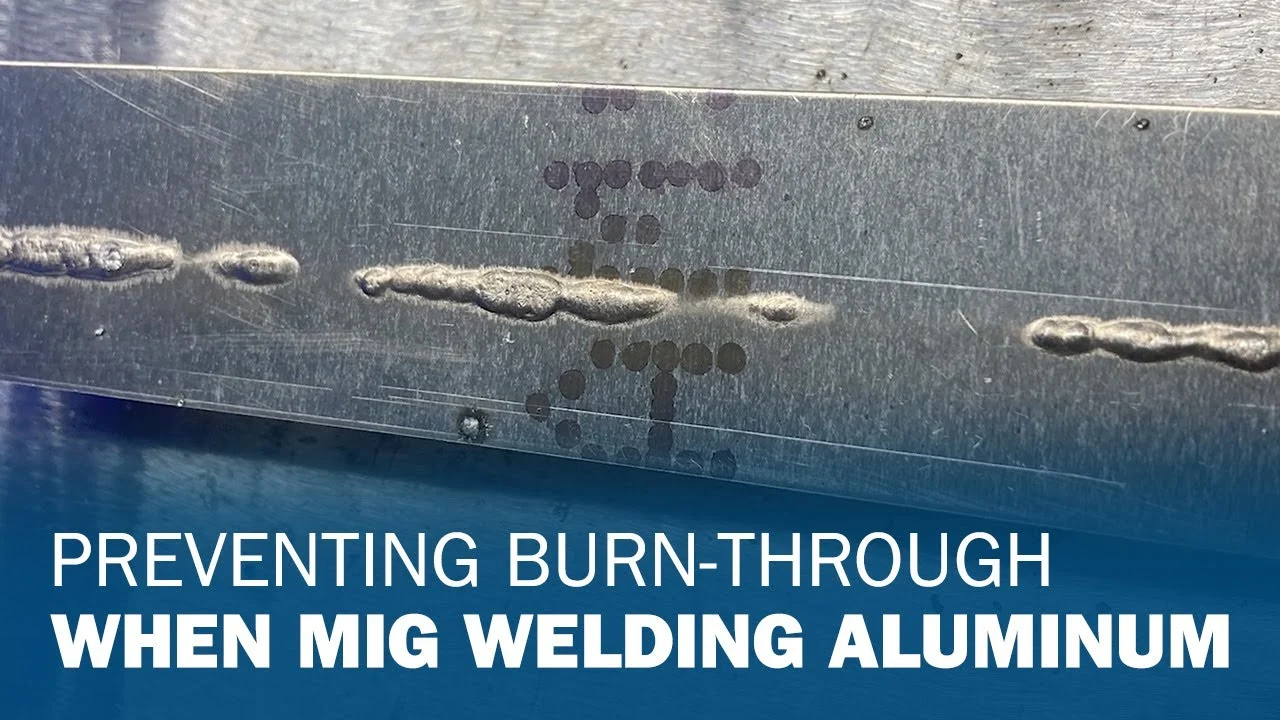
Burn-through occurs when the arc and molten weld pool melt the base metal completely leaving a hole a sagging opening or a bead that has fallen through the.
The arc does not respond to one control in isolation Wire feed speed generally controls the amount of filler metal and strongly affects amperage while voltage influences arc.
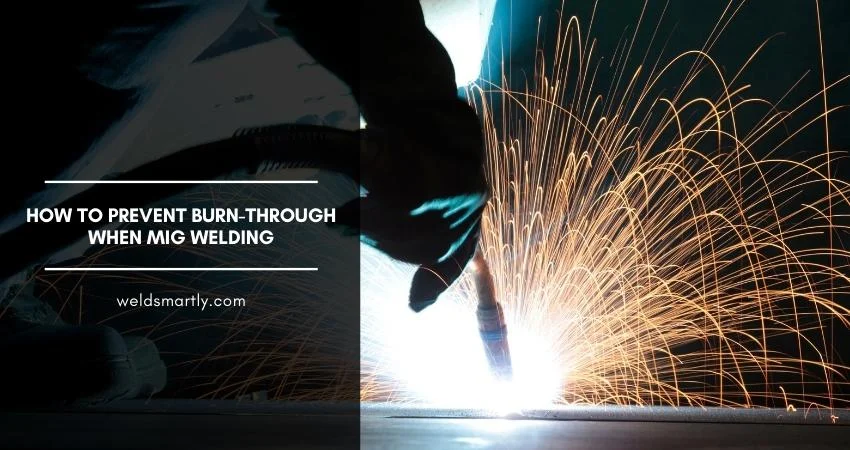
- Heat is cumulative: Several nearby tacks can raise the panel temperature until the next weld burns through even when the machine settings have not changed.
- Edges fail first: An edge has less surrounding metal to absorb heat, so it needs shorter welds and faster movement than a flat area.
- Gaps magnify the problem: The arc can span a gap, but the unsupported edges melt away before a stable bridge forms.
- More filler is not always better: Increasing wire speed to fill a hole can add heat faster than it adds useful support.
Heat input versus arc control
When a weld burns through many welders immediately lower voltage That may help if the arc is excessively long but an overly low voltage combined with high wire.
Travel speed is often the quickest adjustment. Moving slightly faster reduces the time spent over one point, but moving so fast that the puddle barely wets both edges produces lack of fusion. Watch the leading edge of the puddle rather than simply rushing the gun.
Why material thickness changes everything
Thicker steel draws heat away from the puddle and provides a larger thermal mass Thin sheet heats rapidly expands easily and may warp before it visibly fails A.
Rust, mill scale, paint, oil, and galvanized coatings also change arc behavior. Contamination can cause popping and an erratic puddle, encouraging the operator to linger while trying to establish fusion. Clean metal gives you a more predictable window between adequate fusion and burn-through.
Set Up the MIG Welder for Thin Metal
Start with the machine s recommended range for the wire diameter and metal thickness then confirm it on a piece of clean scrap A thin-gauge repair usually benefits.
Use the smallest practical wire that provides a stable arc and manageable deposition Smaller wire generally permits finer control and lower output while larger wire deposits more metal.
- Wire choice: A smaller solid MIG wire can make thin-sheet work easier to control than a larger diameter wire.
- Gas coverage: Set appropriate flow and protect the weld from drafts; excessive flow can create turbulence and porosity.
- Stickout: Keep a consistent, moderate contact-tip-to-work distance rather than letting the wire extend too far.
- Scrap test: Use the same thickness, joint type, and position as the repair whenever possible.
Balance wire speed and voltage
Wire speed and voltage must work together If wire speed is too high for the selected voltage the wire may push into the puddle causing stubbing spatter and.
Make one adjustment at a time Begin at a conservative setting make a short tack or bead and examine the front and back If the wire stubs increase.
Use inductance, burnback, and machine presets carefully
Many modern MIG welders include inductance, arc-control, burnback, or thin-material presets. These controls can improve starts and reduce spatter, but they do not replace sound fit-up and heat management. A preset is a starting point, not proof that the machine is correctly adjusted for your specific joint.
Long arc starts excessive burnback or a wire that sticks to the contact tip can make the operator hesitate at the beginning of a weld Check the liner.
Choose shielding gas and polarity correctly
For solid steel MIG welding, a common mixed shielding gas provides a softer, more controllable arc than carbon dioxide alone, but the correct gas depends on the process and consumable. Gas selection can affect penetration, spatter, arc feel, and the amount of heat transferred into thin material.
Verify that the work lead and gun polarity match the wire. Incorrect polarity can produce poor penetration, excessive spatter, and a weld pool that is difficult to control. Never compensate for an incorrect setup by simply reducing the machine output.
Prepare the Joint Before Striking the Arc
Good preparation prevents many burn-through problems before they reach the welder Bring the panels into close even contact remove coatings from the weld zone and use clamps or.
For patch panels trim the replacement piece so the gap is narrow and consistent A butt joint with a small uniform gap is usually easier to control than an irregular opening.
- Close the gap: Minimize unsupported space without forcing the panels into severe distortion.
- Match the thickness: Direct the arc toward the heavier section when joining dissimilar gauges, while still wetting the thin edge.
- Remove coatings: Grind away paint, rust, oil, and plating around the weld area using appropriate protection.
- Control movement: Clamp or tack the assembly so thermal expansion does not pull the joint open.
Use backing to support the puddle
A temporary copper aluminum or purpose-made backing bar can support molten metal behind a thin joint Copper is useful because the weld does not readily fuse to it.
Backing is not a substitute for correct settings. It can reduce the consequences of a brief excess of heat, but the front surface may still warp, undercut, or lose strength. Remove temporary backing when appropriate and inspect the reverse side for incomplete fusion or trapped contamination.
Plan the tack-weld pattern
Place short tacks at separated locations instead of welding one side continuously Start by securing the ends or key alignment points then add intermediate tacks so the joint.
Alternate sides and locations when the part permits it. This spreads heat and reduces the chance that one edge accumulates enough energy to collapse. On a cosmetic panel, a dense series of small, cool tacks may produce a straighter result than a single fast bead.
Use a Welding Technique That Limits Heat
Thin sheet is usually safer with short weld segments than with a continuous bead Set the gun so the arc begins on sound metal establish a small puddle.
Maintain a consistent gun angle and keep the arc directed where fusion is needed A slight work angle toward the thicker piece can protect a thin edge but.
- Short segments: Weld a small section, stop, and let heat disperse before returning to the joint.
- Steady movement: Follow the leading edge of a small puddle instead of pausing over a hole or edge.
- Alternating sequence: Move to a cool area of the joint to reduce accumulated heat and panel distortion.
- Controlled starts: Begin on existing metal or a tack rather than starting directly over a fragile edge.
Stitch welding and skip welding
Stitch welding uses short connected or nearly connected segments while skip welding places segments in separated locations before returning to fill the spaces Both techniques reduce the time.
For a long thin seam place tacks along the full length first Add short welds between widely spaced tacks then work back into the remaining gaps If a. This distinction matters when answering “how to prevent burn through when mig welding”.
Why weaving often causes burn-through
Wide weaving increases the time the arc spends near each edge and keeps more metal liquid On thin material a narrow stringer or short straight movement is typically.
Do not use a circular “whip” motion to compensate for excessive heat. A quick whip can leave intermittent fusion and a concave bead, while lingering at the sides can melt the edges. Let the machine setting and travel speed create the necessary bead width.
Manage starts, stops, and crater filling
Every start and stop creates a localized heat peak Start on a tack or slightly ahead of the previous segment move into the joint and release the trigger.
Overlap each segment enough to avoid pinholes, but do not repeatedly reheat the same small spot. If a crater cracks or leaves a depression, clean it and make a brief controlled repair rather than holding the arc over it until the surrounding sheet disappears.
Diagnose Burn-Through Before Changing Settings
The appearance of the failure provides clues A clean round hole usually indicates too much concentrated heat an excessive gap or a very slow pause A ragged edge.
Inspect both sides of the joint The front may look acceptable while the backside shows excessive sag a wide heat-affected area or a thin gray-black surface Compare a.
- Hole forms immediately: Reduce heat concentration, close the gap, shorten the trigger time, or start on a tack.
- Edges curl away: Heat is accumulating or the joint is under-supported; use shorter segments and improve clamping.
- Wire stubs: The arc is not balanced; check wire speed, voltage, contact tip, and grounding.
- Porous bead: Check gas flow, drafts, nozzle blockage, leaks, and surface contamination before changing power.
When to reduce wire speed
If the puddle is too large, the wire continuously drives into the work, or the bead deposits more metal than the joint needs, reduce wire speed in a small increment. Because wire speed affects amperage on many machines, this can lower heat as well as deposition.
After adjusting, check whether the arc still fuses both edges. A cooler setting that merely lays wire on top is not a successful solution. Thin material needs adequate fusion, but the fusion zone should remain narrow and controlled.
When to increase travel speed
Increase travel speed when the arc and puddle are stable but the weld is becoming excessively wide or the panel is heating rapidly Keep the gun close to.
When the real problem is fit-up
If burn-through occurs only where the gap opens changing the machine may mask rather than solve the issue Re-clamp reshape or replace the patch so the joint stays.
Repair a Hole Without Making It Larger
Do not try to fill a fresh hole by holding the trigger over its center. The surrounding metal is already overheated and weakened, so additional heat often enlarges the opening. First stop, let the area cool, and clean away soot, spatter, and unstable edges.
For a small opening use a series of brief pulses around the perimeter placing metal on the remaining edge and allowing each deposit to solidify Move to opposite.
- Small pinhole: Clean it, use a brief tack, release the trigger, and repeat only after cooling.
- Irregular opening: Trim unstable edges or fit a small patch rather than piling wire into empty space.
- Large damaged area: Replace the affected section when the surrounding metal has become too thin to support reliable fusion.
- Final inspection: Check the backside and grind only enough to blend the repair without thinning it again.
Use a patch for weak or enlarged openings
A patch spreads the repair over sound metal and gives the weld pool a supported perimeter Fit it closely tack it at several points and stitch around it.
If the base sheet has been repeatedly overheated, grinding the bead smooth may reveal a paper-thin edge. In that situation, more welding is unlikely to restore dependable thickness. Cut back to solid material and fit a new piece.
Common Mistakes That Cause Thin-Metal Burn-Through
Most failures come from several small errors occurring together rather than one dramatic mistake. The welder may have an acceptable machine setting but a large gap, a contaminated surface, poor grounding, and a slow stop-start rhythm. Correcting the whole setup is more effective than chasing one control.
Learning how to prevent burn through when MIG welding also means recognizing when a “cooler” weld is not actually better. Excessive reduction can produce weak lap joints, lack of fusion, undercut, and a bead that must be rewelded—adding even more heat to the part.
- Testing on thick scrap: Settings that look good on heavy plate may destroy thin sheet immediately.
- Welding continuously: Long beads accumulate heat and pull panels out of alignment.
- Pausing at the edge: A hesitation concentrates the arc where there is the least metal to absorb it.
- Ignoring the backside: Front-surface appearance alone cannot confirm controlled penetration.
Skipping surface preparation
Welding through paint, oil, rust, or plating can create fumes, spatter, porosity, and an unstable puddle. Remove contaminants from the joint and nearby area using a suitable method, and use respiratory and fire protection appropriate for the coating and work environment.
Using poor electrical contact
A dirty work clamp or a loose connection can make the arc inconsistent. Place the clamp on clean metal close enough to the weld for a reliable circuit. Check cables and connections if the arc changes when the gun moves or if settings seem impossible to stabilize.
Overcorrecting with a very short stickout
Changing stickout dramatically changes the electrical behavior of the wire and can alter effective heat and arc feel. Keep it consistent while troubleshooting. If you change stickout, wire speed, voltage, travel speed, and angle simultaneously, you lose the ability to identify which correction helped.
Safety and Quality Checks for Thin MIG Welding
Thin sheet can ignite nearby materials quickly because it often involves automotive interiors, insulation, coatings, or enclosed cavities. Remove combustible materials where possible, shield the opposite side, and inspect hidden spaces before welding. Ventilation is essential, especially when coatings, galvanized metal, or unknown residues are present.
Wear the correct welding helmet shade, gloves, protective clothing, and footwear. Protect exposed skin from arc radiation and keep a suitable fire extinguisher nearby. Allow hot panels and backing bars to cool before handling them; a panel can remain hot even when the weld no longer glows.
- Coated metal: Remove hazardous coatings from the weld area and avoid breathing their fumes.
- Hidden spaces: Check behind panels for fuel, foam, wiring, insulation, and other heat-sensitive materials.
- Fire watch: Inspect the work area during and after welding for smoldering debris.
- Ventilation: Use suitable local exhaust without directing a draft into the shielding gas.
Quality checks before finishing
After the joint cools, inspect for pinholes, undercut, incomplete fusion, excessive distortion, and cracks at the starts and stops. A light tap or appropriate non-destructive inspection may reveal loose scale or a poorly bonded patch, but do not rely on appearance alone where the weld is safety-critical.
Clean spatter from the nozzle and check gas coverage before the next weld. A partially blocked nozzle can narrow or disrupt shielding, causing defects that look like setting problems. Replace worn contact tips and maintain the liner and drive rolls according to the equipment instructions.
FAQ: Preventing Burn-Through in MIG Welding
What is the first adjustment when MIG welding burns through thin metal?
First stop and identify whether the problem is excessive heat, a gap, or an unstable arc. Then reduce heat input slightly or increase travel speed while keeping enough energy for fusion, and test the change on matching scrap.
Should I lower voltage or wire speed to stop burn-through?
Either may help, but they affect the arc differently. Make a small, single adjustment and observe the arc; excessive wire speed with low voltage can cause stubbing, while excessive voltage can create a broad, hot arc.
Can faster travel prevent burn-through?
Yes, if the existing weld is sound but too much heat is accumulating in one location. Do not move so fast that the puddle fails to wet both sides of the joint, because lack of fusion is not an acceptable trade-off.
Is pulse welding necessary for thin sheet metal?
No. Pulse-capable equipment can make heat control easier in some applications, but short tacks, correct settings, close fit-up, and cooling intervals can prevent burn-through with conventional MIG equipment.
Why does my MIG welder burn through only at the edges?
Edges have less surrounding metal to absorb heat and may be thinner or sharper than the center of the panel. Reduce dwell time, begin on sound material or a tack, direct the arc slightly toward the heavier section, and use shorter segments.
Does backing metal always prevent burn-through?
No. Backing supports the puddle and can draw away heat, but it cannot correct excessive output, a large gap, contamination, or prolonged trigger time. It must fit closely and be suitable for the repair.
Can I weld over a hole to fill it?
Do not hold a continuous arc over the hole. Let the area cool, clean it, and use brief perimeter tacks with cooling time, or install a closely fitted patch if the opening is too large or the surrounding metal is weak.
Conclusion
Reliable thin-sheet welding comes from controlling total heat rather than relying on one machine knob Use clean closely fitted material test settings on matching scrap select a manageable.
If you are still troubleshooting how to prevent burn through when MIG welding change one variable at a time and treat fit-up travel speed and weld timing as.
Clean and tightly fit a scrap joint of the same thickness, make short test tacks, and adjust only one setting before welding the actual repair.