How to TIG weld without a foot pedal: Safe, Clean Welds Often
A foot pedal gives a TIG welder a convenient way to change amperage while working, but it is not the only way to control heat. You can make sound TIG welds without one by setting a suitable maximum amperage, using a torch switch or panel control, and managing the puddle with travel speed and arc length.
The main challenge is that your heat control becomes less immediate. A pedal lets you react instantly to a joint that is heating up; without it, you must plan the start and finish, choose the correct machine mode, and avoid lingering in one place. This approach is especially practical for short repairs, thin material, and machines designed for torch-switch operation.
This guide explains how to tig weld without a foot pedal from setup through inspection. You will learn which controls can replace a pedal, how to select a conservative starting amperage, how to start and stop the arc, and how to tell whether the finished bead shows good fusion without excessive heat damage.
At a glance
- A torch switch, panel button, or properly configured 2T/4T mode can replace a foot pedal on compatible machines.
- Set the machine below the material’s maximum heat requirement and control the puddle with travel speed, arc length, and filler timing.
- Inspect the bead, the backside when accessible, and the surrounding heat-affected area before calling the weld complete.
How to tig weld without a foot pedal
Without a foot pedal, the most controllable method is to use a TIG machine with a torch-mounted momentary switch or a latching torch mode. The switch starts and stops the arc, while the welder sets amperage on the front panel or through a compatible hand control. If the machine has neither a torch switch function nor a usable panel start control, read its manual before proceeding; some units require a specific torch, connector, or remote-control setting.
Tools you will need
- TIG welder with a compatible torch-switch, 2T, or 4T function
- TIG torch with the correct collet, collet body, cup, and tungsten electrode
- 100% argon shielding gas, regulator, flowmeter, and a leak-free hose connection
- Suitable filler rod for the base metal, when the joint requires filler
- Clean, dry workpieces and a secure work clamp
- Welding helmet, TIG gloves, flame-resistant clothing, safety glasses, and hearing protection
- Optional: small stainless-steel brush, acetone or an approved degreaser, and clean lint-free wipes
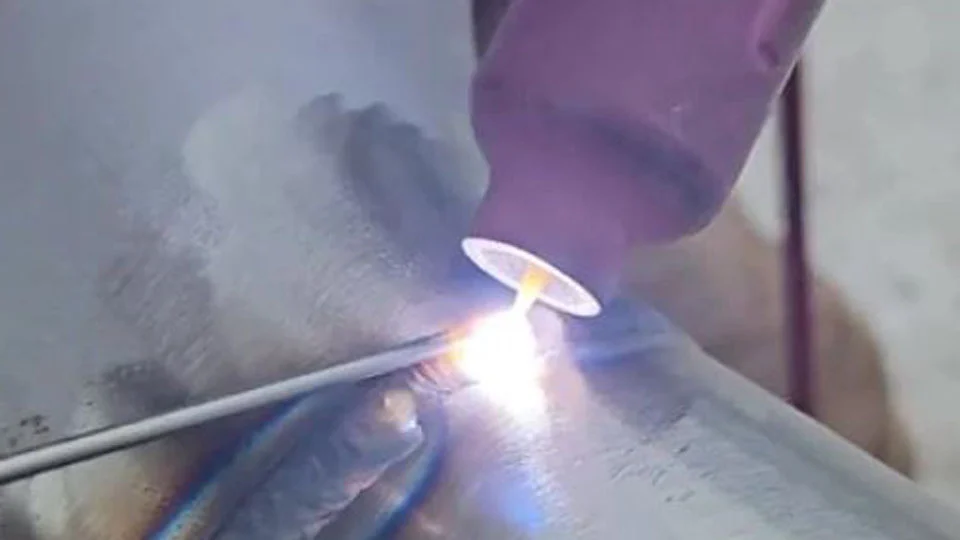
Step 1 Confirm that the welder can operate without a pedal
Find the machine’s controls for amperage, trigger mode, and remote operation. Common labels include 2T, 4T, torch trigger, remote, panel, or contactor. In 2T mode, holding the torch button generally energizes the arc and releasing it stops the arc.
In 4T mode, pressing and releasing the button may latch the arc on, while another press and release ends it.
Some machines let you select panel amperage and use the torch button only as an on/off trigger. Others require a remote amperage control even though the torch has a switch. Make sure the machine is set to panel control if that option exists, and confirm the torch plug and pin arrangement match the welder.
Important
Disconnect power before changing torch connectors, and never bypass a trigger circuit or exposed electrical connection. If the manual does not clearly explain the required torch or control mode, stop and get model-specific help rather than guessing.
Step 2 Prepare and clean the joint
Remove paint, oil, oxidation, mill scale, and dirt from both sides of the joint near the weld area. TIG welding uses a small, concentrated arc, so contamination that might be tolerated by another process can cause porosity, unstable arc behavior, or a dirty tungsten.
Use a dedicated stainless-steel brush on stainless steel and a clean brush reserved for aluminum when possible. Wipe the area with an appropriate solvent and allow it to evaporate completely. Do not weld over solvent residue, and avoid chlorinated cleaners because welding heat can create dangerous fumes.
Fit the pieces tightly enough to maintain the intended joint gap. A large or inconsistent gap demands more filler and more heat, which is harder to manage when the amperage is fixed. Tack the joint if necessary, placing tacks where they will not interfere with torch travel.
Step 3 Install the tungsten and set the torch
Choose a tungsten size and type suitable for the machine and material, then sharpen it for DC welding or prepare a balled or truncated end when the machine and procedure call for AC aluminum welding. Keep the tungsten extension modest, typically only enough to provide access to the joint and maintain shielding from the cup.
Use a cup large enough to cover the puddle and provide stable gas coverage. A gas lens is optional, but it can make shielding more forgiving, particularly when the torch angle or tungsten extension is not perfect. Check that the collet grips the tungsten firmly without crushing it.
Connect the work clamp to clean metal, not to a painted table, rusty fixture, or loose piece of scrap. A poor work connection can look like an incorrect machine setting because the arc may start inconsistently or wander.
Step 4 Set shielding gas and check for leaks
Connect the argon cylinder to the regulator and flowmeter, open the cylinder valve slowly, and set the gas flow according to the torch, cup, and shop conditions. Use the machine or torch gas-test function if available, and listen for leaks around the regulator, fittings, hose, and torch connection.
Too little gas allows air into the weld zone; too much can create turbulence that also draws air into the shielding envelope. The gas should flow smoothly, and the cup should remain close enough to the joint to protect the molten puddle without touching it.
Keep the cylinder upright and secured. Make sure the work area has adequate ventilation, especially when welding coated, galvanized, painted, or unknown material. TIG itself does not make the base metal safe to heat if the surface coating can release harmful fumes.
Step 5 Choose a conservative fixed amperage
Set the maximum amperage on the machine before striking the arc. Without a pedal, start conservatively and increase the setting only after a test weld shows that the puddle will not form at a practical travel speed. The correct setting depends on material type, thickness, joint design, tungsten size, polarity, and whether you are welding in AC or DC.
A fixed setting is easier to manage when it is high enough to create a fluid puddle but not so high that the puddle instantly spreads or burns through. For thin material, a lower setting and faster travel may be appropriate. For thicker material, joint preparation and preheating may matter more than simply turning up the amperage.
Use scrap of the same material and similar thickness for the first test. The goal is not merely to create color on the surface; watch for a small, controlled puddle that wets both sides of the joint. If you cannot form a puddle without stopping or pressing the torch close to the work, correct the setup before welding the actual part.
Helpful tip
When learning how to tig weld without a foot pedal, set the machine for the hottest part of the joint only if the joint can tolerate it. For a short weld, a moderate fixed setting and a deliberate travel speed are usually easier to control than maximum amperage with repeated stops.
Step 6 Select the start and stop sequence
For a momentary torch switch, select 2T when you want the arc on only while the button is held. This is straightforward for short welds, but releasing the button ends the arc immediately, so plan the final filler addition and torch movement before you let go.
Use 4T when you need a longer weld or want to avoid holding the button continuously. The exact sequence varies by machine, but the usual pattern is to press and release to start, weld while the arc remains latched, then press and release again to stop. Read the manual because some machines assign downslope, current levels, or other functions to the trigger sequence.
If the machine offers downslope or a crater-fill setting, use it carefully. A controlled reduction in current can reduce a crater at the end of the bead, but it does not replace proper filler technique. A machine with only panel control may require you to stop the arc and add a small amount of filler before termination.
Step 7 Practice the arc start and puddle control on scrap
Put on the helmet and protective equipment, position the torch comfortably, and hold the tungsten roughly perpendicular to the work before leaning it slightly in the direction of travel. Start the arc using the configured torch switch or start function. With high-frequency start, the tungsten should not touch the work; with lift-arc start, follow the machine’s specified touch-and-lift procedure.
Once the arc is established, create a small puddle and observe its edges. The puddle should become bright and fluid without violently spitting, collapsing through the material, or spreading far beyond the joint. Keep the arc short and consistent; a long arc widens the heat-affected area and weakens gas coverage.
Move the torch smoothly rather than making rapid corrections. If using filler rod, add small amounts at the leading edge of the puddle while keeping the rod inside the argon shield. The torch should remain steady enough that the tungsten does not dip into the puddle.
A useful way to approach how to tig weld without a foot pedal is to check your progress after each stage.
Step 8 Weld the joint with planned torch and filler movement
Position the torch so the cup points in the direction of travel and the arc can see both sides of the joint. Keep the torch angle shallow enough to avoid blowing shielding gas away from the puddle. Begin moving as soon as the puddle reaches the needed size; pausing in one place is the most common cause of burn-through when current cannot be reduced with a pedal.
Feed filler consistently rather than pushing a long length into the puddle. For a tight fit-up, you may need little or no filler, but the joint must still have adequate fusion and reinforcement. If the puddle becomes too wide, increase travel speed slightly or stop and let the part cool rather than trying to rescue a visibly collapsing joint.
For a longer seam, divide the work into manageable sections when the joint design allows it. Staggering weld locations can reduce distortion, but do not create cold joints by starting on contaminated or heavily oxidized ends. Each restart should overlap cleanly with the previous bead after removing any visible crater or contamination.
At the end, add the planned final dab of filler if needed, use downslope if available, and stop the arc with the torch switch. Hold the torch in position for the post-flow period so argon continues protecting the hot tungsten and weld crater. Moving away immediately can discolor the weld and contaminate the electrode.
Step 9 Let the weld cool without disturbing its alignment
Keep the work clamped until the bead has cooled enough to handle safely. Do not quench a hot weld with water unless a qualified procedure specifically allows it; sudden cooling can distort some parts and may create unwanted stresses.
As the weld cools, check for obvious signs of overheating such as melted edges, excessive distortion, a deep crater, or a wide band of heavy discoloration. Color alone does not prove whether a weld is strong, but unusual heat marks can indicate poor shielding, excessive arc length, or too much dwell time.
Step 10 Clean and inspect the finished weld
Remove surface residue only after the part is safe to handle. Use the appropriate brush for the material and wipe away remaining debris. Avoid aggressive grinding that removes the toe of the weld or hides cracks and lack of fusion.
Inspect the bead from end to end. Look for even width, consistent ripples, smooth transitions into both pieces, and a crater that is filled rather than sharply concave. Where the joint is accessible, inspect the backside for a controlled amount of penetration rather than a hole, sagging metal, or an untouched seam.
Do not assume a visually attractive bead is structurally sound. If the part is load-bearing, pressure-containing, safety-critical, or governed by a qualified welding procedure, use the required inspection method and acceptance criteria. Stop and seek qualified help if the joint’s consequence of failure is greater than your ability to verify it.
What replaces a TIG foot pedal?
A foot pedal performs two separate jobs: it can command the arc and it can vary amperage. A torch switch usually replaces the first job, but not necessarily the second. When the amperage remains fixed, heat is controlled indirectly through travel speed, arc length, filler timing, joint fit-up, and planned pauses.
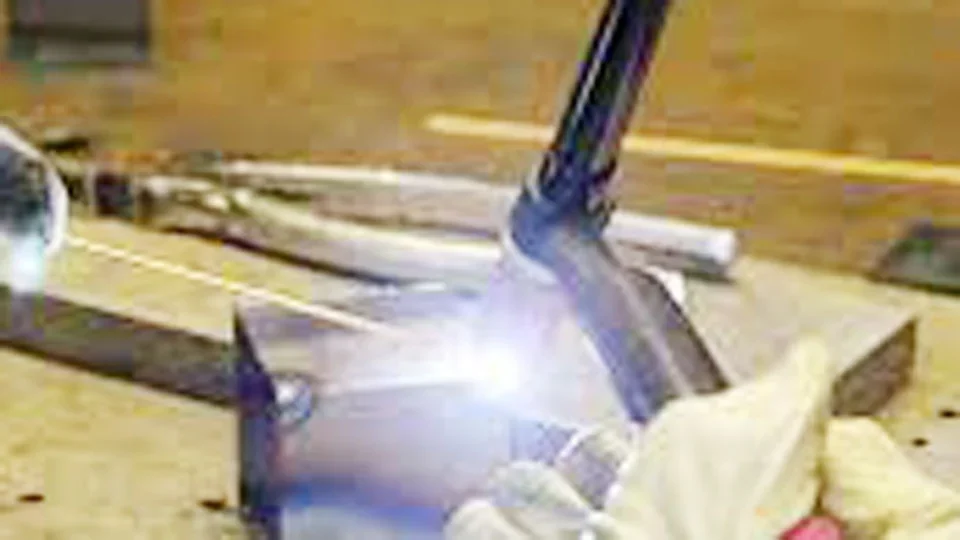
Use a torch switch for simple on-and-off control
A momentary switch is useful for short welds because it lets you start and stop the arc without reaching for the machine. It does not automatically provide fingertip amperage adjustment. If the bead starts overheating, release the switch, let the part cool, and revise the setting or travel plan rather than continuing into a damaged joint.
Use 2T and 4T according to the weld length
2T is often easiest for brief welds and frequent starts. 4T can reduce hand fatigue on a longer seam because the arc can remain latched, but it requires a clear understanding of the machine’s trigger sequence.
Some welders also provide a second current level, upslope, downslope, or crater-fill control through the torch trigger. Those features vary considerably, so treat the owner’s manual as the authority for the specific machine.
Understand the limits of panel-only welding
Panel amperage is workable when the joint is consistent and the material does not change thickness during the weld. It becomes less forgiving on corners, outside edges, lap joints, and thin sections that heat rapidly. In those situations, a compatible fingertip control may be a useful alternative to a foot pedal because it provides current adjustment while keeping both feet available for positioning.
The phrase how to tig weld without a foot pedal does not mean every TIG machine can operate independently of remote controls. Compatibility depends on the power source, torch connector, trigger circuit, and the machine’s selected control mode.
How to check the weld before relying on it
A basic visual check can identify many setup and technique problems, but it cannot certify a critical weld. Inspect the joint in good light after cleaning, and compare the bead with the intended joint dimensions rather than judging it only by color or shine.
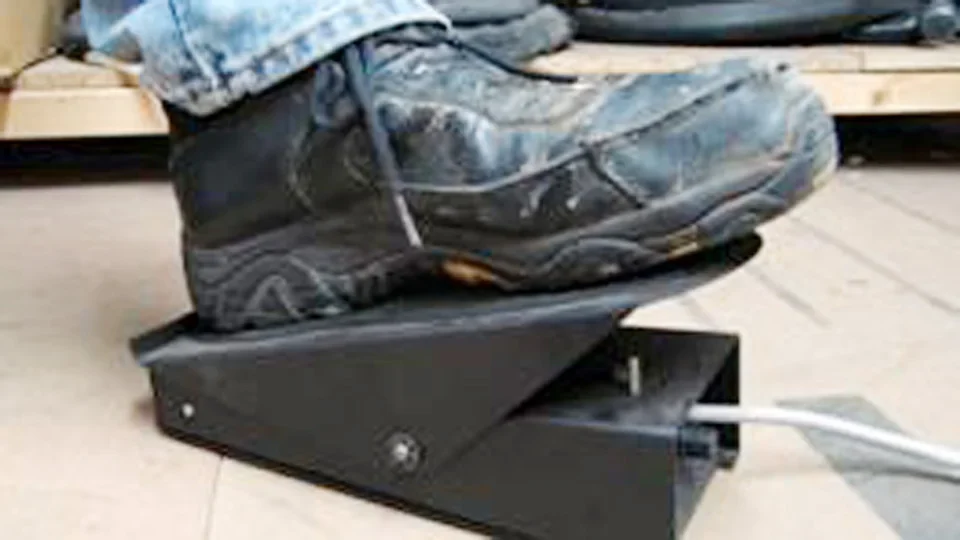
- Fusion: The bead should flow into both sides of the joint without sitting on top like a rounded strip.
- Width: The bead should remain reasonably consistent instead of widening where the torch paused.
- Arc control: There should be no obvious tungsten marks, black soot, or scattered contamination.
- Termination: The final crater should not contain a sharp depression or visible crack.
- Penetration: When the backside is visible, it should show the expected amount of fusion without excessive drop-through.
- Distortion: The part should remain within the alignment required by the job.
For a practice coupon, cut or bend testing can reveal problems that a surface inspection misses, but use an appropriate method and do not treat a casual test as proof for a production or safety-critical joint. If the weld must meet a code, drawing, or qualified procedure, follow that requirement instead of relying on a general visual guide.
Check your result
A useful practice result has a stable arc, a small puddle that wets both sides, a continuous bead, and no visible porosity or burn-through. If one of those conditions is missing, adjust one variable at a time on scrap before returning to the part.
Troubleshoot common problems
Most problems in pedal-free TIG welding come from using too much fixed current, losing shielding, or trying to correct a hot joint after the puddle has already grown too large. Change one setting or movement at a time so you can identify the cause.
| Symptom | Likely cause and correction |
|---|---|
| Burn-through or a collapsing puddle | Amperage is too high, travel is too slow, or the joint gap is too large. Lower the fixed setting, move sooner, improve fit-up, or use shorter weld sections. |
| Bead sits on top with little fusion | Amperage may be too low, travel too fast, or the joint is contaminated. Clean the metal, verify polarity and work clamp, then test a modestly higher setting. |
| Gray, black, or heavily discolored weld | Shielding may be inadequate. Check gas supply, leaks, flow stability, cup coverage, drafts, and post-flow time. |
| Porosity or pinholes | Oil, moisture, surface coating, leaks, or turbulence may be introducing contamination. Clean again and inspect every gas connection. |
| Arc wanders or tungsten contaminates | The tungsten may be dirty, poorly prepared, too far extended, or touching the puddle. Stop, regrind the contaminated end, and shorten the arc. |
| Crater crack at the finish | The arc was stopped too abruptly or the final crater was left unfilled. Add a controlled final dab, use downslope if available, and maintain post-flow. |
When a foot pedal or hand control is the better choice
A pedal is not required for every TIG weld, but variable amperage is valuable when the joint changes thickness, includes a corner, or requires careful heat management. A compatible fingertip control can provide similar adjustment without requiring foot placement, although it may take practice to operate without disturbing the torch.
Consider changing the control method when you repeatedly need to stop because the puddle overheats, when starts and stops create visible defects, or when the part cannot tolerate a fixed heat input. The goal is controlled fusion, not proving that one control method must work for every joint.
TIG welding without a foot pedal FAQs
These answers address common beginner questions about the equipment and technique.
Can I TIG weld without a foot pedal on any welder?
No. The machine must support torch-trigger operation, panel control, or another documented start method. Check the manual for 2T, 4T, torch switch, or panel-control settings before connecting a torch.
Is a torch switch the same as a foot pedal?
No. A torch switch normally starts and stops the arc, while a foot pedal can also vary amperage continuously. Some torch controls provide current adjustment, but a basic momentary switch does not.
What is the easiest mode for a short weld?
2T is often the simplest because the arc runs while the torch button is held. Use 4T when the machine’s latching sequence is familiar or when holding the button for the entire weld is uncomfortable.
How do I control heat without changing amperage?
Use travel speed, arc length, torch angle, filler timing, joint fit-up, and planned weld length. Move faster when the puddle begins to grow, but do not move so quickly that the bead stops fusing into both sides.
Can I use lift-arc TIG without a foot pedal?
Usually, if the welder provides lift-arc operation and the torch is compatible. Follow the manufacturer’s touch-and-lift procedure, because dragging or holding the tungsten on the work can contaminate it and damage the start.
Finish with a controlled, verifiable weld
Learning how to tig weld without a foot pedal is mainly an exercise in planning heat rather than adjusting it continuously. Confirm the machine’s trigger mode, prepare clean metal, set a conservative fixed amperage, maintain short arc length and good argon coverage, and use travel speed to keep the puddle under control.
Practice first on matching scrap and inspect the result from every accessible side. If the joint is safety-critical, pressure-containing, load-bearing, or beyond your ability to test, stop and use the required qualified procedure or get help from an experienced welder. For ordinary practice and suitable repairs, a compatible torch switch and disciplined puddle control can produce a clean, useful TIG weld without a foot pedal.