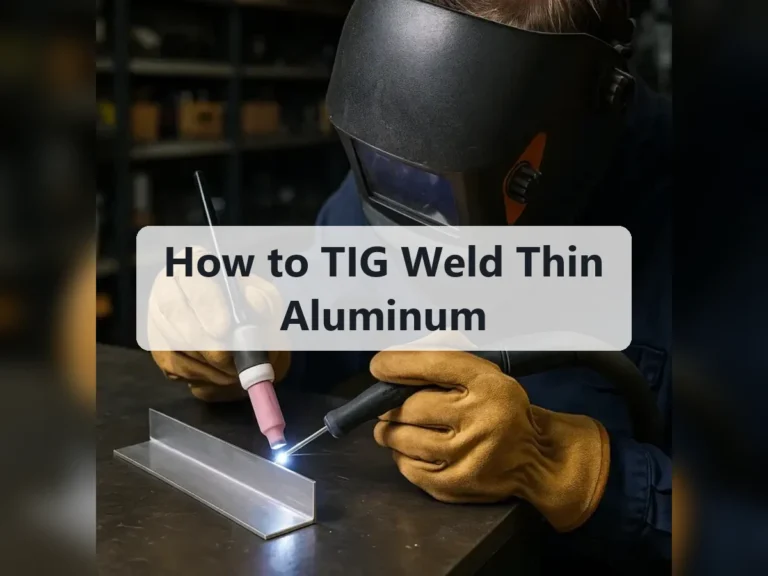
How to TIG Weld Thin Metal: A Safe, Clean Beginner Method Guide
Thin sheet metal can look simple to join, but it gives you very little margin for error. A little too much heat can make a pinhole, enlarge an existing gap, or pull the panel out of shape. Too little shielding or a dirty surface can leave a weld that looks gray, rough, or weak even when the bead seems continuous.
Learning how to tig weld thin metal is mainly an exercise in controlling heat. TIG, or gas tungsten arc welding (GTAW), gives you precise control because the torch creates the arc while you add filler separately, if filler is needed. That separation lets you make small, deliberate welds instead of feeding wire continuously.
This guide covers a practical beginner method for clean steel or stainless sheet, roughly in the thin-gauge range that is commonly used for brackets, panels, tubing, and small repairs. You will learn how to prepare the joint, choose a starting setup, make short welds, recognize trouble early, and inspect the finished joint without assuming that a pretty bead is automatically sound.
At a glance
- Clean metal and a tight, supported fit-up matter as much as machine settings.
- Short welds with pauses control distortion and reduce the chance of burn-through.
- Inspect the back and front of the joint, then test a practice coupon before welding a valuable part.
How to TIG weld thin metal without burning through
The safest beginner approach is to practice on matching scraps before working on the actual part. Use direct-current electrode-negative (DCEN) for mild steel and stainless steel, a sharpened tungsten, pure argon, and a joint with minimal gap. The exact amperage depends on thickness, joint design, machine response, and your hand speed, so treat any setting as a starting point rather than a guarantee.
Tools you will need
- TIG welder with a foot pedal or fingertip amperage control, for adjusting heat while welding
- Correctly sized sharpened tungsten electrode and TIG torch consumables
- High-purity argon cylinder, regulator, flowmeter, hose, and leak-free connections
- Clean, matching metal coupons for practice and a stable welding table
- Stainless-steel brush, acetone or an approved metal cleaner, lint-free rags, and a file
- Matching filler rod, optional when the joint can be fused without filler
- Auto-darkening welding helmet, TIG-rated gloves, flame-resistant clothing, safety glasses, and hearing protection
- Optional: copper or aluminum backing bar to support the joint and absorb excess heat
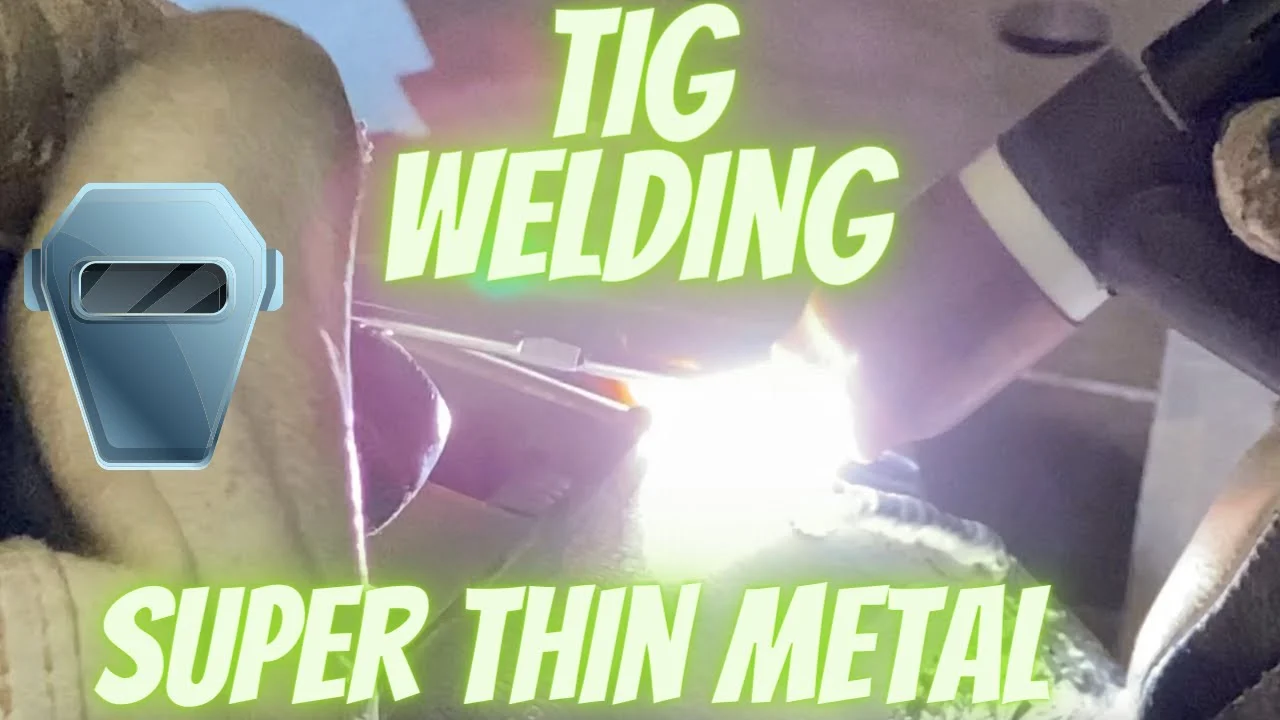
Step 1 Confirm the metal and choose a compatible joint
Identify what you are welding before setting up the machine. Mild steel and stainless steel can normally be TIG welded with DCEN, while aluminum requires alternating current (AC), a different cleaning action, and a different setup. Do not guess if the material is plated, painted, galvanized, or an unknown alloy; coatings can create hazardous fumes and may prevent a reliable weld.
For a first practice weld, use two pieces of the same metal and thickness. A butt joint with the edges touching is useful for learning heat control, while an outside corner joint can be easier to see. Avoid starting with a wide gap: on thin material, the arc can melt both edges before you have time to fill it.
Support the pieces so they cannot move when heated. Thin sheet expands, contracts, and often pulls toward the weld, so a loose joint may open just as the arc reaches it. A tight, consistent fit is one of the clearest signs that the joint is ready.
Step 2 Clean, deburr, and fit the pieces
Remove oil, fingerprints, mill scale, rust, paint, and oxides from the weld area. Wipe the metal with an appropriate cleaner, let it evaporate, and use a dedicated stainless brush when welding stainless. Never use a brush that has previously been used on carbon steel, because embedded iron can contaminate stainless and cause surface rust.
File away sharp burrs and trim the edges so they meet evenly. Clamp or fixture the pieces, then check that the visible seam stays consistent from end to end. For sheet metal, a small backing bar can help support the molten pool, but it must not force the pieces out of alignment.
Keep filler rod clean and handle it with gloves or clean hands. Contaminated filler introduces dirt directly into the weld pool, often showing up as dark specks, bubbling, or an unstable arc.
Step 3 Set up the torch, gas, polarity, and starting amperage
Install the tungsten so only a short, controlled amount extends beyond the cup. A small, properly sharpened tungsten is generally easier to control on thin sheet than an oversized electrode. Grind it lengthwise to a smooth point and keep the tip free from oils.
Set the machine to DCEN for mild steel or stainless steel. Connect the work clamp directly to clean metal, not to a painted fixture or a rusty table. Set argon flow according to the torch and cup manufacturer’s guidance; excessive flow can create turbulence and pull air into the shielding zone, while too little flow allows oxidation.
Choose a starting amperage appropriate for the material thickness and your joint. A foot pedal is especially useful because you can reduce current as the metal heats. If your machine has downslope, use it to taper the current at the end of the weld, but do not depend on that feature to compensate for poor torch control.
Use the smallest practical gas cup and a short arc length that still gives you a clear view. A long arc spreads heat, weakens shielding, and makes the puddle harder to control. Check every hose connection for leaks and make sure the cylinder is secured upright.
Step 4 Practice the arc on scrap before joining the parts
Place matching scrap in the same position and joint style as the real work. Rest your torch hand so the tungsten stays steady, and hold the electrode nearly perpendicular to the surface with a slight travel angle. Keep the tungsten close without touching the metal; touching contaminates the tip and can make the arc wander.
A useful way to approach how to tig weld thin metal is to check your progress after each stage.
Start the arc without scratching the tungsten across the work. Establish a small, bright molten pool, then move a short distance and stop. On thin material, you may be able to fuse the edges without filler, but adding a small amount of matching rod can strengthen an open joint and help control the shape.
Watch the puddle rather than the overall brightness. A manageable puddle stays small and moves with the torch. If the edges suddenly sag, ripple inward, or develop a hole, release the pedal or move off the joint immediately.
The metal is telling you that the heat input is too high for the travel speed.
Helpful tip
Use a series of short practice beads instead of trying to make one long bead. Compare the front and back of each bead, and change only one variable at a time—usually amperage, travel speed, or arc length.
Step 5 Tack the joint while controlling distortion
Once the practice weld is stable, place small tacks at the ends and at intermediate points as needed. Tacks hold the fit-up while you work, but they also add heat, so make them small and allow the panel to cool briefly if it begins to move.
Check alignment after each tack. If the seam opens, stop and correct the fixture rather than trying to bridge the gap with more filler. A larger gap requires more heat and makes burn-through much more likely.
For a long seam, alternate between separated sections instead of welding continuously from one end to the other. This distributes heat and reduces the pull that causes warping. Do not quench hot sheet with water; rapid cooling can distort some parts and may create handling hazards from steam.
Step 6 Make the weld in short, controlled sections
Start at a tack or a well-supported edge and establish the puddle quickly. Move at a steady pace, adding only a small dab of filler when the leading edge of the puddle needs material. The filler rod should enter the front of the puddle, not the tungsten or the outside edge where it can form a cold lump.
Keep the torch moving smoothly and maintain a short arc. If the puddle grows larger as you continue, reduce pedal pressure, increase travel speed slightly, or pause to let the panel cool. Do not linger in one spot while trying to make the bead look wider; on thin metal, width usually comes from excess heat rather than better fusion.
Stop each section before the metal becomes difficult to control. A sound short weld has smooth tie-ins, even color for the material, and no obvious pinholes, craters, or undercut. On stainless steel, heavy gray or black discoloration usually indicates inadequate shielding, excessive heat, contamination, or all three.
Step 7 Fill the crater and finish the section safely
At the end of a weld segment, pause your travel briefly while tapering the current down. If the crater is visible, add a tiny amount of filler before the arc goes out. A sharp crater can shrink into a crack or pinhole, especially where the weld terminates.
Keep the torch over the joint for a short post-flow period so argon continues shielding the hot tungsten and weld area. Do not lift the torch immediately or push the hot metal with a tool. Let the piece cool naturally until it can be handled safely.
Clean the section only after it has cooled. On stainless, remove heat tint as appropriate for the part and process; on mild steel, remove loose residue without grinding away the weld toe. If you need to grind for appearance, preserve enough weld to maintain the joint’s intended strength.
What makes thin-metal TIG welding different
Thin metal loses heat quickly, but it also reaches its melting temperature with very little energy. That combination makes TIG precise but unforgiving: the puddle can go from stable to a hole in a fraction of a second. Heat control comes from several small decisions working together rather than from amperage alone.
Understanding how to tig weld thin metal also means recognizing the limits of the method.
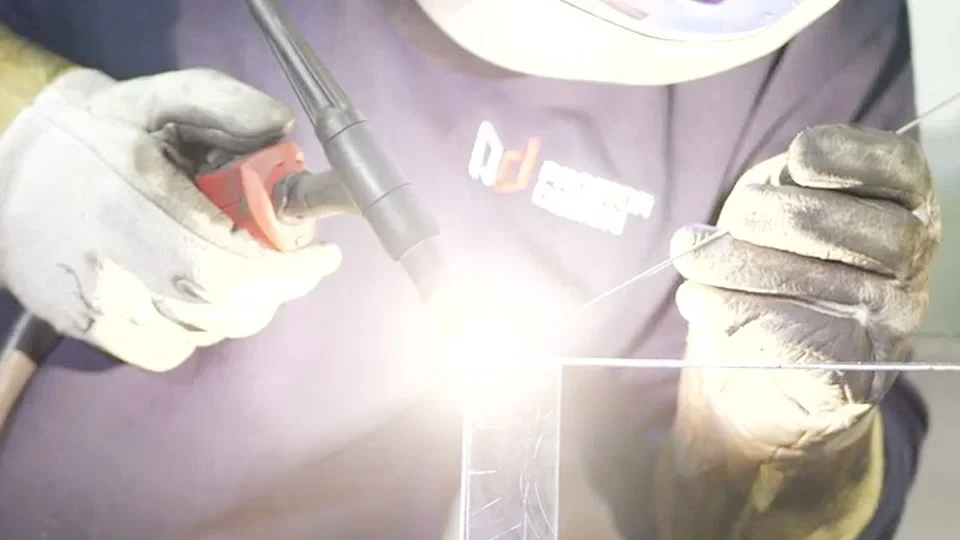
Heat input is more than the amperage number
Higher current creates a larger, hotter puddle, but a slow travel speed can produce the same overheating at a lower setting. A long arc also spreads the arc and can make you compensate by holding the torch in place longer. Keep the arc short, travel consistently, and use pedal control when available.
Joint design changes the result too. A tight butt joint needs less filler and less heat than a wide gap. A corner or lap joint may hold heat differently because more metal surrounds the puddle.
Practice in the same position and configuration as the final weld whenever possible.
When to fuse and when to add filler
Autogenous welding, or fusion welding without filler, can work when clean edges meet closely and the joint does not need added metal. It reduces the amount of heat needed to melt filler, but it also leaves no extra material to compensate for a small gap or edge mismatch.
Use matching filler when the joint requires reinforcement, has a controlled small gap, or begins to lose material at the edges. Filler does not repair poor fit-up. If the puddle will not bridge the joint without a large blob of rod, stop and correct the joint instead.
Material-specific limits
Mild steel is often the most forgiving practice material. Stainless steel conducts heat differently and can discolor or distort readily, so clean preparation and adequate gas coverage are especially important. Aluminum is a separate learning path because it normally requires AC, oxide cleaning, and faster heat management; do not apply the DC steel setup to it.
Important
Do not TIG weld sealed containers, fuel tanks, pressurized components, or unknown coated metal. Remove hazardous coatings only with a safe, appropriate process, provide ventilation, and stop when the material or its history is uncertain.
How to check the finished weld
Inspection begins with the joint, not the bead’s color. Let the work cool, clean away residue, and view it under good light. A beginner can identify many obvious problems without destructive testing, but visual inspection cannot prove the internal strength of a critical part.
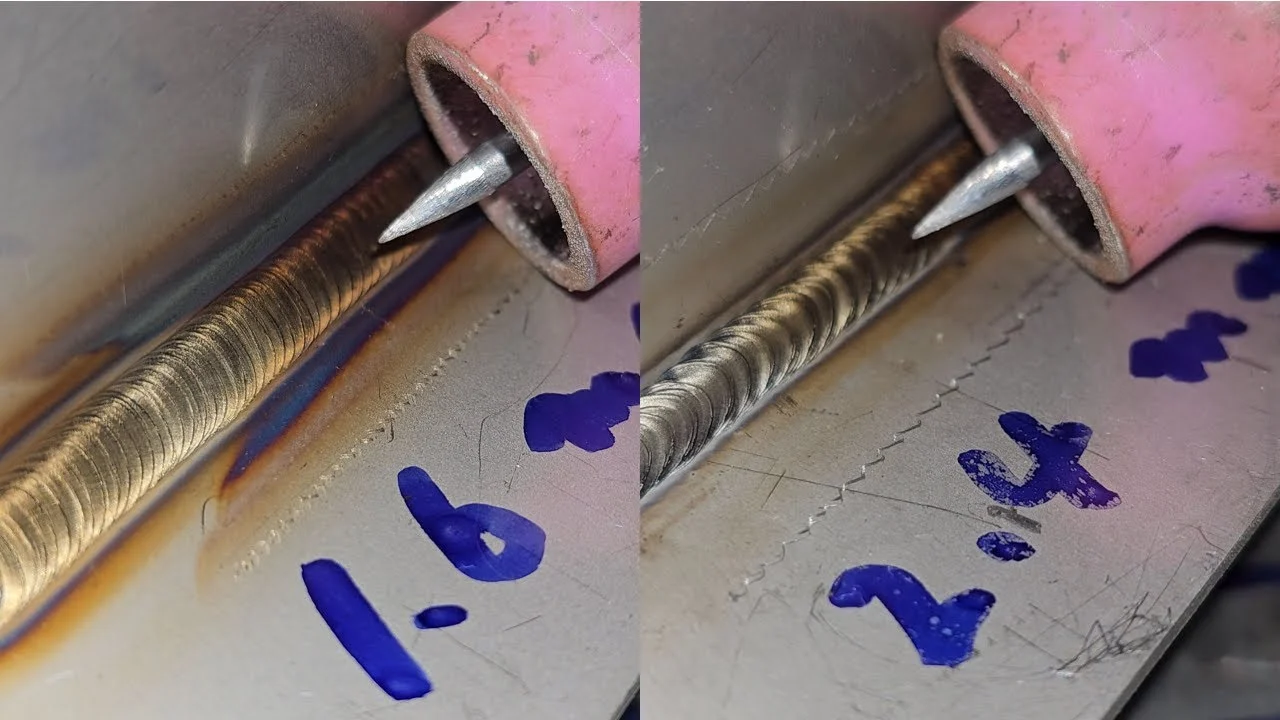
- Front surface: look for a continuous bead or fused seam, smooth tie-ins, and no visible cracks, pinholes, excessive undercut, or trapped black contamination.
- Back surface: check for evidence of controlled penetration where the joint design calls for it. A complete hole, severe sagging, or a wide melted area indicates excessive heat.
- Shape: the weld should be proportionate to the sheet. A very tall, lumpy bead can indicate too much filler or insufficient fusion at the edges.
- Distortion: place the part on a flat reference surface if appropriate and check whether the panel has pulled out of shape.
- Consistency: compare the beginning, middle, and end. Sudden changes often reveal heat buildup, a contaminated tungsten, or inconsistent travel.
For noncritical practice coupons, a simple bend or break test can show whether the weld fused into both sides, but use suitable eye and hand protection and do not treat a home test as certification. Structural, pressure-retaining, automotive safety, or load-bearing work should be evaluated by a qualified welder or inspector under the applicable requirements.
Troubleshoot the most common thin-sheet problems
Change one variable at a time so you can tell what helped. The table below describes common symptoms and sensible first corrections.
| What you see | Likely cause | First correction |
|---|---|---|
| Hole or edge disappears | Too much heat, slow travel, excessive gap, or no backing support | Reduce current, move sooner, tighten the fit, and use a suitable backing bar |
| Gray, black, or sugared weld | Poor gas coverage, draft, dirty metal, or excessive arc length | Clean again, check leaks and airflow, shorten the arc, and verify gas flow |
| Bead sits on top of the joint | Insufficient heat, contaminated edges, or travel that is too fast | Clean the joint, slow slightly, or increase current in small increments |
| Tungsten turns shiny or contaminated | The electrode touched the puddle or filler rod | Stop, regrind the contaminated tip, and resume with a steadier arc |
| Panel warps or seam opens | Long continuous welds, poor clamping, or too much heat | Use smaller tacks, alternate sections, and allow controlled cooling |
Why the arc keeps wandering
A wandering arc commonly comes from a contaminated or poorly sharpened tungsten, an unstable hand position, a loose work connection, or an arc that is too long. Regrind the tungsten lengthwise, clean the work clamp location, brace your hands, and keep the electrode centered over the joint.
Why the weld looks acceptable but leaks
A continuous-looking surface can still contain pinholes, lack of fusion, or an unwelded section hidden by excess filler. Inspect the reverse side, clean the area, and mark any suspect spots before making a small repair. If the part holds fluid, gas, or pressure, use the specified leak or nondestructive test rather than relying on appearance.
When to stop and get help
Stop if the metal’s composition is unknown, the part is safety-critical, the joint cannot be fitted tightly, or the welding fumes cannot be controlled. Also stop when you are unsure whether a container has been fully cleaned and vented. TIG welding is learnable, but an uncertain material or high-consequence failure is not a suitable beginner experiment.
Beginner questions about TIG welding thin metal
What amperage should I use for thin metal?
Use the lowest current that creates a small, stable puddle with adequate fusion, then adjust while practicing. Thickness, joint type, material, tungsten size, travel speed, and machine control all affect the useful setting, so a practice coupon is more reliable than a universal number.
Can I TIG weld thin metal without filler rod?
Yes, if clean edges fit tightly and the joint does not need added metal. Fusion welding can reduce heat demand, but filler is useful for a small controlled gap or when the edges need reinforcement.
Why does stainless steel turn blue or black?
Heat tint usually comes from excessive heat, poor shielding, contamination, or a draft disturbing the argon. Improve cleaning and gas coverage, shorten the arc, and reduce heat input; cosmetic tint may also require a suitable post-weld cleaning process.
Do I need a foot pedal for thin sheet?
No, but variable amperage control makes thin work easier. A pedal or fingertip control lets you reduce heat as the panel warms and respond quickly when the puddle begins to spread.
Can I use a copper backing bar?
A clean copper backing bar can support the joint and absorb heat, but it must not create an unwanted gap or prevent the joint from fusing. Clamp it securely and confirm that the finished part’s design allows backing support.
Build control before welding the final part
The practical answer to how to tig weld thin metal is to make the joint predictable before striking the arc: identify compatible material, clean it thoroughly, eliminate unnecessary gaps, support the work, and practice with short welds. Use DCEN for steel and stainless, maintain a short arc with good argon coverage, and manage heat with travel speed, brief sections, and amperage control.
After welding, inspect both sides for fusion, holes, contamination, and distortion. If the part is structural, pressure-containing, safety-critical, or made from uncertain material, stop at visual practice and have the work handled or inspected by a qualified professional. For ordinary practice, keep adjusting one variable at a time until your coupons show a small, consistent puddle and repeatable results.