How to TIG Weld Pipe: Clear Instructions and Common Mistakes
Pipe can look intimidating when you are first learning TIG welding. The joint is curved, the fit-up must stay consistent around the circumference, and a small change in torch angle or travel speed can quickly produce a hole, an undercut edge, or a dark, contaminated bead. The good news is that the process becomes manageable when you treat it as a sequence of controlled checks rather than one difficult motion.
This guide explains how to tig weld pipe with a conventional gas tungsten arc welding setup, commonly called GTAW. It focuses on clean carbon-steel or stainless-steel practice material, open butt joints, and beginner-friendly technique. Pipe used for pressure, structural, food-service, medical, or safety-critical applications requires qualified procedures, suitable inspection, and often a certified welder.
You will learn how to select compatible materials, prepare the joint, set shielding gas and amperage, establish a stable root, manage heat around the pipe, and inspect the finished weld. The goal is not merely a shiny bead: it is a consistent fusion line with no visible contamination, cracks, pinholes, or unfused sections.
At a glance
- Cleanliness and a tight, even joint gap matter as much as torch skill.
- Use pure argon, a sharp tungsten, and enough post-flow to protect the hot electrode.
- Inspect the entire circumference and stop if the pipe has pressure, hazardous contents, or an unknown alloy.
How to TIG Weld Pipe Without Losing Control of the Joint
For a first practice weld, use two clean pieces of compatible tubing or pipe with a manageable wall thickness, preferably in a comfortable position on a welding bench. A square butt joint is the simplest place to learn because the torch and filler movement are easier to observe than on a socket or fillet joint.
The procedure below assumes a DC TIG machine for carbon steel or stainless steel. Aluminum normally requires AC TIG, different cleaning behavior, and a different heat-control approach, so do not apply these settings to aluminum without checking the machine and material requirements.
Tools you will need
- TIG welding machine with a torch, appropriate collet, cup, and gas lens if available
- Clean, dry argon cylinder, regulator, flowmeter, and suitable gas hose
- Correctly sized 2% lanthanated or ceriated tungsten electrode
- Compatible TIG filler rod matched to the base metal
- Angle grinder or tubing cutter, deburring tool, and clean stainless-steel brush
- Acetone or an approved solvent and lint-free wipes for degreasing
- Welding helmet with the correct shade, fire-resistant clothing, gloves, and safety boots
- Stable welding table, clamps, and heat-resistant supports
- Optional: purge equipment and a low-flow argon source for stainless-steel pipe interiors
Step 1 Confirm the pipe, joint type, and welding process
Read the marking on the pipe or verify the material with the supplier before choosing filler. Carbon steel, stainless steel, chromoly, galvanized steel, and unknown alloys should not be treated as interchangeable. A filler that is wrong for the base metal can create cracking, poor corrosion resistance, or a weld that appears sound but does not meet the application.
For practice, cut two pieces with the same outside diameter and wall thickness. A square butt joint is usually appropriate for thin-wall tubing; thicker material may need a specified bevel, root face, and root opening. If this pipe will carry pressure or support a load, stop and use the applicable welding code, qualified procedure, and inspection requirements rather than relying on this general practice method.
Step 2 Cut, deburr, and fit the pipe ends
Cut both ends as squarely as possible. A slanted end forces you to change travel speed and filler placement around the joint, while a large mismatch can leave one side with too much heat and the other side with insufficient fusion.
Remove burrs from the inside and outside edges, then bring the pieces together on a clean surface. Aim for a uniform joint all the way around. The correct root gap depends on wall thickness, joint design, and the qualified procedure; for beginner practice, use the gap recommended for your material and thickness rather than copying a setting from a different pipe.
Clamp the pieces so they cannot roll or pull apart. Place small, evenly spaced tack welds around the joint, alternating sides to limit distortion. Each tack should be fused into the joint, not merely laid on top.
If the gap changes noticeably between tacks, stop and refit the pipe before welding over the problem.
Step 3 Clean the joint and prepare the tungsten
Remove paint, oil, marker, mill scale, oxide, and moisture from both sides of the joint. Wipe the outside with a suitable solvent and a lint-free cloth, then use a dedicated stainless-steel brush if needed. Stainless steel should have tools reserved for stainless work so particles from carbon steel do not become embedded in the surface.
Grind the tungsten lengthwise to a smooth point. A pointed electrode gives a narrow, controllable arc on DC, while grinding around the electrode can make the arc wander. The electrode diameter should suit the amperage range and machine guidance; an oversized tungsten can make low-current starts less stable, while a very small one can overheat.
Keep filler rod, gloves, the torch cup, and the work surface clean. Touching the tungsten to the pipe or dipping it into the molten puddle contaminates the electrode. If that happens, stop, let the electrode cool as appropriate, remove the contaminated portion, and regrind it before continuing.
Step 4 Set polarity, shielding gas, and machine controls
For ordinary carbon steel and stainless steel, use DC electrode negative unless the machine or procedure specifies otherwise. Connect the work lead firmly to clean metal, install the correct tungsten and collet, and check that the torch gas path is secure.
Use pure argon for the shielding gas. Set the flow according to the torch cup, gas lens, workspace, and manufacturer guidance. Too little flow allows air into the arc; too much can create turbulence that also draws air into the shield.
Keep the cylinder upright and secured, open its valve carefully, and inspect connections for leaks.
Choose amperage based on wall thickness, joint design, position, and the machine manufacturer’s guidance. Begin conservatively on practice material and use a foot pedal or fingertip control if available. Set a useful pre-flow and post-flow: pre-flow clears air before the arc starts, while post-flow keeps argon over the hot tungsten and weld as the arc ends.
Important
Welding produces ultraviolet radiation, fumes, heat, and fire hazards. Remove flammable materials, provide suitable ventilation, wear a properly rated helmet and protective clothing, and never weld a pipe or vessel that is sealed, pressurized, or contaminated with fuel, chemicals, or unknown residue.
Step 5 Practice the torch angle and arc length
Hold the torch so the tungsten points in the direction of travel with a modest work angle, commonly close to a 10- to 15-degree push angle. Keep the tungsten centered over the joint and maintain a short, steady arc. The exact angle changes as you move around the pipe, but the electrode should remain close enough for a focused puddle without touching the work.
Before starting the real joint, practice making short beads on scrap of the same material. Watch the puddle rather than the bright arc alone. A stable puddle should wet both edges of the joint; if it is too wide and sluggish, reduce heat or increase travel speed, and if it refuses to fuse the edges, add controlled heat or slow slightly.
Use two hands when possible: one to guide the torch and one to feed filler. Rest your hands or forearms on stable supports so the curved pipe does not force you to reach. Reposition your body or rotate the work when safe instead of twisting your wrist through an awkward section.
Step 6 Tack the joint and check alignment again
With the surfaces clean and the machine ready, place the final tacks around the circumference. Space them evenly and allow them to cool enough to remain firm. Check that the pipe is still aligned and that the joint gap has not closed on one side.
Start each tack with the tungsten centered over the joint, establish the puddle, and add a small amount of filler if the joint design requires it. A good tack has a smooth tie-in at both edges and does not contain a visible crater or crack. Grind or remove a defective tack rather than burying it under the final pass.
Step 7 Start the root pass with a controlled puddle
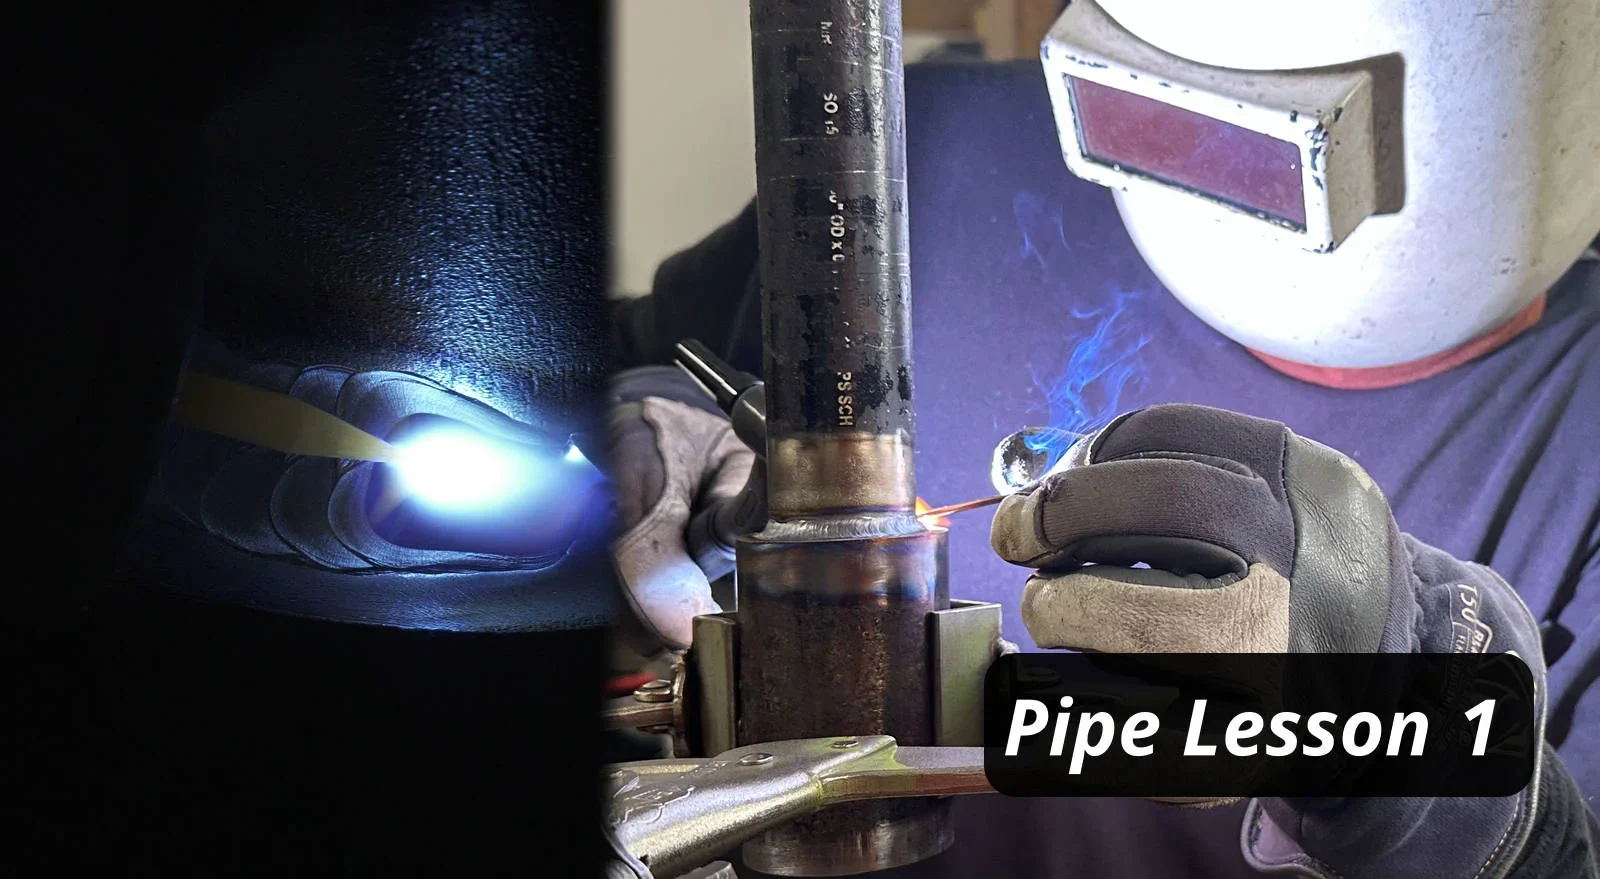
Begin where the joint is easiest to reach, often near the top of a pipe positioned for comfortable access. Allow pre-flow to shield the area, establish the arc without touching the tungsten, and form a small puddle that reaches both sides of the joint.
Add filler at the leading edge of the puddle, then withdraw it just enough to let the puddle move forward. Repeat a steady melt-and-feed rhythm. The filler should enter the molten metal under shielding gas, not be waved outside the gas coverage.
If the filler ball becomes oxidized or dirty, cut off the affected end. A useful way to approach how to tig weld pipe is to check your progress after each stage.
Move around the pipe in short, controlled sections if a continuous rotation is not practical. At each pause, taper the current or use the machine’s downslope function to avoid leaving a crater. Restart slightly before the end of the previous bead, remelt the tie-in, and continue until the root is complete.
On an open-root joint, look for consistent penetration on the inside without excessive sagging or burn-through. A small, even internal bead is generally preferable to a tall, irregular one. Do not chase a hole by adding filler while the puddle is too large; reduce heat, let the area stabilize, and correct the technique on the next section.
Step 8 Control heat as you travel around the circumference
Pipe conducts heat away from the arc, but the completed portion also becomes progressively hotter. As the joint heats up, the same machine setting may create a larger puddle and more penetration. Use the foot pedal or amperage control to reduce heat slightly, increase travel speed, or pause in a cooler area when necessary.
Keep the cup close enough to maintain shielding without dragging it on the pipe. Move the torch smoothly and keep the arc length consistent. Excessive weaving widens the heat-affected zone, so use a narrow movement unless the joint design specifically calls for a wider pass.
Helpful tip
When welding around a pipe, divide the circumference into natural sections and plan each restart before striking the arc. Clean tie-ins and a steady body position are more valuable than trying to force one uncomfortable continuous motion.
Step 9 Complete the cap or final pass
After the root pass has cooled enough to handle safely, inspect and clean it. Remove visible oxides or contamination without gouging the joint. If the procedure requires a fill pass before the cap, use that pass to bring the joint close to level while preserving room for a smooth final bead.
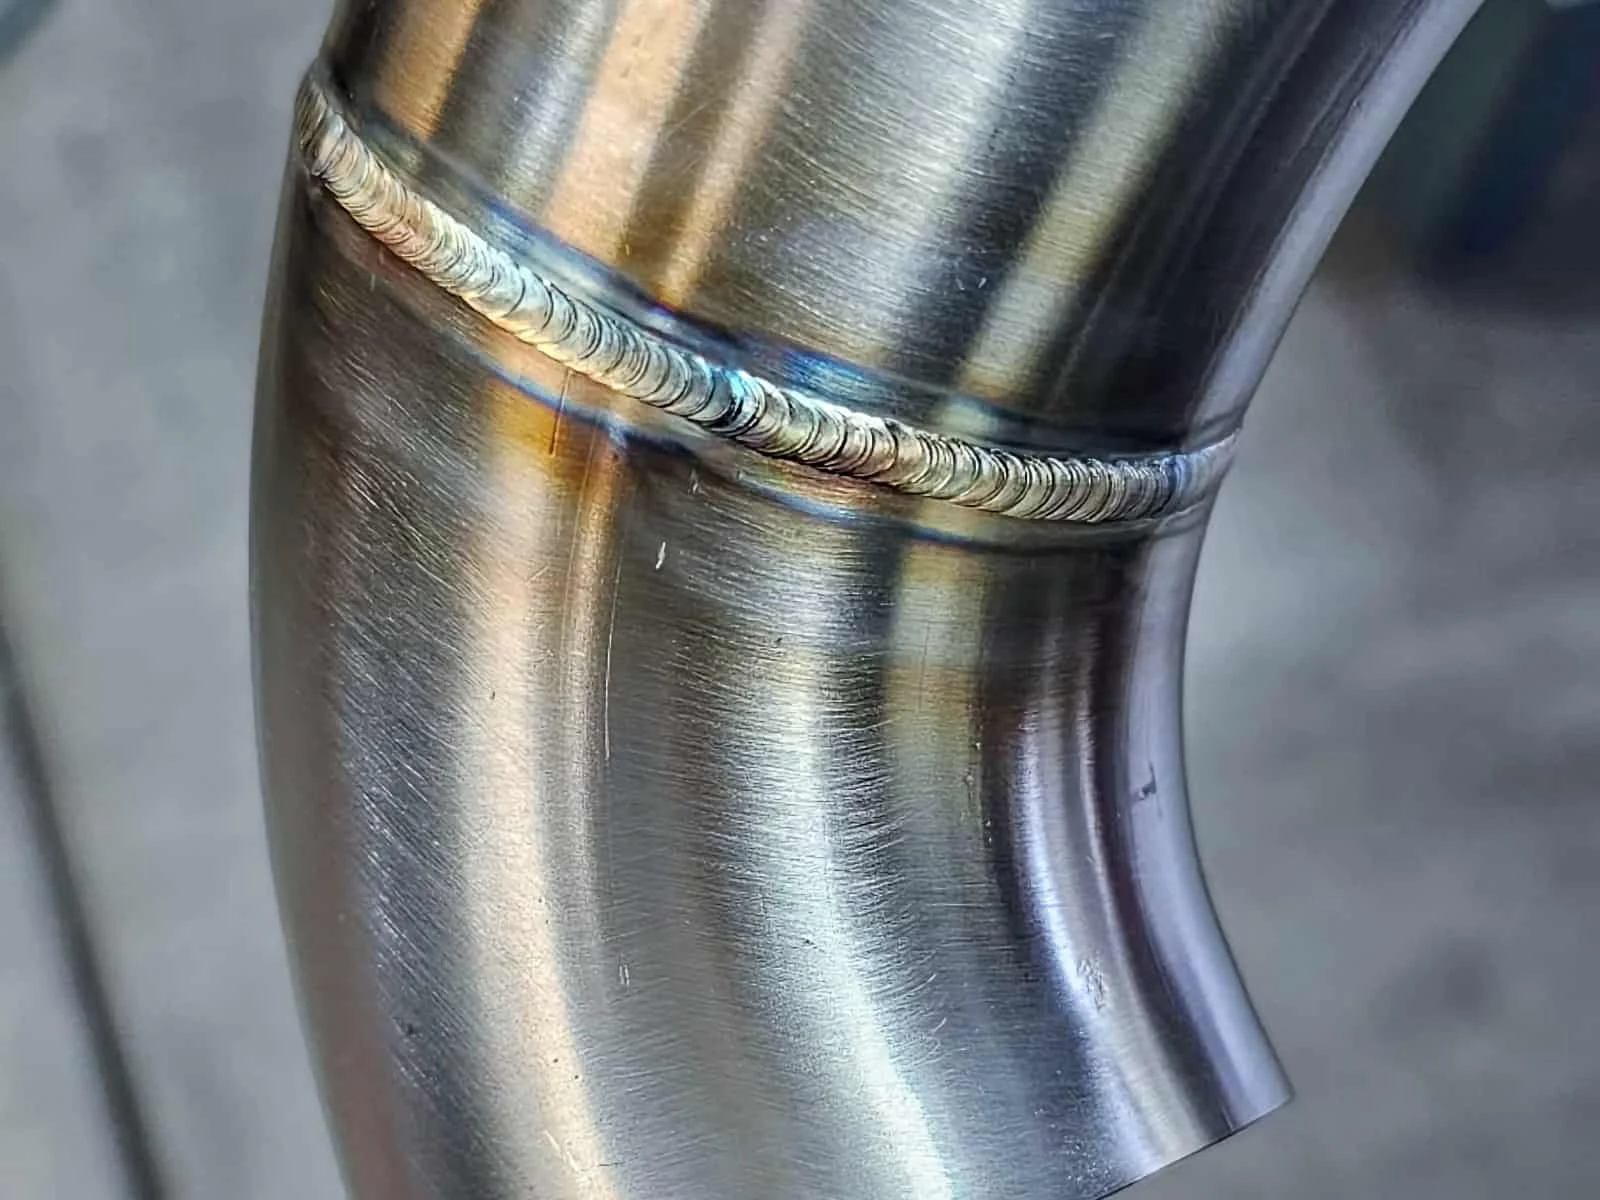
For the cap, maintain fusion with both edges and avoid piling filler in the center. A sound final pass is generally uniform in width and height, with smooth transitions into the pipe surface. Do not use a large weave to hide an uneven root; an attractive surface cannot compensate for lack of fusion underneath.
At the finish, fill the crater before ending shielding. Use downslope if available, keep the torch in place during post-flow, and withdraw it only after the tungsten and weld area are protected. Let the joint cool naturally unless a qualified procedure specifies another treatment.
What Makes a Pipe TIG Weld Sound?
A good TIG pipe weld combines clean base metal, correct filler, stable shielding, adequate fusion, and controlled heat. Appearance helps, but it is only one part of the assessment. A bright, even bead can still conceal incomplete penetration or a contaminated root.
Understand the puddle and filler relationship
The arc creates a molten puddle in the base metal, and the filler rod adds metal to that puddle. Keep the rod tip inside the argon shield as it melts. Feeding too much filler chills and enlarges the puddle; feeding too little can leave a concave bead or insufficient reinforcement.
The pipe’s curve changes how gravity affects the molten metal. At the lower portion, the puddle may sag, while at the upper portion it may appear easier to control. Adjust travel speed and current subtly rather than making abrupt changes that create visible wide and narrow sections.
Know when an internal purge is needed
When welding stainless-steel pipe, the inside of the joint can oxidize if hot metal contacts air. This rough, dark oxidation is often called sugaring. It can reduce corrosion resistance and create an unacceptable internal surface, especially in sanitary, chemical, food, and high-purity service.
An internal argon purge may be required for those applications. Seal the pipe ends with suitable purge dams or covers, introduce argon safely, and provide a vent so pressure does not build. Purge requirements vary by material, wall thickness, joint design, and specification; follow the qualified procedure rather than guessing a flow rate.
Separate practice welding from service welding
Learning how to tig weld pipe on scrap does not qualify a weld for service. Pressure pipe, process lines, structural members, and tubing subject to inspection may require approved filler, preheat, interpass temperature control, post-weld heat treatment, nondestructive testing, and a welder qualification.
For a noncritical practice project, concentrate on repeatable fit-up and visible quality. For anything that can release hazardous material, fail under load, or expose people to heat or pressure, obtain the relevant procedure and qualified supervision before welding.
How to Check the Finished Weld
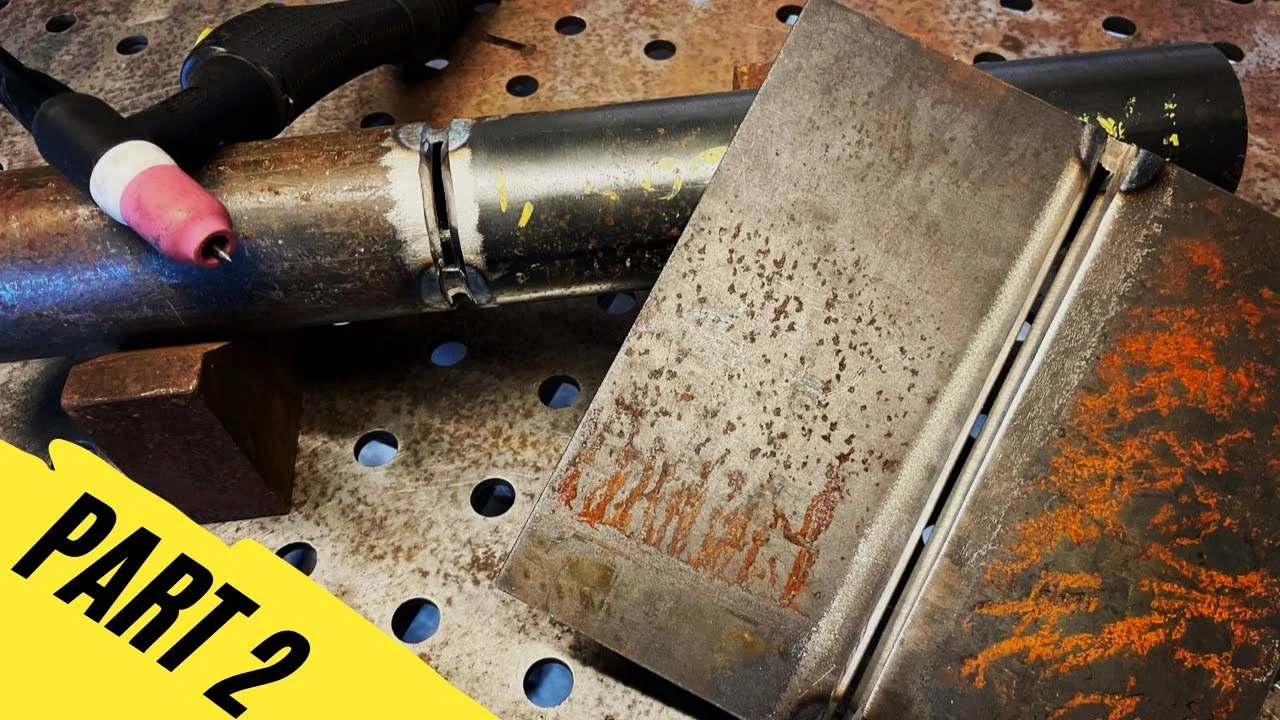
Inspection should begin only after the pipe is cool enough to handle safely. Clean away soot, loose oxide, and residue so the surface does not hide defects. Examine the entire circumference under bright light, including both restarts and the inside if it is accessible.
Use a visual inspection checklist
- The bead is continuous and follows the joint without abrupt gaps.
- Both edges are fused smoothly, with no visible undercut or cold overlap.
- There are no cracks, pinholes, open craters, arc strikes, or tungsten inclusions.
- The bead width and height are reasonably consistent around the pipe.
- The surface is free of heavy soot, gray crust, or blue-black contamination that suggests inadequate shielding.
- The inside root, when accessible, has consistent penetration without severe burn-through or sugaring.
- The pipe remains aligned and has not pulled into a noticeable bend.
Lightly cleaning stainless steel can reveal whether discoloration is only surface heat tint or evidence of contamination. Do not grind away a suspected defect and declare the weld sound, particularly on pressure or structural work. Defects may extend below the surface and require qualified nondestructive examination.
Check your result
A useful beginner check is to compare several short sections around the joint. If one section is much wider, darker, higher, or more concave than the others, treat that change as a clue to heat control, shielding, or travel inconsistency.
Common TIG Pipe Welding Problems
Most beginner defects have a small number of likely causes. Change one variable at a time so you can identify what actually improved the weld.
| What you see | Likely cause and response |
|---|---|
| Gray, black, or crusty bead | Shielding was interrupted, gas flow was turbulent, the cup was too far away, or the metal was dirty. Check leaks, reduce excessive flow, clean the joint, and protect the weld through post-flow. |
| Holes or burn-through | Too much heat, too slow a travel speed, a gap that is too wide, or insufficient filler control. Reduce current or travel time on the hot section and correct the fit-up. |
| Bead sits on top of the edges | The puddle did not reach both sides, often because of low heat, a long arc, or fast travel. Shorten the arc and establish fusion before adding filler. |
| Undercut along one edge | Excessive current, fast travel, or a torch angle directing heat at the edge. Reduce heat slightly and keep the torch centered. |
| Arc wanders | The tungsten may be contaminated, poorly ground, too long, or affected by magnetic arc blow. Regrind it lengthwise, shorten the stick-out, and check the work connection. |
| Crater at the stop | The arc was ended abruptly or without filler. Fill the crater, use downslope if available, and maintain gas coverage during shutdown. |
| Inside of stainless pipe is dark and rough | Air reached the hot root. Use an appropriate internal purge and follow the project specification for purge preparation and verification. |
When to stop instead of repairing
Stop welding if the pipe contains or previously contained fuel, solvent, refrigerant, gas, or another hazardous substance unless it has been professionally cleaned, isolated, and declared safe. Also stop if you cannot identify the alloy, the joint design, or the service requirements.
A weld that will hold water in a hobby project is not automatically suitable for pressure service. Seek a qualified welder or welding inspector when the consequence of leakage or failure could be serious.
Beginner Questions About TIG Welding Pipe
Can a beginner TIG weld pipe?
Yes, a beginner can practice on clean, noncritical tubing with an accessible butt joint. Start with flat-position practice and short sections before attempting a complete circumferential weld or an awkward fixed position.
What gas is used for TIG pipe welding?
Pure argon is the usual shielding gas for DC TIG welding of carbon steel and stainless steel. Gas mixtures and flow requirements can vary by material, torch, and procedure, so use the machine and project guidance when it differs.
Should the pipe be purged when TIG welding stainless steel?
Often, yes. An internal argon purge helps prevent oxidation on the hot root, but whether it is mandatory depends on the stainless alloy, service, joint design, and applicable specification. Sanitary and high-purity work commonly has strict purge requirements.
Why does my TIG weld look shiny but fail to fuse?
A shiny surface can result from clean shielding while the arc is still too cold, too long, or too far from one edge. Watch for the puddle to wet both sides of the joint, and inspect the tie-ins instead of judging color alone.
Can I use the same filler rod for every pipe?
No. Filler selection depends on the base-metal chemistry and the required mechanical and corrosion properties. Match the rod to the material and approved procedure; do not use an unidentified rod for service work.
Finish With a Consistent, Inspectable Joint
Learning how to tig weld pipe is mainly an exercise in control: control the fit-up, cleanliness, arc length, filler timing, shielding, and heat as the joint becomes warmer. A properly prepared practice joint and a stable body position make the welding motion far easier to manage.
After the pipe cools, inspect the full circumference and the internal root when possible. If the weld is for pressure, structural, hazardous, or regulated service, treat visual quality as only an initial check and use the required qualified procedure and inspection. For ordinary practice, correct one visible problem at a time, repeat the joint on matching scrap, and build consistency before moving to more difficult pipe positions.