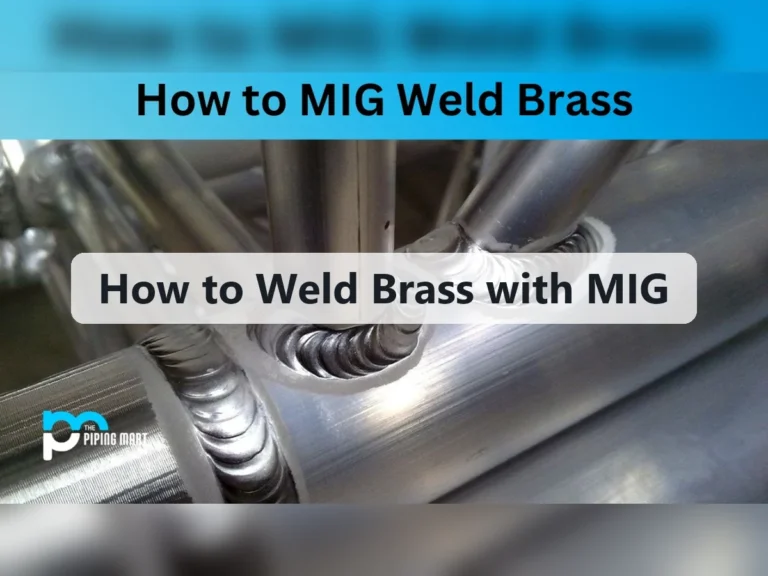
How to MIG Weld Stainless Steel Exhaust: Key Facts and Guidance
MIG welding stainless steel exhaust is practical when you use stainless wire, shielding gas, clean fit-up, low heat, and controlled short welds. Thin tubing demands careful technique to prevent burn-through, distortion, and corrosion.
You are usually trying to repair a cracked joint, replace a damaged section, or fabricate an exhaust component before a small defect becomes a larger failure. Acting early can save surrounding parts, but welding unnecessarily thin or contaminated tubing can create more damage than the original problem.
To do the job confidently you need to identify the stainless grade choose compatible filler metal set up the welder for thin material protect the inside of the. This guide examines “how to mig weld stainless steel exhaust” and explains the details that matter in practice.
- ✓Use stainless filler wire matched as closely as practical to the exhaust base metal, commonly 308L for 304 stainless and 309L when joining stainless to mild steel.
- ✓Argon-rich shielding gas, clean metal, tight fit-up, and short welds are more important than simply increasing amperage.
- ✓Thin exhaust tubing is vulnerable to burn-through, distortion, sugaring, and chromium-related corrosion if heat and shielding are poorly controlled.
- ✓MIG works well for practical repairs and thicker sections, while TIG generally offers superior control on thin, visible, or highly heat-sensitive tubing.
When MIG welding stainless steel exhaust makes sense
Stainless exhaust tubing is often thin, curved, heat-cycled, and exposed to vibration. Those conditions make welding different from joining a heavy stainless bracket. A repair can look solid on the outside while remaining porous, incompletely fused, or badly oxidized inside the tube.
MIG is a reasonable choice when speed accessibility and adequate strength matter more than a highly refined appearance It is especially useful for patching or replacing sections that.
It is less attractive for extremely thin tubing tight visible bends motorcycle headers or jobs where internal oxidation must be minimized A skilled operator can MIG thin stainless.
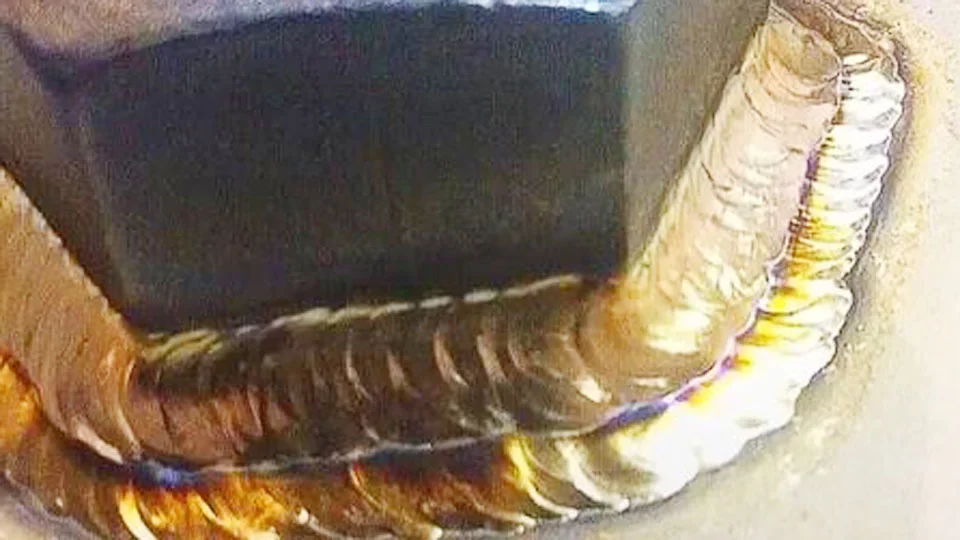
- Suitable repairs: Brackets, thicker muffler shells, replacement sections, flanges, and accessible cracks with sound metal around them.
- Use caution: Thin-wall tubing, rust-pitted stainless, long unsupported seams, and repairs near catalytic converters or oxygen-sensor bungs.
- Choose another process: TIG is usually preferable when appearance, heat control, or minimal internal oxidation is critical.
Identify the material before choosing wire
Many exhaust systems use 409 stainless, 304 stainless, or a mixture of stainless and mild steel. Surface appearance alone is not a reliable grade identification method. A magnet may offer a clue, but forming, heat exposure, and work hardening can affect magnetic behavior.
For common 304 stainless 308L solid wire is a normal starting point For 409 stainless a compatible ferritic stainless filler may be appropriate although availability and the exact.
If the base material is unknown and the repair is safety-critical or highly stressed, do not guess solely from color. A replacement component, professional material identification, or a filler-metal manufacturer’s compatibility guidance may be more sensible than risking a brittle or corrosion-prone joint.
How to MIG weld stainless steel exhaust: equipment and setup
The core setup consists of a MIG machine with stable low-amperage control a spool of suitable stainless solid wire a clean liner and contact tip an appropriate shielding.
Use a dedicated or thoroughly cleaned gun liner and drive system where possible Carbon-steel dust embedded in the liner rollers or contact tip can contaminate stainless wire and.
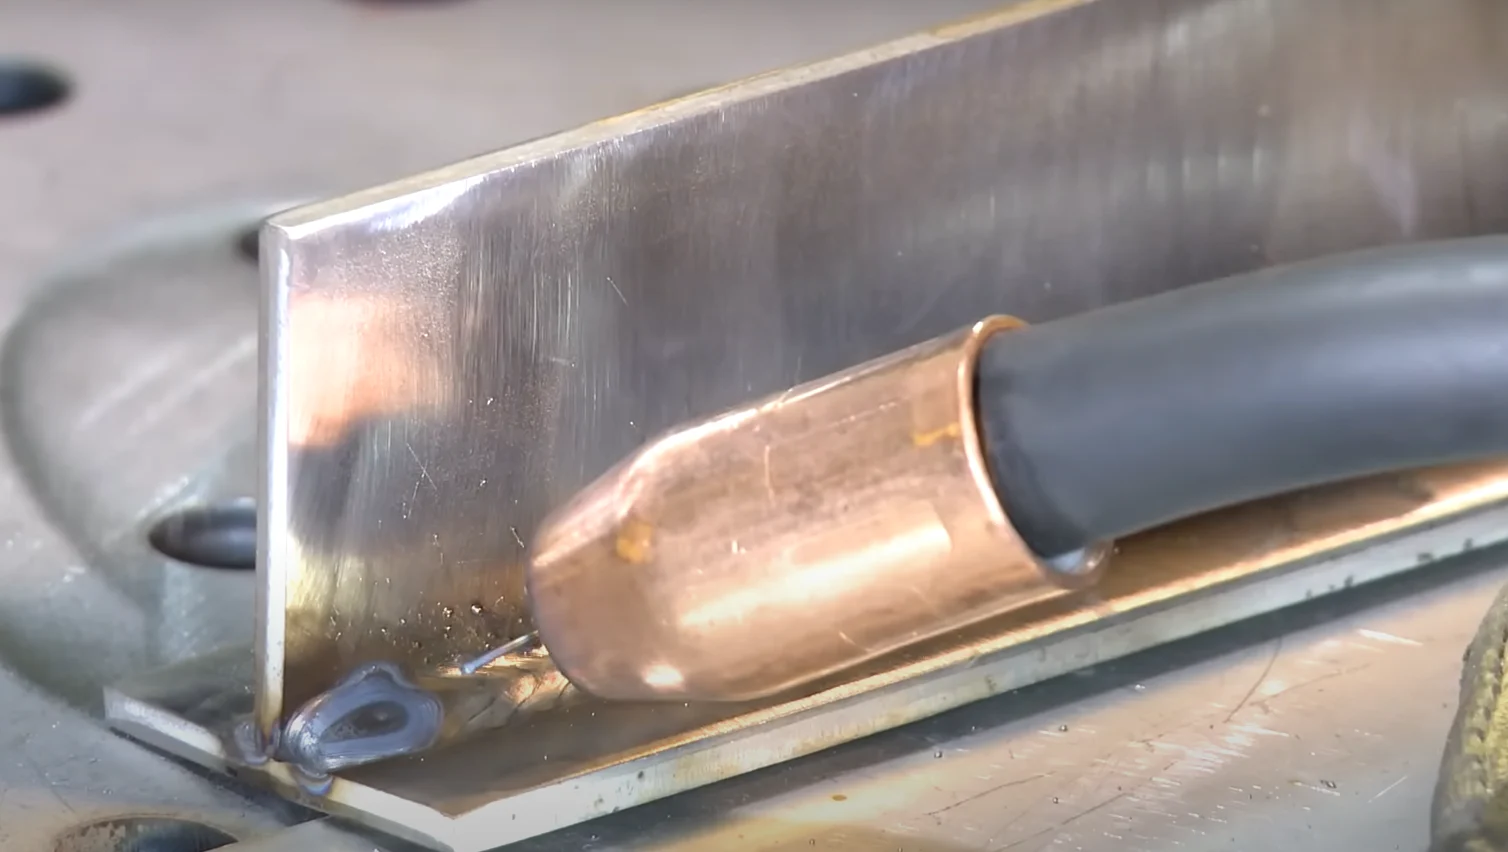
- Wire: Select solid stainless wire compatible with the base metals; avoid assuming ordinary mild-steel wire is an acceptable substitute.
- Polarity: Confirm the machine is set for the polarity specified for the selected solid wire, normally electrode-positive for conventional solid-wire MIG.
- Contact tip: Use the correct size and replace a worn tip that causes erratic arc starts or excessive wire movement.
- Work clamp: Attach it to clean metal close to the weld so current does not travel through bearings, sensors, or other vehicle components.
Shielding gas for stainless exhaust
Stainless MIG generally benefits from an argon-rich gas selected for stainless welding A common approach is an argon-based blend with a small amount of carbon dioxide or oxygen.
Pure argon is not a universal answer for solid-wire stainless MIG. It can produce an unstable or unsuitable transfer with some wire and machine combinations. Check the wire maker’s recommended gas range, then set flow according to the workspace, nozzle size, drafts, and joint position.
Too little gas exposes the weld to atmosphere. Too much can create turbulence that pulls air into the shielding envelope. A moderate flow, a clean nozzle, and protection from fans or vehicle-lift drafts are usually more useful than simply turning the regulator higher.
Backing and purge considerations
When the back side of a stainless weld is exposed to air while hot it can form heavy black or gray oxidation known as sugaring This rough oxide.
An internal argon purge is the best way to protect the inside of a butt joint but it requires sealing the tube ends and allowing enough time for.
- Seal intelligently: Block or cap the tube ends without creating a pressure vessel; provide a controlled outlet for displaced gas.
- Do not trap pressure: Never weld a sealed section while gas is flowing into a closed cavity.
- Inspect the root: If internal oxidation is severe, grinding the outside cannot correct the damaged inner surface.
Prepare the exhaust before striking an arc
Preparation determines whether a stainless repair has a chance of lasting. Exhaust parts collect soot, oil, road salt, undercoating, and condensation products. Stainless that appears clean can still release contaminants when heated, causing porosity, spatter, or a wandering arc.
This distinction matters when answering “how to mig weld stainless steel exhaust”.
Remove the component when practical Working on a detached part gives you better access lets you rotate the joint reduces the chance of damaging wiring or sensors and.
Use a stainless-only wire brush or abrasive pad for the final cleaning. Tools previously used on carbon steel can transfer iron particles that later produce surface rust. Degrease after mechanical cleaning, allow the solvent to evaporate completely, and avoid touching the prepared joint with oily gloves.
- Remove weak metal: Cut back cracked, paper-thin, or deeply pitted tubing until the remaining edge can accept heat without collapsing.
- Control the gap: A small, consistent gap can support penetration, but a large or changing gap greatly increases burn-through risk.
- Align naturally: Do not use the weld to force a bent exhaust into position; stress will return when the system heats and cools.
- Protect components: Keep fuel, plastic, insulation, oxygen-sensor wiring, and rubber mounts away from sparks and radiant heat.
Joint design and fit-up
A butt joint gives a clean repair when both tube ends are round sound and closely matched A sleeve can be more forgiving when the original tubing is.
For a replacement section, make several small tack welds around the circumference before adding any continuous bead. Check alignment after each tack. Stainless expands and contracts substantially with heat, so a joint that begins centered can pull to one side if tacking is sparse or uneven.
Where a sleeve is used avoid leaving a sharp step inside the exhaust The step can disturb flow and may collect condensation or soot A sleeve that fits.
MIG settings and technique for thin stainless tubing
There is no single correct voltage and wire-feed setting for every exhaust. The correct range depends on wire diameter, tubing thickness, joint gap, gas, machine characteristics, and position. Start with the wire manufacturer’s chart, then test on a piece of matching scrap before touching the vehicle part.
For thin tubing smaller solid wire generally provides better control because it requires less current to melt A short-circuit transfer is commonly used at low thicknesses but the.
- Use the lowest stable output: Reduce voltage and wire speed only until the arc begins to become erratic, then increase slightly for stability.
- Keep stickout consistent: A long stickout preheats the wire and reduces arc control; a short, steady stickout is easier to manage.
- Travel quickly: Move fast enough to avoid pooling heat, but not so fast that the bead merely sits on top without fusion.
- Test first: Bend, cut, or otherwise inspect a practice weld rather than judging quality only by its appearance.
Use short welds instead of one long bead
The safest pattern on thin exhaust tubing is usually a series of short welds placed in alternating locations Tack the joint at four or more points then add.
Keep the torch close to perpendicular to the joint with a modest travel angle that pushes the shielding gas over the molten pool A slight push angle can.
Do not weave broadly across thin tubing A narrow bead with controlled overlap is generally safer than a wide oscillation that soaks both edges If a small hole.
Managing heat and distortion
Heat discoloration is normal but heavy blue purple or black oxidation indicates that the stainless has experienced substantial heat or inadequate shielding Discoloration does not automatically mean the weld failed yet it signals reduced corrosion resistance near.
Use copper or aluminum backing where access and design permit, but do not force backing into a position that changes alignment. A heat sink can support the molten edge and reduce burn-through. It cannot compensate for a gap that is too wide or tubing that is already paper-thin.
- Long continuous beads: These concentrate heat, distort the tube, and make burn-through more likely.
- Excessive cleaning by grinding: Removing too much wall thickness can leave less material for the repair than the original crack did.
- Chasing pinholes hot: Repeatedly welding a glowing area enlarges the weak zone; cooling and reassessing is more effective.
Finishing, inspection, and corrosion control
Let the repair cool naturally unless the procedure or material requires another treatment. Quenching a hot stainless weld can increase thermal shock and distortion. Once cool, remove light spatter without gouging the surrounding tube, then inspect the entire circumference with strong lighting.
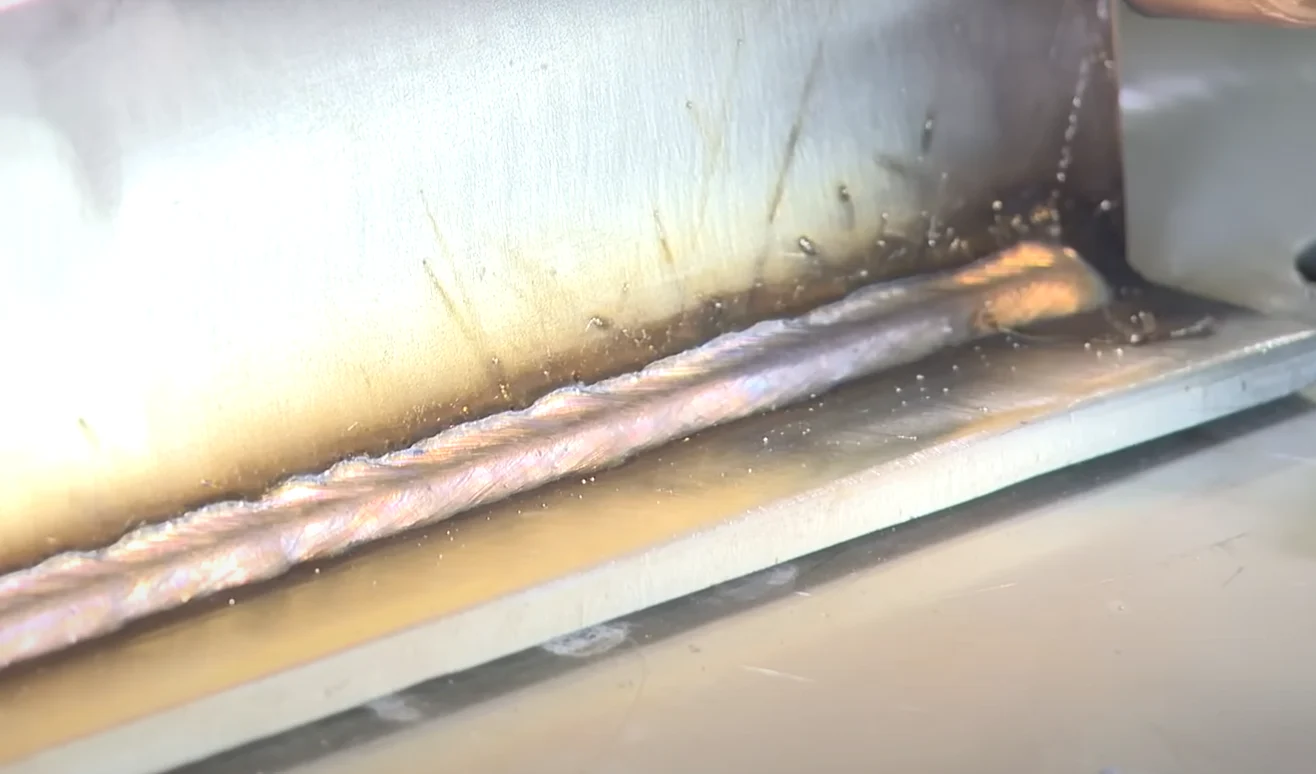
A good external bead is continuous enough to seal the joint, fused into both sides, and free of visible pinholes, cracks, crater openings, and severe undercut. Excessively tall reinforcement is not automatically stronger; it can indicate poor control and may create stress concentration or interfere with nearby components. Keep these limitations in mind when considering “how to mig weld stainless steel exhaust”.
Where possible check for leaks after the exhaust is reinstalled and safely supported A leak may appear only when the system reaches operating temperature because expansion changes the.
- Visual quality: Look for complete fusion, no crater cracks, no open pores, and no edge melting around the tube.
- Alignment: Confirm hangers, flanges, sensors, and heat shields still fit without forced tension.
- Internal condition: Check for excessive root penetration or heavy sugaring if the tube can be inspected.
- Leak test: Verify the joint cold and again after a controlled warm-up, keeping clear of hot surfaces and fumes.
Post-weld cleaning
Remove heat tint with a stainless-compatible method appropriate to the part and workplace. Light mechanical cleaning may be enough for a noncritical exterior repair, while chemical pickling or passivation can restore a more corrosion-resistant surface when the application warrants it. Follow the chemical product’s handling and disposal instructions.
Do not use ordinary steel wool or a contaminated grinding wheel on the finished stainless. If the repair joins stainless to mild steel, protect the carbon-steel area against corrosion separately; stainless filler does not make the entire exhaust assembly corrosion-proof.
Common failures and how to correct them
Most failed MIG exhaust repairs are caused by a mismatch between material condition, heat input, and joint design. The welder may compensate for a bad gap by adding more heat, or compensate for contaminated metal by slowing down. Both responses usually enlarge the problem.
Diagnose the symptom before changing several variables at once. Make one adjustment, test on similar scrap, and record the setting if the result improves. This is especially important when a machine’s voltage display does not correspond directly to the actual arc behavior.
- Burn-through: Reduce heat, tighten the fit, use shorter stitches, and consider smaller wire or a backing heat sink.
- Porosity: Check for oil, dirt, drafts, blocked gas flow, a damaged nozzle, or an incorrect regulator setting.
- Cold lap: Increase controlled heat slightly or slow enough to fuse both edges, but do not linger on thin unsupported tubing.
- Wire bird-nesting: Inspect the liner, drive-roll tension, contact tip, spool path, and gun bends before raising wire speed.
When the repair should be abandoned
Stop if the surrounding tube continues to crumble, the crack extends into a flange or sensor boss, or repeated passes create a widening soft area. A welded bead cannot restore missing wall thickness or reverse fatigue throughout a heat-damaged component.
Replacement is often the better decision when the part is badly rusted inaccessible structurally loaded or part of a system where a leak could expose occupants to exhaust.
MIG versus TIG for stainless exhaust
MIG is faster to learn and can deposit metal quickly making it practical for general repairs TIG provides independent control of the arc and filler allowing lower and.
Neither process automatically creates a durable exhaust joint. Fit-up, material quality, shielding, and restraint remain decisive. A poor TIG weld can be weaker than a well-executed MIG repair, while MIG becomes a poor choice when the tubing is so thin that stable control is impossible.
| Consideration | MIG | TIG |
|---|---|---|
| Speed | Generally faster for repeated repairs and longer seams | Slower because arc and filler are controlled separately |
| Thin-wall control | More limited, especially with gaps or poor access | Usually better for precise low-heat work |
| Appearance | Can be sound but may show more spatter and variation | Can produce cleaner, more deliberate beads |
| Learning curve | Often simpler for basic repairs | Requires stronger coordination and torch control |
| Best fit | Practical repairs, thicker tubing, brackets, and mixed-material work | Thin tubing, visible fabrication, purged roots, and refined joints |
If your machine is a small MIG unit and the tubing is thin practice first on offcuts with the same diameter and wall thickness The test should include.
Safety issues specific to exhaust welding
Exhaust welding combines hot metal, ultraviolet radiation, fumes, compressed gas, sparks, and a vehicle that may be supported above the floor. Use an appropriate welding helmet, flame-resistant clothing, gloves, and eye protection for grinding. Remove flammable material from the work area and keep a suitable fire extinguisher accessible.
Never weld a fuel-contaminated component, a sealed hollow section under pressure, or a vehicle supported only by a jack. Exhaust deposits and nearby underbody coatings can ignite after the arc stops, so inspect both sides of the work and monitor the area after welding.
Ventilation is essential. Stainless welding fumes can contain hazardous metal compounds, and running an engine indoors can create lethal carbon-monoxide exposure. Use local extraction or effective ventilation, keep your head out of the fume plume, and follow the safety information for the wire, gas, cleaners, and coatings being used.
- Support securely: Use properly rated stands and stable work holding before positioning yourself under a vehicle.
- Protect electronics: Keep the work clamp close and avoid allowing welding current to pass through sensors or control modules.
- Control fire risk: Remove combustible shields and coatings where practical, and inspect for smoldering material after welding.
- Respect fumes: Ventilate the area and use respiratory protection only as part of a suitable overall control plan.
FAQ: how to MIG weld stainless steel exhaust
Can I use regular mild-steel MIG wire on stainless exhaust?
You can physically deposit mild-steel wire, but it is not a like-for-like stainless repair. The filler can rust, have different corrosion behavior, and produce a less suitable joint. Use stainless filler when joining stainless to stainless; use a compatible transition filler when joining stainless to mild steel.
What gas should I use for stainless exhaust MIG welding?
Use an argon-rich shielding gas recommended for the specific stainless solid wire and transfer mode. Do not assume the gas used for ordinary mild-steel MIG is correct, and avoid changing gas without checking how it affects arc stability, spatter, and oxidation.
Do I need to purge the inside of stainless exhaust tubing?
An internal argon purge is strongly beneficial for butt welds because it limits root oxidation and sugaring. It may not be essential for every temporary external repair, but the absence of a purge can reduce internal corrosion resistance and leave rough oxidation in the exhaust stream.
What wire size is best for thin exhaust tubing?
The smallest practical stainless solid wire supported by your machine is often easier to control on thin tubing. The exact choice depends on wall thickness, joint gap, and machine range. Test on matching scrap instead of selecting wire solely by nominal diameter.
Why does my stainless exhaust weld keep burning through?
Common causes include excessive heat, a wide gap, slow travel, long continuous beads, contaminated or paper-thin tubing, and an unstable machine setting. Tighten the fit, use shorter stitches, reduce heat while retaining arc stability, and replace weak metal rather than repeatedly filling holes.
Is MIG strong enough for an exhaust manifold or header?
MIG may not be the best choice for thin, highly heat-cycled headers or manifolds. Those parts often benefit from TIG, accurate fit-up, suitable filler, and controlled internal shielding. If the component is cracked throughout or badly distorted, replacement can be safer than repair.
How can I tell whether a stainless exhaust MIG weld is good?
Look for a continuous sealed joint with fusion at both edges, no cracks or pinholes, limited undercut, and no severe internal sugaring where the root matters. Confirm that the system aligns without forced tension and check for leaks after a controlled warm-up.
Conclusion
Learning how to mig weld stainless steel exhaust is mainly an exercise in controlling heat contamination fit-up and shielding MIG can make a durable repair when the surrounding.
Use compatible filler, an argon-rich gas, short alternating welds, careful inspection, and proper ventilation. If thin-wall control or internal weld quality is critical, choose TIG or replacement rather than forcing MIG to do a job outside its practical limits.
Before welding, clean and test-fit a matching scrap section, verify your stainless wire and gas combination, and make a short practice weld to confirm penetration without burn-through.