How to MIG Weld Stainless Steel: A Practical Step-by-Step Guide
To MIG weld stainless steel, use stainless wire, an argon-rich shielding gas, correct polarity, clean metal, and controlled heat to prevent contamination and distortion.
The small details determine whether a stainless weld stays bright and sound or turns gray porous warped and expensive to repair A gas blend that works well on.
Learning how to mig weld stainless steel is therefore less about simply transferring metal and more about controlling the entire process material identification joint fit-up shielding heat input.
This guide explains the equipment choices preparation machine settings welding technique safety concerns and inspection checks that matter in a typical U S shop or garage You will.
- ✓Use stainless filler wire matched to the base alloy and a clean, dedicated setup to limit contamination.
- ✓An argon-rich gas blend protects the weld pool; pure carbon-dioxide shielding is not appropriate for stainless wire.
- ✓Use the lowest stable heat input, a short controlled arc, and quick travel to reduce distortion and discoloration.
- ✓Back-purging may be necessary on full-penetration joints where the inside surface must resist oxidation.
- ✓Remove heat tint and inspect the finished weld instead of judging quality by appearance alone.
How to MIG Weld Stainless Steel
Stainless steel is a family of corrosion-resistant alloys not a single material Common fabrication grades include 304 and 316 while ferritic martensitic and duplex grades behave differently during.
MIG welding uses a continuously fed electrode and an external shielding gas In U S terminology the process is technically GMAW although MIG is commonly used for both.
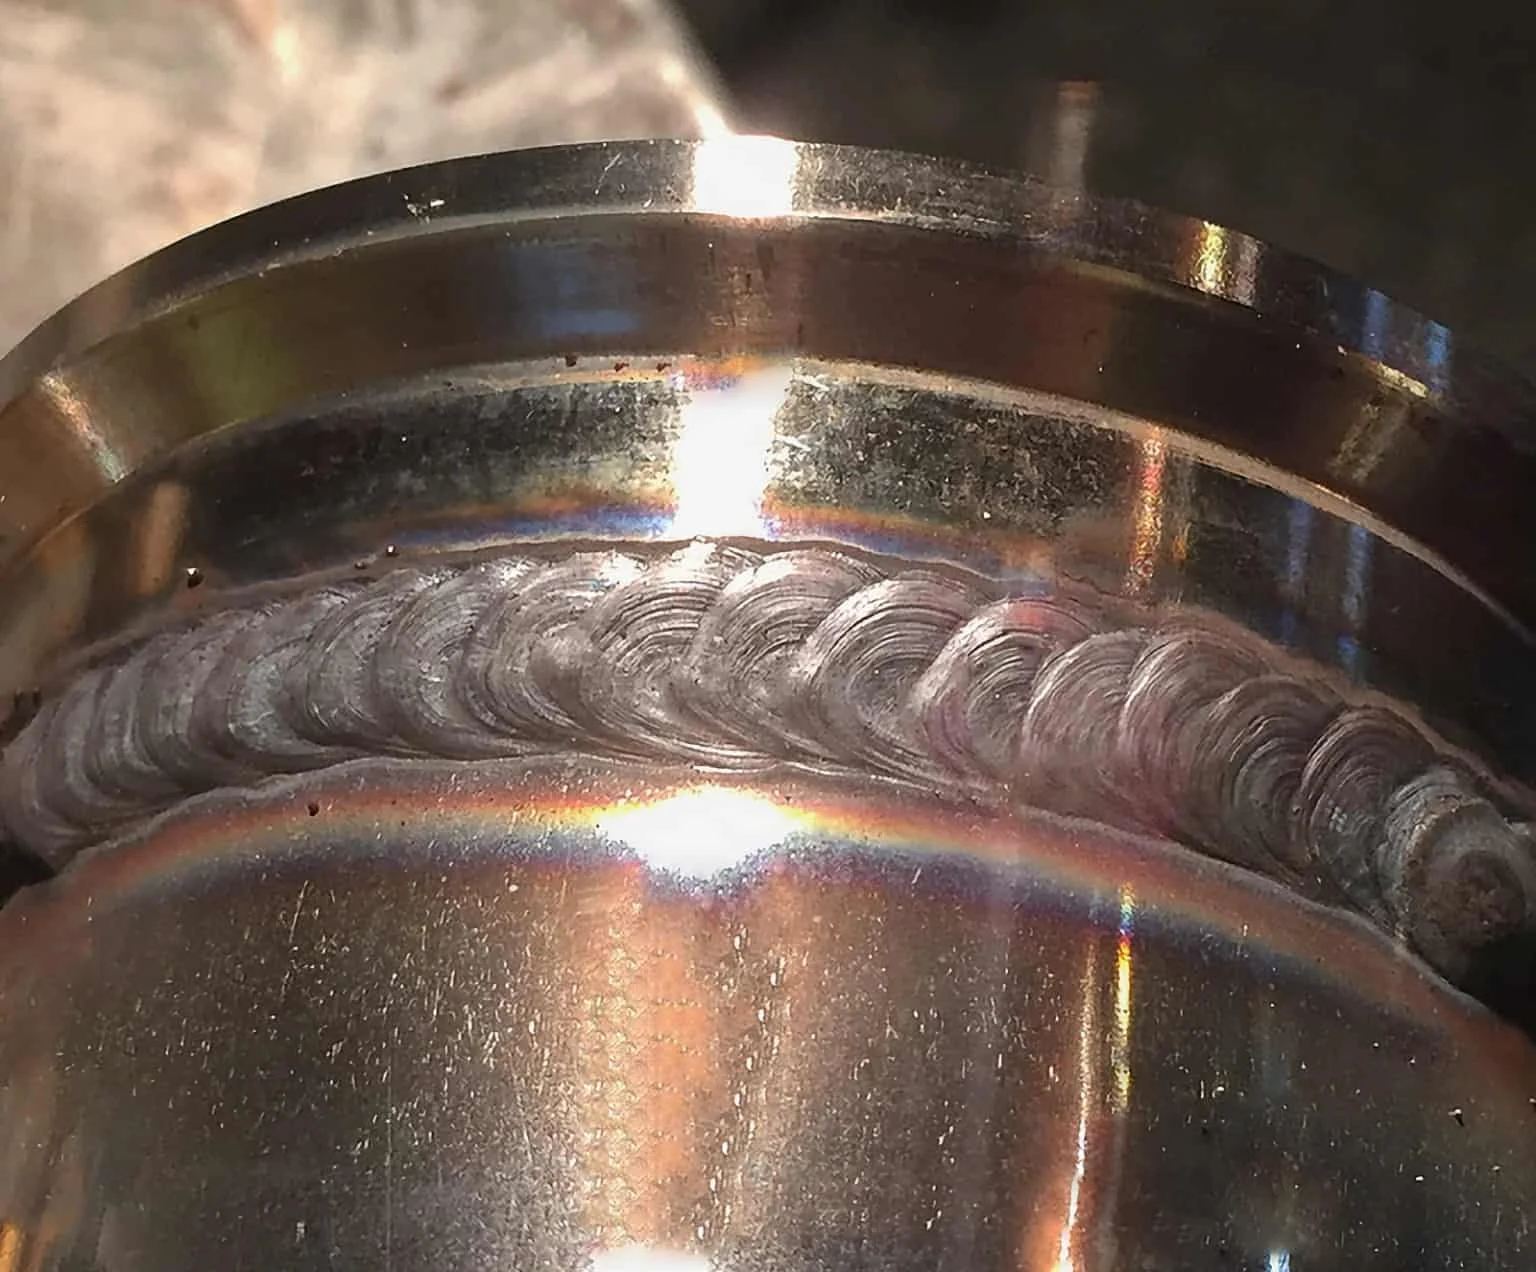
- Base alloy matters: Confirm the stainless grade before choosing wire, especially for chemical, food, marine, or high-temperature service.
- MIG is productive: It is faster than TIG for many production welds, but it usually creates more spatter and a less refined bead.
- Corrosion resistance can change: Heat tint, embedded iron, poor shielding, and unsuitable filler may reduce the joint’s performance.
- Joint design controls success: Thin sheet, open roots, thick plate, and lap joints each need different heat and travel choices.
When MIG is a good choice
MIG is useful when the work requires speed repeated welds moderate-to-thick material or easier operation than TIG It performs well on brackets frames tanks exhaust components equipment repairs.
TIG remains preferable when the appearance of the weld is critical the material is very thin heat control must be exceptionally precise or the root side must be.
Identify the joint’s service requirements
A decorative indoor bracket does not demand the same procedure as a food-processing fitting or a saltwater component Ask whether the joint will face chlorides chemicals pressure vibration high temperature or repeated cleaning Those conditions.
For critical structures or pressure-containing equipment, follow the applicable drawing, welding procedure, code, and qualified personnel requirements. General settings in a practical guide cannot replace a qualified procedure when failure could injure someone or release hazardous material.
Equipment, Wire, Gas, and Setup
A reliable stainless MIG setup begins with a clean wire path and stable shielding Stainless wire is less forgiving than ordinary mild-steel wire because feeding friction contamination and.
Use a liner intended for stainless or a clean nonmetallic liner recommended for the wire size Dedicated equipment is ideal If the same machine is also used for.
- Wire: Select stainless filler such as ER308L for many 304 applications or ER316L for many 316 applications, subject to the actual alloy and procedure.
- Drive rolls: Use the correct groove and pressure; excessive pressure can deform soft wire and increase feeding problems.
- Contact tip: Fit the correct diameter and replace a tip that is worn, blocked, or contaminated.
- Ground path: Clamp directly to clean metal or a sound work lead connection, not over paint, scale, or an unstable fixture.
Choosing stainless wire
ER308L is commonly used for welding 304 stainless steel ER316L is commonly used with 316 stainless steel when the joint needs the alloy s improved resistance to chlorides.
The “L” designation indicates low carbon, which can help reduce the risk of chromium-carbide precipitation in many welded stainless applications. It does not automatically make every weld corrosion-proof. The filler must still suit the base metals and service conditions.
Choosing shielding gas
Stainless MIG generally needs an argon-rich shielding gas. Common approaches include argon with a small percentage of carbon dioxide or oxygen, or a manufacturer-approved tri-mix. Gas selection affects arc stability, penetration, spatter, bead profile, and the amount of oxidation around the weld.
Do not assume the gas used for solid mild-steel wire is automatically suitable for stainless A high-carbon-dioxide blend can produce excessive oxidation and an unattractive contaminated weld Pure.
Use the gas supplier’s recommendation for the specific wire, diameter, and transfer method. Set flow only after checking for leaks and drafts. Too little flow allows air into the weld zone, while too much can create turbulence that pulls air into the shield.
Polarity and machine configuration
Most solid stainless MIG wires run on direct current electrode positive often called DCEP or reverse polarity Verify the wire manufacturer s instructions and your machine s polarity.
Use the recommended wire diameter for the material thickness and machine capacity Smaller wire supports finer control on thin sheet while larger wire can deposit metal faster on.
Prepare Stainless Steel Before Striking an Arc
Preparation is one of the biggest differences between a weld that merely holds and one that remains clean and corrosion-resistant Stainless surfaces may carry oil oxide marker residue.
Use a stainless-only wire brush or abrasive A brush previously used on carbon steel can embed iron particles into the surface creating rust spots later Likewise do not. This distinction matters when answering “how to mig weld stainless steel”.
- Clean the joint: Degrease both sides near the weld and remove oxides, burrs, paint, and marker residue.
- Control the fit-up: Keep the root opening and joint alignment consistent so heat and penetration remain predictable.
- Use clean tools: Dedicate brushes, abrasives, clamps, and fixtures to stainless or clean them thoroughly.
- Plan the sequence: Arrange tacks and weld segments to spread heat rather than pulling the assembly out of alignment.
Fit-up and joint design
Stainless sheet can distort quickly because it expands significantly as it heats Tight even fit-up reduces the amount of filler required and limits the time the arc must.
For thicker material beveling may be needed to achieve full penetration without using an unnecessarily high current A square butt joint may work on thin stock while a.
Backing and purge considerations
When a weld must penetrate through stainless, the backside can oxidize heavily if air contacts the hot root. This oxidation, often called sugaring, creates a rough dark surface that may trap contaminants and compromise corrosion resistance or flow through a pipe.
Use an inert-gas purge when the inside surface matters and the joint design allows it Seal the area introduce the specified purge gas allow enough time to displace.
Manage distortion before welding
Use clean clamps balanced tacking copper or heat-sinking fixtures when appropriate and a weld sequence that distributes heat Tacks should be large enough to hold alignment but not.
Do not rely on water to cool an active weld unless a qualified procedure specifically permits it. Sudden cooling can affect distortion, cleanliness, and metallurgical behavior. Let the assembly cool naturally or use a controlled method suited to the alloy and application.
Starting Settings and Transfer Choices
There is no single universal stainless MIG setting because wire diameter alloy thickness joint position gas blend machine design and transfer mode all interact Start with the wire.
For thin stainless short-circuit transfer can offer useful control but it may produce more spatter and a less smooth bead than a properly tuned pulse program Pulsed MIG.
- Start conservatively: Use the lowest setting that produces consistent fusion without excessive wire stubbing or lack of penetration.
- Watch heat input: Higher voltage, slower travel, and repeated passes increase heat and distortion.
- Match transfer to the job: Short circuit is accessible; pulse may improve control, appearance, and productivity when available.
- Test before production: Inspect a practice weld for fusion, profile, porosity, spatter, and backside condition.
How to tune the arc
Wire-feed speed primarily affects amperage on many constant-voltage machines while voltage influences arc length and bead profile If the wire repeatedly hits the work and the arc goes.
Make one change at a time Record the wire size gas voltage wire-feed speed travel direction and material thickness so a successful test can be repeated A neat.
Welding Technique for a Clean, Sound Bead
Position the gun so the gas nozzle provides clear coverage without touching the work. Keep a consistent contact-tip-to-work distance and maintain a short, controlled arc. Excessive stick-out preheats the wire outside the arc, reduces electrical control, and can make the weld inconsistent.
A slight push angle is often useful for stainless MIG because it helps maintain visibility and can reduce penetration compared with a strong drag angle The correct angle.
- Travel steadily: Move fast enough to limit heat but slow enough to establish both toes and required fusion.
- Keep the nozzle clear: Remove spatter when it restricts gas flow or changes the effective stick-out.
- Use short welds: On thin sheet, stitch or skip welds can reduce warping when the design permits.
- Pause at the toes: Briefly control each edge without lingering long enough to undercut or overheat it.
Starting and stopping
Begin with the gun positioned so the arc starts on sound metal or in a planned start area A poor start can leave a cold lap crater or.
Trim contaminated wire before restarting If the wire end is covered with an oxidized ball or has touched a dirty surface cut it back to clean wire When.
Thin stainless sheet
Thin sheet requires rapid travel and careful heat control Use tight fit-up small wire when practical short weld lengths and frequent pauses between segments Copper backing can support.
Burn-through usually results from too much heat in one location, excessive gap, slow travel, or an overlarge wire setting. Lowering voltage alone may not solve the problem if the arc becomes unstable; adjust the complete combination of wire speed, voltage, travel, and joint fit.
Thick stainless and multi-pass welds
Thicker parts may need multiple passes and controlled interpass temperature. Remove surface contamination between passes and inspect each layer for trapped defects. Avoid placing a large, slow pass where several smaller controlled passes would provide better shape and heat management.
Keep these limitations in mind when considering “how to mig weld stainless steel”.
Use the weld procedure when one exists. Interpass limits, preheat restrictions, filler selection, and post-weld treatment can be important for certain stainless families and critical applications.
Safety, Ventilation, and Contamination Control
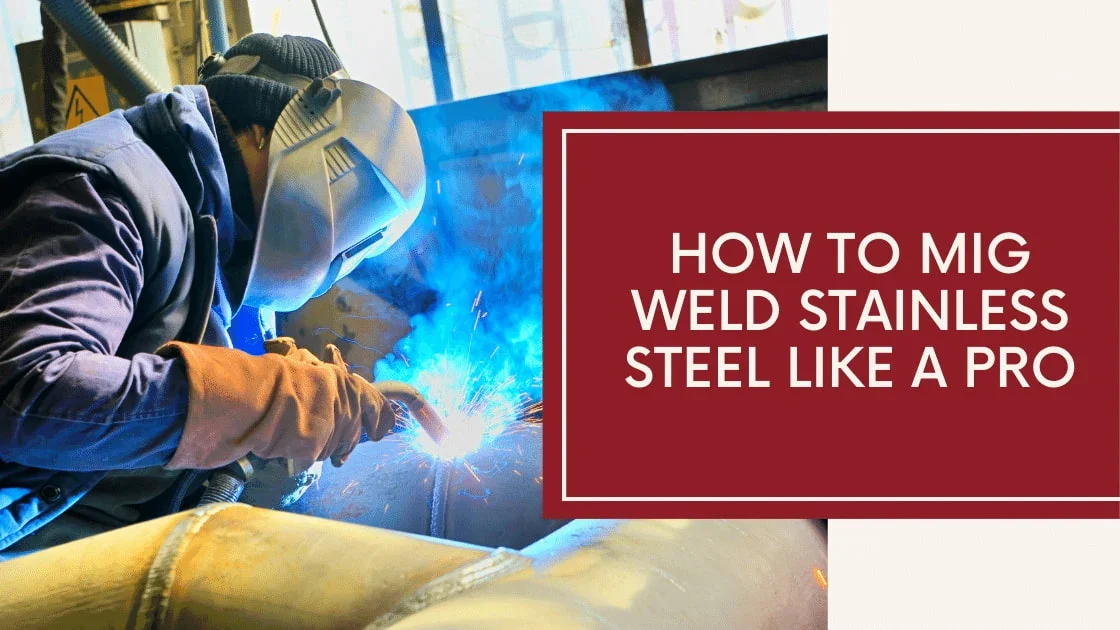
Stainless welding requires the same basic arc-welding protections as other metalwork but fumes and confined-space hazards deserve special attention Use a properly rated welding helmet flame-resistant clothing welding.
Provide effective local exhaust ventilation or respiratory protection selected through a proper hazard assessment Do not weld stainless in a confined space without a formal confined-space plan atmospheric.
- Control fumes: Keep your head out of the plume and use local extraction close to the arc without disturbing shielding.
- Prevent fire: Remove combustibles, check the opposite side of the work, and monitor hot metal after welding.
- Protect gas cylinders: Secure cylinders upright, keep them away from heat, and inspect hoses and regulators.
- Avoid contamination hazards: Never weld on containers that held flammable or unknown substances without proper cleaning and authorization.
Why stainless fumes need respect
Stainless alloys can contain chromium and nickel, and welding fumes may present respiratory hazards. The exact risk depends on the alloy, consumables, process, ventilation, and exposure. General shop ventilation is not always enough when welding repeatedly or in a poorly ventilated area.
Use the safety information for the specific wire and gas, and follow applicable workplace requirements. A respirator is not a substitute for removing fumes at the source, and facial hair, incorrect cartridges, or poor fit can defeat respiratory protection.
Common Stainless MIG Defects and Fixes
Defects usually have several possible causes so change one variable at a time rather than randomly turning knobs Examine the bead listen to the arc check gas flow.
- Porosity: Check leaks, drafts, contaminated surfaces, inadequate flow, excessive flow turbulence, and a blocked nozzle.
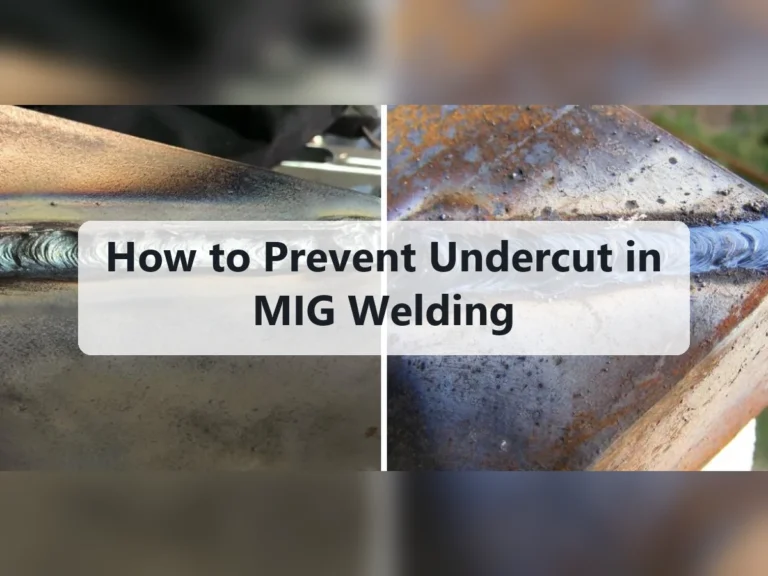
- Undercut: Reduce travel speed or arc aggressiveness, improve gun angle, and avoid excessive voltage.
- Lack of fusion: Improve joint cleanliness and fit-up, increase effective heat slightly, or slow enough to connect both sides.
- Warping: Reduce weld length and heat input, improve tacking, and balance the weld sequence.
Porosity and black or gray discoloration
Porosity appears as holes or gas pockets and often indicates inadequate shielding or contamination Check the gas cylinder regulator hose connections solenoid nozzle diffuser and work area for.
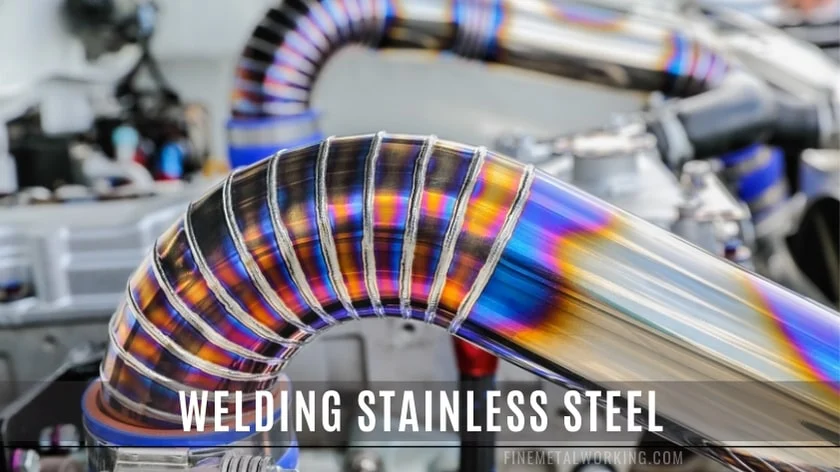
Heavy black or gray discoloration may indicate poor shielding, excessive heat, a long arc, or an unsuitable gas blend. Some heat tint is common, especially on stainless, but severe oxidation should prompt a process review rather than being hidden with abrasive cleaning.
Spatter, unstable feeding, and bird-nesting
Spatter can result from incorrect polarity, an unsuitable gas, contaminated wire, poor grounding, excessive arc length, or mismatched voltage and wire speed. Confirm the basic setup before fine-tuning advanced controls. Keep the liner clean and avoid sharp bends in the gun cable.
Bird-nesting occurs when wire bunches near the drive rolls or inlet It may be caused by incorrect drive-roll pressure a blocked liner too much drag a loose contact.
Cracking and crater defects
Cracks are serious and should not be ground smooth and ignored. Possible causes include unsuitable filler, excessive restraint, poor joint design, contamination, crater shrinkage, or an alloy-specific metallurgical problem. Stop and identify the cause before continuing production work.
Fill the crater at the end of each weld and avoid abrupt stops. On critical work, use the specified inspection method because small cracks may not be visible from the surface.
Finishing, Cleaning, and Inspecting the Weld
After welding allow the part to cool enough for safe handling then remove spatter and residue with tools that will not introduce ferrous contamination The required finish depends.
Heat tint is an oxide layer not merely a color preference Removing it can restore a more corrosion-resistant surface but aggressive grinding can thin the part round edges.
- Surface profile: Look for undercut, overlap, crater cracks, pinholes, excessive convexity, and irregular width.
- Fusion evidence: Confirm that the weld ties into both sides of the joint; appearance cannot prove internal soundness.
- Backside condition: Check for sugaring, incomplete penetration, burn-through, or excessive oxidation when the root is accessible.
- Cleanliness: Remove spatter, oil, embedded iron, and heat tint according to the service requirement.
Visual inspection limits
Visual inspection can find many surface problems but it cannot reliably reveal internal lack of fusion inclusions or small subsurface cracks For critical work additional nondestructive testing or.
Do not treat a shiny bead as proof of quality. A weld can be attractive and still have inadequate penetration or hidden porosity, especially when excessive heat or poor shielding has been masked by cleaning.
Frequently Asked Questions About How to MIG Weld Stainless Steel
Can a regular MIG welder weld stainless steel?
Yes. A conventional MIG machine can weld many stainless projects if it supports the correct polarity, wire size, stainless filler, and compatible shielding gas. The feeder should have a clean liner and suitable drive rolls.
The machine’s duty cycle and control range still matter. A basic welder may handle thin brackets well but struggle to provide stable control on very thin sheet or thick multi-pass joints.
What gas is best for stainless MIG welding?
An argon-rich blend approved for the particular stainless wire and transfer mode is usually the appropriate starting point. Some applications use argon with a small amount of carbon dioxide or oxygen, while others use a tri-mix.
Do not choose gas solely because it worked on mild steel. Check the filler manufacturer’s guidance, and protect the weld from drafts that can disrupt even a correct gas flow.
Can you MIG weld stainless steel with 75/25 gas?
A 75 percent argon and 25 percent carbon-dioxide blend is commonly used for mild steel, but it is not a universal choice for stainless MIG. It can produce excessive oxidation, spatter, and poor appearance with stainless wire.
Use a gas specifically recommended for the stainless filler and process. If the exact combination is not listed, ask the gas or wire supplier before welding a service-critical joint.
Do you push or pull a stainless MIG weld?
A slight push angle is often a useful starting technique because it improves visibility and can help maintain shielding. However, the best angle depends on joint access, position, desired penetration, and the machine’s arc characteristics.
Keep the angle consistent and avoid a long arc. Make practice welds and compare fusion, bead shape, spatter, and discoloration rather than following a direction rule without checking results.
Does stainless steel need to be purged when MIG welding?
Not every joint needs a purge. Back purging becomes important when the weld penetrates through the material and the hot backside must remain clean and corrosion-resistant, such as many pipe, tube, sanitary, and full-penetration joints.
If the backside is not part of the service surface and the joint design does not require full penetration, purging may not be necessary. The required decision comes from the application and welding procedure.
Why does my stainless MIG weld turn black?
Black or heavy gray discoloration usually indicates oxidation from inadequate shielding, drafts, an unsuitable gas blend, excessive heat, a long arc, or slow travel. Check gas flow at the nozzle and inspect the nozzle for spatter blockage.
Some color change is normal, but severe oxidation should be corrected at the process level. Cleaning the surface afterward may improve appearance without restoring a compromised weld or heat-affected zone.
Is MIG or TIG better for stainless steel?
MIG is generally faster and easier to use for longer welds, production work, and thicker material. TIG offers finer heat control and cleaner-looking welds, making it valuable for thin material, visible joints, and precise root work.
Neither process is automatically better.