Lap Joint Welding: Uses, Key Advantages, Limitations, and Tips
A lap joint connects two pieces of metal that overlap, usually with a fillet weld along one or both edges. It’s a handy choice for sheet metal and many general fabrication jobs, but the overlap, weld size, and load direction all affect how well the joint holds up.
Are you trying to join thin pieces without cutting a bevel into their edges? Or are you worried that the overlap will trap moisture or make the finished assembly bulky?
I once rushed a lap joint on thin stock and skipped a careful fit-up check. The pieces pulled slightly out of line as I welded, leaving an uneven bead that took extra grinding to clean up. It’s a common mistake, not a dumb one.
I wrote this for anyone who wants to know when a lap joint makes sense, how to prepare it, and what can go wrong before the arc starts. You don’t need to be a welding engineer to make a sound choice, but you do need to match the joint to the job.
Get the overlap and weld placement right, and you can save edge-prep time and keep parts aligned. Miss the fit-up or load requirements, and you may end up with distortion, a weak connection, or a crevice that holds water.
This takes about 9 minutes to read. By the end, you’ll know how to:
- Choose between a lap joint and other common joint styles.
- Set up the overlap and select a suitable weld approach.
- Spot common defects and reduce the chance of rework.
- Decide when a lap joint needs a qualified design review.
Lap Joint Welding: Setup, Weld Size, and Core Steps
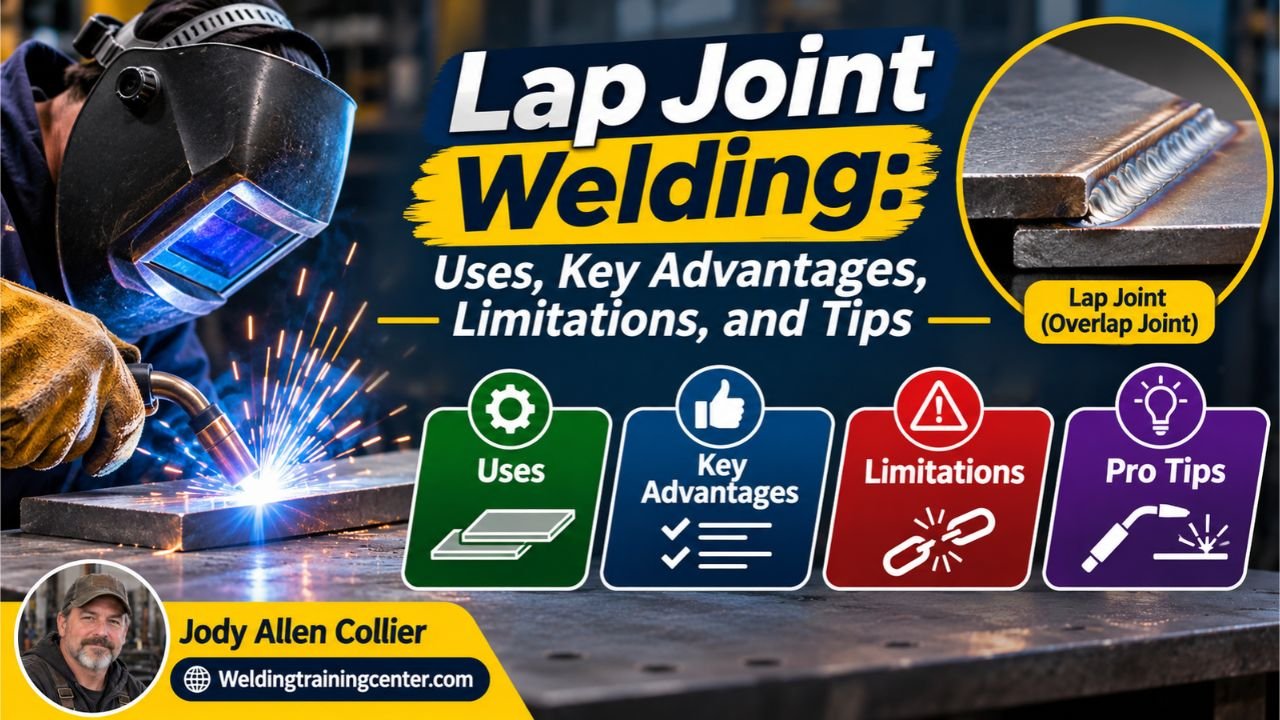
A lap joint joins two overlapping pieces of metal, with welds placed along one or both exposed edges. For a basic example, overlap two flat steel strips by about an inch, clamp them flat, then run a fillet weld along the accessible edge; the right overlap and weld size depend on the material, load, and job requirements.
The overlap is the part where the metal surfaces sit on top of each other. The weld usually joins the top piece to the face of the lower piece, creating a corner that’s well suited to a fillet weld, a weld with a roughly triangular cross-section.
A lap joint can use one weld or two, depending on access and design:
- A single-sided lap joint has a weld on one exposed edge. It’s quicker to access, but the joint may twist under an off-center load.
- A double-sided lap joint has welds along both exposed edges. The second weld can balance the connection, though it adds heat and may increase distortion.
- Intermittent welds use spaced weld segments instead of one continuous bead. They may suit some designs, but the pattern and spacing must follow the plan or approved welding procedure.
The overlap itself doesn’t set the joint’s strength. Weld size and length, base-metal thickness, material type, fit-up, and the direction of force all matter, so don’t treat a bigger overlap as an automatic fix.
Use this basic sequence for a noncritical shop job:
- Check the drawing or welding procedure for the required joint, material, weld size, and weld location.
- Cut the pieces to size, then remove rust, paint, oil, and other contamination from the weld area.
- Set the overlap to the specified dimension and clamp the pieces so the surfaces sit flat.
- Tack the parts in place, recheck alignment, and confirm that you can reach the weld edge safely.
- Weld using the process and settings suited to the material and thickness, then inspect the bead and surrounding metal.
Pro Tip: Mark the overlap line on both parts before clamping. A simple line makes it much easier to spot a shifted piece before you strike an arc.
Where Lap Joints Work Well, and Where They Don’T
Lap joints are useful when overlapping parts is simpler than preparing and aligning edges face to face. They’re common in sheet-metal work, brackets, panels, and repairs, but a neat appearance doesn’t prove that a joint is strong enough for its load.
The joint geometry is one of several types of welding joints you’ll encounter. A butt joint brings two edges together in the same plane, while a lap joint stacks one piece over another; a butt joint weld may suit a flush surface, but it usually needs more attention to edge fit and preparation.
| Job condition | Why a lap joint may help | What to check |
|---|---|---|
| Thin sheet or overlapping panels | The overlap can simplify positioning and edge preparation. | Heat input, distortion, and burn-through risk. |
| Brackets or tabs | The pieces can sit together before welding. | Load direction and access to the weld edge. |
| Parts exposed to water or outdoor conditions | The overlap can make assembly straightforward. | Crevices, drainage, coating, and corrosion protection. |
| A smooth, flush surface is required | A lap joint may leave a raised edge or added thickness. | Whether a butt joint or another design fits better. |
A lap joint can be less convenient when the assembly needs a smooth face, minimal bulk, or an easy-to-clean seam. The overlap also forms a narrow gap or crevice in some designs, and moisture or dirt can collect there if the joint isn’t sealed or protected.
What if the load pulls the two pieces apart rather than pushing them together? That direction can put extra stress on the weld and create a bending effect, so the design needs to account for how the parts will actually be used, not just how they look on the bench.
A fillet weld size is commonly described by its leg dimensions, measured along the two sides of the weld cross-section. The required size isn’t a guess based on what looks substantial; follow the drawing or applicable welding procedure, especially for structural or safety-related work.
In my shop work, I’ve found that a double-sided weld can look reassuring, but it isn’t a free strength upgrade. Adding the second pass can pull a thin assembly out of flat, so I check the part’s fit and the design before deciding that more weld is better.
For a deeper look at the bead itself, fillet weld sizes and types are worth learning because the weld profile and dimensions affect how the joint carries force. If the part supports people, vehicles, lifting equipment, or a building component, don’t size the weld by eye; use an approved design and a qualified welding professional.
- Lap joints are convenient when parts can overlap and the weld edge stays accessible.
- Overlap length alone doesn’t tell you the joint’s strength.
- Moisture, load direction, material thickness, and distortion can change the best choice.
How to Prepare, Weld, and Check a Lap Joint
Good lap joint welding starts before the machine is on. Clean surfaces, steady clamping, and a sensible weld sequence help keep the pieces aligned and reduce avoidable defects.
First, confirm that the base metals are compatible with the filler metal and welding process. Check the machine settings against the material thickness and the procedure you’re following; thin sheet often needs careful heat control because excess heat can warp the panel or burn through it.
Before welding, protect yourself and the work area. Wear a welding helmet with a suitable shade, safety glasses, gloves, and clothing that covers exposed skin, and provide ventilation suited to the material and process; keep sparks away from flammable items and follow the equipment and workplace safety instructions.
A clean, tight fit matters because large gaps can make it harder to form a consistent weld. Remove coatings only as appropriate for the material and process, and don’t weld unknown metals or coatings without checking their hazards and the right controls.
During welding, use a sequence that limits heat buildup and keeps the joint from wandering. Short sections or alternating sides may help on some assemblies, but follow the specified procedure when one exists rather than changing the sequence on a critical part.
After the weld cools enough for safe handling, inspect the bead and the surrounding metal. Look for visible cracks, missed sections, undercut along the edge, excessive spatter, or signs that the part shifted; visual checks can catch obvious problems, but they don’t replace required inspection or testing.
A weld throat is the shortest distance through the weld from its root to its face, and it helps describe the weld’s effective section. You may not need to calculate it for a basic repair, but a drawing or welding code may specify weld dimensions that a qualified person must interpret.
| What you notice | Possible cause | Sensible next step |
|---|---|---|
| Part has pulled out of alignment | Uneven clamping or too much heat in one area. | Stop and reassess the sequence and restraint before continuing. |
| Weld misses one edge | Poor torch angle, access, or fit-up. | Correct the position and follow the approved repair method. |
| Burn-through on thin metal | Excessive heat for the material and setup. | Recheck settings and technique before welding another section. |
| A gap remains at the overlap | Poor fit-up, warped stock, or an incorrect overlap. | Refit the parts rather than trying to bridge a large gap with weld metal. |
Important Tip: Don’t grind out a crack or other serious defect and cover it with another pass. Find the cause and use the repair method required for the job; safety-critical work belongs with a qualified professional.
FAQs About Lap Joint
What is a lap joint in welding?
A lap joint in welding joins two pieces of metal that overlap, with a weld connecting their edges or surfaces. Welders often use a fillet weld along the exposed edge. The overlap makes alignment straightforward, but the joint’s strength depends on the design, weld, materials, and direction of the load.
Is a lap joint stronger than a butt joint?
A lap joint isn’t automatically stronger or weaker than a butt joint. Strength depends on the metal, weld dimensions, joint preparation, and forces on the assembly. A butt joint can create a flush surface, while a lap joint can make positioning easier; the design requirements decide which is appropriate.
Can you use a lap joint on thin sheet metal?
Yes, lap joints are often used on thin sheet metal, but heat control matters. Excessive heat can cause warping or burn-through, and a loose fit can make the weld harder to control. Match the process and settings to the metal, and practice on scrap of similar thickness first.
Should a lap joint be welded on both sides?
A lap joint can be welded on one side or both sides, depending on the design and access. Welding both edges may balance the joint, but it also adds heat and can distort thin parts. Follow the drawing or qualified procedure instead of adding a second weld by habit.
Does a lap joint need a specific overlap length?
A lap joint doesn’t have one universal overlap length for every job. The needed overlap depends on material thickness, weld size and length, loading, and the design standard or procedure. Use the specified dimension on the drawing; don’t assume that increasing overlap alone will make an undersized weld safe.
Make the Joint Fit the Job
A lap joint is a practical option when overlapping pieces makes the work easier and the weld edge is accessible. It can save time on fit-up, but the overlap also adds thickness and can leave a spot where moisture or dirt collects.
My preference is to use the simplest joint that meets the actual load and finish requirements, not the one that looks beefiest on the bench. A clean fit, controlled heat, and weld dimensions from a real design beat extra metal added by guesswork.
Before you start, check the drawing or procedure, verify that the parts sit flat, and confirm you can weld the seam safely. If the joint supports a safety-critical load, get a qualified professional to confirm the design and inspection needs. That’s a small step compared with repairing a joint that never should’ve been guessed at.