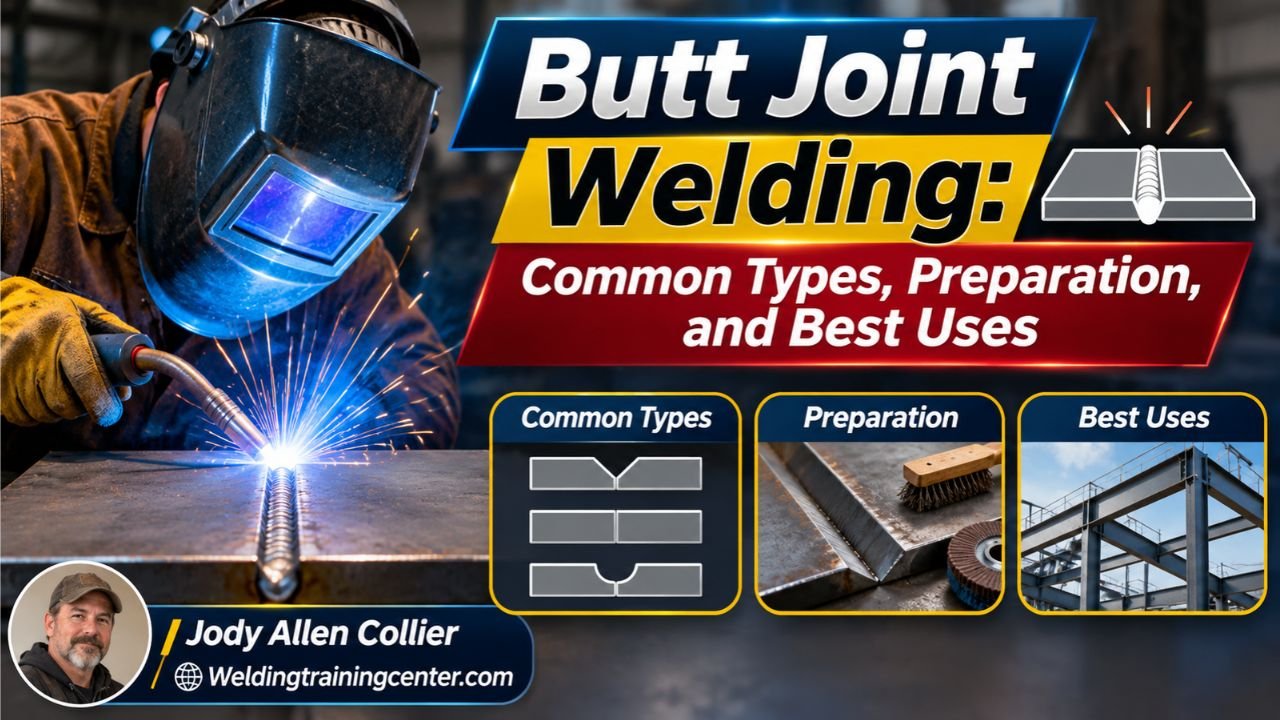
Butt Joint Welding: Common Types, Preparation, and Best Uses
A butt joint joins two pieces of metal edge to edge in the same plane, then welds the seam with a square or prepared groove suited to the material and job. Good fit-up and a sound welding procedure help the joint carry its intended load without excessive distortion or defects.
Are you trying to join two plates cleanly without a bulky overlap? Or worried that a neat-looking seam might still have weak spots inside?
I once rushed a fit-up because the edges looked close enough from above. After welding, a narrow gap had pulled wider at one end, and I had to spend extra time correcting the joint. That’s a common mistake, not a dumb one.
I wrote this to help you choose, prepare, and weld a butt joint with fewer surprises, whether you’re learning in a shop or planning a repair. You’ll get the key terms in plain language, along with practical checks that help you avoid wasted filler metal and avoidable rework.
A careful setup can give you a flatter, cleaner seam and make inspection easier. Skip the prep, and you can end up with poor penetration, excess warping, or a joint that needs to be cut apart.
Set aside about 9 minutes, and you’ll come away knowing how to:
- Tell a butt joint apart from other welded joints.
- Choose a groove shape that fits the metal and access.
- Set up the edges and root opening before welding.
- Spot common defects and know when to stop and get help.
Butt Joint Welding: the Core Method
A butt joint places two workpieces edge to edge in the same plane, with the weld joining their edges. Use a square edge for suitable thin material or prepare a groove when thickness, access, or the welding procedure calls for more weld metal and penetration.
The joint describes how the pieces meet; the weld describes the fused metal joining them. A flat-looking bead doesn’t prove the weld fused through the joint, so the required strength and inspection method matter as much as appearance.
A basic setup follows these steps:
- Confirm the material, thickness, service conditions, and required weld quality.
- Clean the joint area and prepare the edges according to the welding procedure.
- Align the pieces, set the root opening, and tack them in place.
- Weld using the specified process, position, and sequence.
- Inspect the seam and repair any defects using an approved method.
The root is the deepest part of the weld at the joint’s underside or center. A root opening is the gap between the edges before welding; too little space can block penetration, while too much can make the root difficult to bridge.
You may hear “butt weld” used for the weld itself, but the joint and weld aren’t quite the same thing. If someone asks you to choose between a butt joint and a lap joint, they’re asking how the pieces fit together, not just what the finished bead looks like.
A butt joint can be welded from one side or both sides, depending on the design and access. Full penetration means the weld fuses through the joint thickness; partial penetration means the weld doesn’t extend all the way through. Neither description automatically tells you whether a joint is adequate, because the design requirements set the target.
How does a butt joint stack up against other layouts? A butt joint keeps the pieces in one plane, while a lap joint weld puts one piece over another; a broader guide to welding joint types can help when the layout is still up for debate.
Prepare the Joint Before You Weld
Good butt joint preparation starts with clean edges, correct alignment, and a root opening that matches the procedure. Those three checks give the weld a fair chance to fuse properly and keep the pieces from moving as heat builds.
Start by checking what metal you have, how thick it is, and whether both sides of the joint are reachable. A welding procedure specification (WPS) is a document that sets the approved method and limits for a particular weld; follow the job’s WPS when one is required rather than guessing at settings or prep.
Before you strike an arc, check for:
- Oil, paint, rust, scale, moisture, and other surface contamination.
- Edges that are square, beveled, or otherwise prepared as specified.
- A consistent root opening along the seam.
- Misalignment, sometimes called high-low, where one edge sits higher than the other.
- Enough clearance to reach the joint and maintain the required welding position.
Clean the joint and nearby surfaces using a method suitable for the metal. Don’t use a tool that can transfer contaminants or damage the material, and don’t grind away more base metal than the procedure allows.
Pro Tip: Tack the pieces at intervals that hold alignment without blocking the weld path. If the joint pulls out of line during welding, a few well-placed tacks are much easier to deal with than a full-length seam that’s gone crooked.
A bevel is an angled edge preparation used to create room for weld metal. The groove made by the prepared edges is a groove weld joint area, and the exact shape depends on the design, thickness, process, and access. Common shapes include square, single-V, double-V, single-bevel, U, and J preparations.
| Edge preparation | Typical reason to use it | Practical trade-off |
|---|---|---|
| Square groove | Thin material or a procedure that allows square edges | Simple prep, but thickness and access can limit use |
| Single-V groove | One side offers practical access for beveling and welding | More prep and weld metal than a square groove |
| Double-V groove | Both sides are accessible and the design allows welding from both sides | Can reduce weld metal compared with filling a deep V, but needs access on both sides |
| Single-bevel groove | One piece can be beveled while the other remains square | Useful for certain fit-ups, though the geometry needs careful control |
| U or J groove | A specified design calls for a shaped groove | Often takes more specialized edge prep |
These are general descriptions, not a substitute for the job’s approved joint detail. A thick plate doesn’t automatically call for one particular groove, and a thinner plate doesn’t automatically make a square edge acceptable. The procedure and design decide.
What if you can only reach one side of the seam? The joint design needs to account for that before welding, since root access, backing, and inspection options can change the result. A welding joint design guide can help frame those choices, while groove weld preparation explains the common edge shapes in more detail.
Important Tip: If you’re welding a pressure-containing, structural, lifting, or otherwise safety-critical part, don’t pick a prep from a general chart and hope for the best. Use the approved drawings and procedure, or have a qualified welding professional determine the correct approach.
Fit-up also affects distortion. Heat makes metal expand and contract, so long seams can pull the work out of shape; balanced tacks and a planned weld sequence can reduce that movement. I once focused so hard on bead appearance that I overlooked how the pieces were restrained, and the finished seam pulled the assembly out of square.
A little planning before welding would have saved the cleanup.
Choose the Weld, Control Defects, and Work Safely
The right butt joint weld depends on the metal, thickness, service needs, welding process, access, and approved procedure. A sound bead starts with the correct joint design, but control during welding and a sensible inspection plan determine whether the finished seam meets its purpose.
For a simple project, the tempting move is to choose the groove that looks easiest to grind. I’d choose the approved design instead, because a convenient shape can still leave poor access or make the required penetration hard to achieve.
Root pass means the first weld layer that joins the deepest part of the joint. Fill passes add metal to build the weld, and a cap pass forms the exposed surface. The number of passes and the sequence depend on the joint and procedure, not a universal rule.
Welding process and position also matter. Common processes include shielded metal arc welding, gas metal arc welding, flux-cored arc welding, and gas tungsten arc welding; each has different equipment and operating needs. Common groove-weld positions are described as flat, horizontal, vertical, and overhead, though the exact qualification and testing rules depend on the applicable standard.
A process that works neatly on a bench may be awkward overhead or in a tight repair. I’d favor the method you can control safely and consistently with the right procedure over the one that merely seems fastest.
Watch for these common problems:
- Lack of fusion: Weld metal fails to bond fully with the base metal or a previous pass.
- Porosity: Small gas pockets form in the weld, often linked to contamination or shielding trouble.
- Undercut: A groove melts into the base metal beside the weld and remains unfilled.
- Cracking: A split forms in the weld or nearby metal; stop and get the cause assessed.
- Excessive distortion: Heat pulls the pieces out of alignment or changes their shape.
- Incomplete penetration: The weld doesn’t reach the required depth at the root.
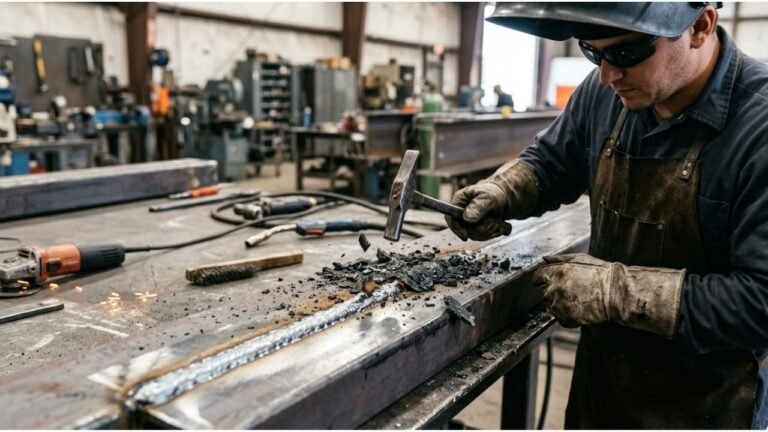
A visible defect needs attention, but a smooth surface doesn’t prove the root is sound. Inspection may involve visual checks or other methods required by the design, code, or work instructions. Don’t grind out or cover a suspected defect until you know the approved repair method.
Welding also brings hazards beyond the hot metal. Before striking an arc, use suitable eye and skin protection, ventilation, gloves, and fire protection; remove or protect combustible materials, and follow the equipment maker’s instructions. Welding fumes can be harmful, and coatings or unknown metals can create added risks, so stop and identify the material if you aren’t sure what’s on it.
If the work involves a confined area, flammable material, hazardous coating, or a part whose failure could hurt someone, get qualified help before welding. A rushed repair isn’t a bargain if the joint later fails or the work puts you at risk.
- A butt joint brings two pieces together edge to edge in one plane.
- Edge prep, root opening, and alignment need to match the welding procedure.
- The required penetration and inspection depend on the joint’s purpose.
FAQs About Butt Joint
What is a butt joint in welding?
A butt joint in welding joins two workpieces edge to edge in the same plane. The weld fuses the meeting edges, with the required groove shape and penetration set by the design and procedure. A butt joint differs from an overlap joint because the pieces don’t lie over one another.
What is the difference between a butt joint and a butt weld?
A butt joint describes the arrangement of the workpieces, while a butt weld describes the weld joining them. People often use the terms casually as if they mean the same thing. In a drawing or procedure, check the joint detail and weld symbol rather than relying on informal wording.
Does a butt joint need a bevel?
A butt joint doesn’t always need a bevel. A square-edge joint may suit some thinner material and approved procedures, while other jobs call for a V, bevel, U, or J groove. The joint detail, material thickness, welding process, and access determine the edge preparation.
Is a butt joint stronger than a lap joint?
A butt joint isn’t automatically stronger than a lap joint. Strength depends on the material, weld size, penetration, joint design, loading, and workmanship. The right comparison uses the actual design requirements, since a joint that performs well in one setup may be a poor choice in another.
Can you weld a butt joint from one side?
Yes, some butt joints can be welded from one side, but the joint design and procedure must allow it. Root access, backing, and the required penetration affect the setup. If the joint is safety-critical or governed by a code, use the approved details rather than assuming a one-sided weld will pass.
Make the Joint Fit the Job
A butt joint is a clean, useful way to connect pieces that need to sit in the same plane, but the seam only works as well as its preparation and procedure. My preference is to slow down at fit-up, confirm the root opening, and make sure the planned weld matches the actual material and access. Those checks are less glamorous than running a bead, but they’re where many avoidable problems get caught.
Your clearest next step is to check the drawing or welding procedure before cutting or beveling the edges. If no approved details exist and the part carries a real safety or structural load, ask a qualified welding professional to set the joint requirements before you start.