What Is Voltage in Welding? Arc Length, Heat, and Weld Quality
Voltage in welding is the electrical pressure that drives current through the welding arc between the electrode and the metal. In MIG welding, voltage mainly controls arc length, which affects the width, shape, and stability of the finished weld. Getting that setting right helps you produce a smooth, consistent bead.
You can have the right welding wire, clean steel, and a steady hand, yet still end up with an arc that pops, sputters, or burns too aggressively. The trouble often comes down to how voltage works with the other machine settings. When I troubleshoot a rough arc, I pay attention to how the wire meets the metal before changing anything.
Say you’re practicing on a piece of 1/8-inch steel. Your wire keeps bumping into the plate, and the weld builds up in a tall, narrow line. A voltage adjustment might help, but turning the dial without checking wire feed speed can make the problem worse.
There’s another catch. Voltage behaves differently in MIG, stick, and TIG welding. So why does one machine have a voltage knob while another mainly has an amperage dial?
I’ll explain how welding voltage works, what it changes in the weld, and how to choose a setting that suits your process. Once those pieces make sense, dialing in a stable arc becomes much easier.
What Is Voltage in Welding, and What Does It Control?
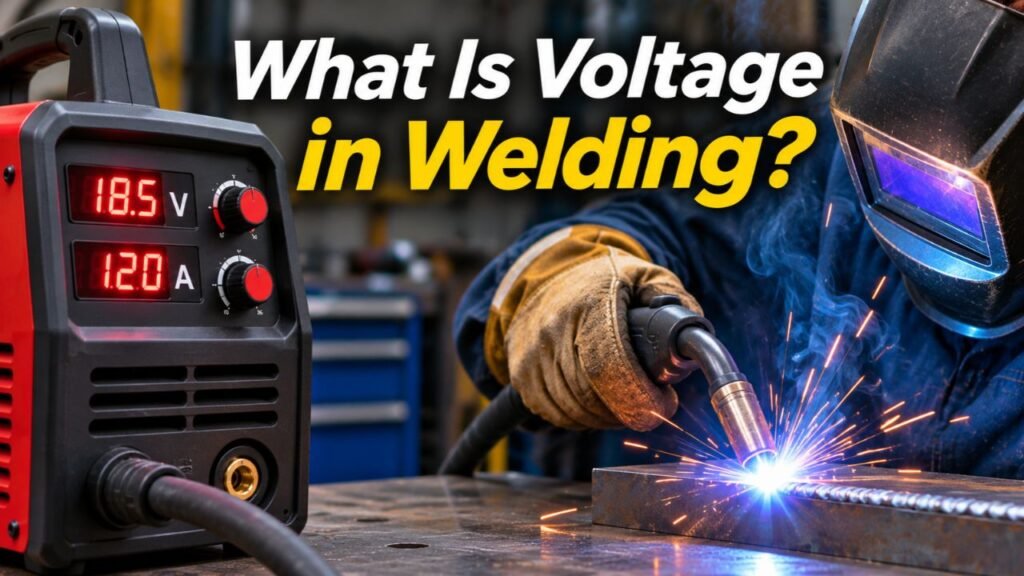
Welding voltage is the electrical potential difference between the electrode and the workpiece. It helps establish and maintain the electric arc that melts the metal, and it strongly influences arc length.
Voltage is measured in volts (V). Think of it like pressure in a water line. Voltage provides the electrical push, while amperage describes the amount of electric current flowing.
When you strike an arc, electricity crosses a small gap between the electrode and the workpiece. This creates an extremely hot, electrically conducting gas called plasma.
That heat melts the edges of the base metal and, when the process uses one, the filler metal.
How Voltage Controls Arc Length
Arc length is the distance between the electrode tip and the metal surface where the arc connects.
In conventional MIG welding:
- Increasing voltage generally makes the arc longer.
- Decreasing voltage generally makes the arc shorter.
- A suitable voltage produces a stable arc for the selected wire feed speed.
A longer arc spreads its energy across a broader area. A shorter arc concentrates it into a smaller area, although the current and transfer mode affect the final result.
This relationship is especially important with a constant-voltage welding machine.
How Voltage Affects Weld Bead Shape
A weld bead is the line of deposited weld metal left behind after welding.
With MIG welding, lower voltage relative to the wire feed speed generally produces a narrower, more convex bead. Convex means the bead rises above the metal with a rounded profile.
Increasing voltage usually makes the bead wider and flatter.
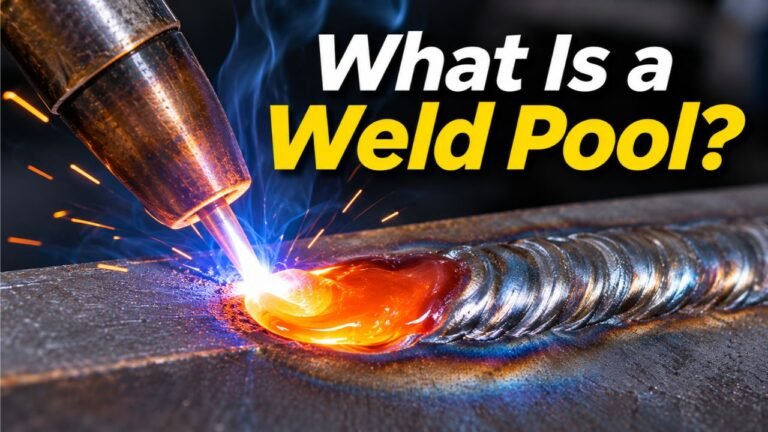
Voltage also changes how the molten metal spreads along the joint. This molten area is called the weld pool, and learning how a weld pool behaves makes machine adjustments easier to judge.
Does a wider bead automatically mean a stronger weld?
No. A weld must have proper fusion, meaning the filler metal bonds fully with the base metal. Penetration describes how deeply that fusion reaches into the joint.
A wide, attractive bead can still have poor fusion underneath. Voltage alone doesn’t tell you if the weld is sound.
Key Takeaways:
- Arc length and voltage are closely connected.
- Bead shape changes as the arc gets shorter or longer.
- Surface appearance can’t prove joint strength.
Welding Voltage vs. Amperage: What’s the Difference?
Voltage supplies the electrical push, while amperage measures how much current flows through the welding circuit. Both affect welding energy, but each influences the process differently.
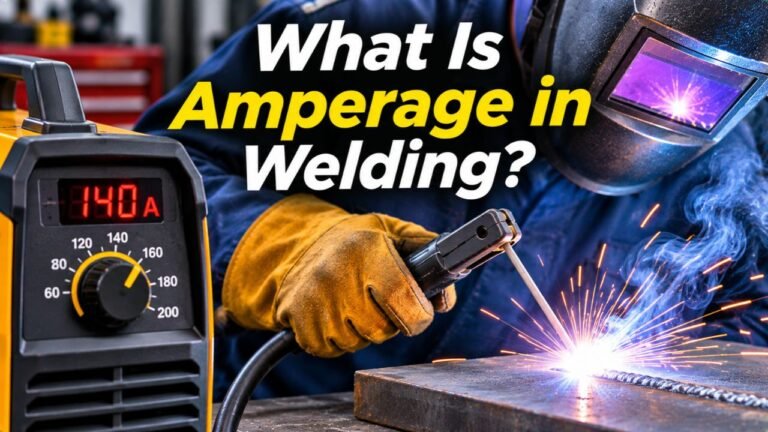
Amperage is measured in amps (A).
In practical welding, amperage is closely tied to the rate at which metal melts and the amount of penetration available. Voltage strongly influences arc behavior and how the molten metal spreads.
| Feature | Voltage | Amperage |
| Measurement | Volts (V) | Amps (A) |
| Main meaning | Electrical potential | Electric current |
| Major MIG effect | Arc length and bead profile | Wire melting rate and penetration |
| Too little | Short, unstable arc | Poor melting and fusion |
| Too much | Long, erratic arc | Excessive melting or burn-through |
| Typical MIG adjustment | Voltage control | Wire feed speed control |
For a more detailed explanation of current, read what amperage means in welding.
Does Higher Voltage Mean More Heat?
Increasing voltage can raise electrical power, but it doesn’t automatically give you deeper penetration.
Electrical power is calculated by multiplying volts by amps:
Power (watts) = Voltage × Amperage
For example, at a constant 100 amps:
- 20 volts produces 2,000 watts of electrical power.
- 22 volts produces 2,200 watts of electrical power.
That comparison assumes current stays fixed. It doesn’t measure exactly how much heat enters the workpiece.
Real weld heat input also depends on travel speed, arc efficiency, and the welding process. Changing voltage on a MIG machine can alter arc behavior without producing the penetration you expected.
This matters most when working with thin sheet metal or joints that need complete fusion.
Key Takeaways:
- Electrical power depends on both volts and amps.
- Current and voltage influence the weld in different ways.
- More electrical power doesn’t guarantee a sound joint.
How Voltage Works in MIG, Stick, TIG, and Flux-Core Welding
Voltage behaves differently depending on the welding process and power source. MIG and most flux-core systems use constant-voltage output, while stick and conventional TIG welding rely on constant-current output.
MIG Welding Voltage
MIG welding, technically called Gas Metal Arc Welding (GMAW), uses continuously fed electrode wire and shielding gas.
Most conventional MIG machines use a constant-voltage (CV) power source. This means the machine tries to maintain the selected voltage as welding conditions change.
The welder typically adjusts two main controls:
- Voltage, which sets the desired arc length.
- Wire feed speed, which largely determines welding current.
Wire feed speed (WFS) is the rate at which electrode wire travels through the welding gun, usually measured in inches per minute (IPM).
If the wire approaches the metal faster than the arc can melt it, the arc becomes too short. The wire may repeatedly strike the workpiece.
The machine responds by changing current to help restore the arc.
That’s why voltage and wire feed speed must work together.
Stick Welding Voltage
Stick welding, formally Shielded Metal Arc Welding (SMAW), uses a consumable electrode covered with flux. The flux coating produces shielding gases and protective slag as it burns.
Most stick welders use a constant-current (CC) power source.
Instead of setting the working arc voltage directly, you normally select amperage based on the electrode type, electrode diameter, and welding conditions.
Your hand controls the arc length.
Move the electrode farther from the metal, and arc voltage generally increases. Bring it closer, and voltage drops.
With stick welding, I pay more attention to maintaining a steady electrode gap than to the voltage reading. It’s easy to get ahead of yourself by pulling the rod too far from the joint.
A long arc can produce extra spatter, poor shielding, and irregular bead edges. A very short arc makes sticking more likely.
TIG Welding Voltage
TIG welding, or Gas Tungsten Arc Welding (GTAW), uses a nonconsumable tungsten electrode and a separate shielding gas.
Conventional TIG welding also uses constant-current output.
The machine controls current, while the distance between the tungsten tip and the workpiece largely determines the arc voltage.
A short, controlled arc helps keep heat concentrated.
Moving the tungsten farther away generally increases arc voltage and spreads the heat over a wider area.
For example, when welding a small stainless steel joint, holding the tungsten too far from the workpiece can make the molten pool harder to control.
The goal is a steady arc without touching the tungsten to the metal or molten pool.
Flux-Core Welding Voltage
Flux-Cored Arc Welding (FCAW) uses tubular electrode wire filled with flux materials.
Many flux-core setups operate with constant-voltage output, much like MIG welding.
There are two common forms:
- Self-shielded flux-core: The wire creates its own protective shielding.
- Gas-shielded flux-core: The wire works with an external shielding gas supply.
Each wire has its own recommended operating range.
Voltage settings that work for solid MIG wire may not suit flux-cored wire, even when the wire diameters match.
Check the electrode manufacturer’s specifications, including voltage, wire feed speed, and polarity.
Key Takeaways:
- MIG welders normally regulate voltage directly.
- Stick and TIG operators mainly select current and control arc length.
- Flux-core settings depend on the exact wire classification.
What Voltage Should You Use for MIG Welding?
The correct MIG welding voltage depends on material thickness, wire size, shielding gas, welding position, and metal transfer mode. Start with the machine’s recommended settings rather than choosing a number based on voltage alone.
Many short-circuit MIG applications on mild steel use voltages in the teens or low 20s. Higher-output processes can operate above that range.
Short-circuit transfer means the welding wire repeatedly touches the molten pool, melts back, and establishes the arc again. It is commonly used for thinner material and many general fabrication jobs.
There isn’t one voltage setting that fits every project.
1. Check the Metal and Joint
Start with the base metal.
Thin sheet metal usually calls for lower welding output than thick structural plate. The joint design also matters.
A butt joint, where two pieces meet edge to edge, may need different settings from a lap joint, where one piece overlaps another.
Clean the area to bare metal before testing. Rust, paint, oil, and heavy mill scale can affect the weld.
2. Match the Wire and Shielding Gas
Select the electrode wire size and type recommended for the job.
Common solid MIG wire diameters include 0.023, 0.030, and 0.035 inch.
For mild steel, ER70S-6 is a common solid wire classification. The right voltage depends partly on the wire diameter and shielding gas mixture.
Use your welder’s chart or the manufacturer’s MIG welding parameter guidance to establish the starting values.
A machine chart is a starting point, not a guarantee that every joint will weld perfectly at that number.
3. Set Wire Feed Speed Before Fine-Tuning Voltage
On a conventional MIG machine, select the recommended wire feed speed for the metal thickness and wire diameter.
Then choose the corresponding voltage from the setup chart.
On a synergic welder, the machine may coordinate voltage and wire feed automatically. These machines have preset programs that link settings for a particular wire and process.
The important part is to avoid adjusting one control while ignoring the other.
4. Make a Test Weld and Adjust Gradually
Before striking an arc, wear a suitable welding helmet, dry welding gloves, and flame-resistant clothing. Provide proper fume control, clear combustible materials, and inspect the cables and work connection.
Practice on clean scrap metal matching the thickness and joint type of your actual project.
Make a short weld in the same position you plan to use.
Listen to the arc, observe the molten pool, and examine the finished bead.
For conventional short-circuit MIG welding, a smooth, fairly steady crackling sound often indicates a reasonable balance between voltage and wire feed speed.
I prefer changing voltage in small steps rather than making a big adjustment immediately. If the machine allows it, half-volt changes can make differences easier to judge.
Want a simple way to track your progress?
Write down the starting settings and record each adjustment. You’ll know which change improved the weld instead of chasing your tail.
5. Check the Finished Weld
Look for a consistent bead with good fusion along the joint edges.
The weld toes are the places where the outer edges of the deposited bead meet the base metal.
They should blend into the surrounding material without deep grooves or obvious gaps.
For practice pieces, a suitable destructive test or cut-and-etch examination can reveal problems hidden beneath the surface. Use a qualified welding procedure and proper inspection for structural or safety-critical work.
Pro Tip: Keep your gun angle and travel speed consistent while testing voltage. Changing your technique at the same time makes it difficult to identify which adjustment helped.
Key Takeaways:
- Choose starting values for the actual wire and material.
- Test one setting change at a time.
- Judge the joint, not just the machine display.
Signs Your Welding Voltage Is Too High or Too Low
Incorrect MIG voltage can produce an unstable arc, excessive spatter, and a poor bead profile. The symptoms depend on how voltage compares with wire feed speed and the rest of the setup.
| What You Notice | Possible Cause | What to Check |
| Wire keeps hitting the workpiece | Voltage too low for wire feed speed | Increase voltage slightly within the recommended range |
| Arc is long and erratic | Voltage too high | Reduce voltage and check the feed setting |
| Bead is tall with poor edge blending | Short arc, low current, or fast travel | Check wire feed, travel speed, and voltage |
| Bead is unusually wide with an unstable pool | Excessive voltage or heat input | Check voltage, current, and travel technique |
| Heavy spatter continues | Incorrect settings or another setup fault | Inspect gas, wire, contact tip, and work connection |
Why Spatter Doesn’t Always Mean High Voltage
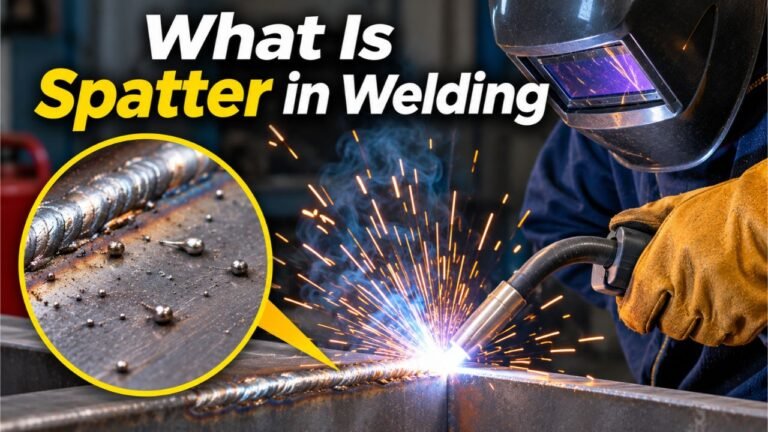
Spatter consists of small droplets of molten metal thrown out of the arc.
Both excessive and insufficient voltage can contribute to it.
Poor shielding gas coverage, an incorrect wire feed setting, or a dirty work connection can produce similar symptoms.
That’s why I don’t treat every spattery arc as a reason to turn the voltage higher. Checking the basics first often saves unnecessary adjustments.
If small metal droplets are sticking all around your weld, the guide to what causes welding spatter explains other common sources.
Check Contact-Tip-to-Work Distance
Another factor is contact-tip-to-work distance (CTWD), the distance between the gun’s electrical contact tip and the workpiece.
The contact tip transfers welding current into the wire.
Changing this distance changes the amount of wire extending beyond the tip and can affect current, wire melting, and arc stability.
If you move the gun much farther from the plate while keeping the same settings, the result may change even though the voltage dial hasn’t moved.
Maintain the distance recommended for the wire and transfer mode.
Consider a thin sheet-metal patch as another example. You raise voltage to flatten the bead, but the sheet begins melting away at the edge. The problem may involve excessive heat input, poor fit-up, or travel speed, not simply a lack of voltage control.
Getting the arc into the right operating range is only part of making a good weld.
What Is Open-Circuit Voltage in Welding?
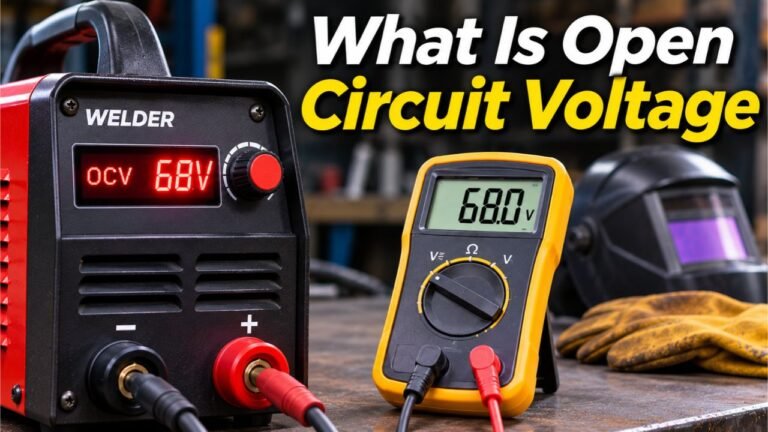
Open-circuit voltage (OCV) is the voltage available at a welding power source’s output when the welding circuit is open and no welding current is flowing. It differs from the arc voltage measured while welding.
For example, a stick welder might provide an open-circuit voltage around 70 volts while idle and operate at a much lower voltage after the arc starts.
The exact values depend on the machine and process.
Open-circuit voltage helps an arc start. Once current begins flowing and the arc is established, the voltage changes according to the welding power source and operating conditions.
You can read more about open-circuit voltage in welding and how it differs from the voltage used during welding.
Is Welding Voltage Dangerous?
Yes. Welding output can cause electric shock, especially if your skin or clothing is wet or if you’re in contact with conductive surfaces.
Even a machine showing a relatively low working arc voltage can present a serious hazard.
The arc welding equipment requirements include limits for open-circuit voltage and protective measures for electrical equipment.
For safe operation:
- Keep gloves, clothing, and the work area dry.
- Inspect electrode holders, guns, cable insulation, and connections before use.
- Avoid touching exposed energized parts or the electrode and workpiece at the same time.
- Turn off the equipment before working on electrical connections or damaged components.
- Follow the machine manual and site safety procedures.
Some welding power sources include a voltage reduction device (VRD) that lowers idle output voltage under certain conditions.
A VRD can reduce the chance of shock, but it doesn’t replace safe work practices.
If you’re new to welding or working in wet, cramped, or conductive surroundings, get qualified instruction before starting.
FAQs about what is voltage in welding
Welding voltage raises a few practical questions because machine settings, electrical supply ratings, and live arc readings aren’t always the same thing. These answers address common points of confusion.
What voltage is used in stick welding?
Stick welding commonly operates with an arc voltage around 20 to 40 volts, although the value changes with electrode type, arc length, and equipment. The welder normally selects amperage rather than a fixed operating voltage. Maintaining an appropriate gap between the electrode and the workpiece helps produce a consistent result.
Is higher voltage always better for welding thick metal?
No. Thick metal often requires greater welding output, but voltage alone can’t supply the current needed for proper fusion. Joint preparation, electrode selection, and the number of weld passes also matter. For heavy fabrication, follow a suitable welding procedure rather than trying to compensate for low current by raising voltage.
Why does my welding machine say 120V or 240V?
Those numbers normally describe the electrical input supply, not the voltage across the welding arc. A 120-volt welder connects to a suitable 120-volt electrical supply, while a 240-volt machine needs the specified higher-voltage circuit. Dual-voltage machines can operate from either supply when properly configured. Output capabilities may differ between inputs.
What does voltage trim mean on a MIG welder?
Voltage trim is an adjustment found on some synergic and pulsed MIG machines. Instead of selecting an independent fixed voltage, you adjust the arc length relative to the machine’s programmed setting. The control may display a positive or negative trim value rather than actual volts, so check the specific machine manual.
Can I use the same voltage setting on two different MIG welders?
You can use a proven setting as a reference, but it may not produce identical results on another machine. Power-source characteristics, wire feeding, cable condition, and welding programs can affect arc behavior. Start with the second machine’s recommended parameters and make a test weld before using it on the finished joint.
Set Your Welding Voltage for Better Arc Control
The best welding voltage isn’t the highest setting your machine can deliver. It’s the value that supports a stable arc and the bead profile your job requires.
My recommendation is to think of voltage as one part of the welding setup, not a shortcut to stronger welds. A balanced combination of wire feed, arc control, and welding technique matters much more than chasing a particular number on the display.
For someone learning MIG welding, the clearest next step is to take a few pieces of matching scrap steel and build a small record of successful settings. Compare the results under consistent conditions and pay attention to how the arc responds.
Once you can recognize the difference between a short, unstable arc and a controlled one, voltage adjustments begin to feel less like guesswork and more like a skill you can repeat.