Can You TIG Weld Upside Down: Key Facts and Helpful Explanations
Yes, TIG welding upside down is possible. It is an overhead welding position, so the main challenge is controlling the molten puddle and filler metal while gravity pulls heat and liquid metal away from the joint.
If you are asking, can you tig weld upside down, the practical answer is yes—provided the joint is properly prepared, the settings are controlled, and you can maintain a steady torch position. Overhead TIG welding is slower and less forgiving than flat-position welding, but it can produce clean, strong results.
What upside-down TIG welding means
“Upside down” generally means welding in the overhead position. The weld is made on the underside of a workpiece, with the torch pointed upward. Instead of resting naturally in the joint, the molten weld pool is suspended above the welder’s head.
This position changes how heat and gravity affect the weld. A large, fluid puddle can sag, drip, or fall out of the joint. Excessive heat can also enlarge the puddle before you have time to control it. For that reason, overhead TIG welding usually requires a smaller weld pool and more deliberate torch movement.
The process itself does not change. A TIG torch still creates an arc between the tungsten electrode and the workpiece, while shielding gas protects the weld from atmospheric contamination. The difficulty comes from position, access, visibility, and puddle control.
Why overhead TIG welding is difficult
The biggest problem is gravity. In a flat position, gravity helps keep the molten metal in the joint. Overhead, gravity works against the weld. If the puddle becomes too hot or too large, it may sag from the joint or produce an uneven bead.
Several related issues make the position more demanding:
- Heat control: Too much amperage or too slow a travel speed can make the puddle unstable.
- Limited visibility: The torch, filler rod, and helmet can obstruct the joint.
- Restricted movement: Your arms and wrist may be in an awkward position, making consistency harder.
- Filler control: A long filler rod can drip, touch the tungsten, or interfere with the shielding gas.
- Contamination risk: Sweat, dust, oil, and particles falling into the joint can cause weld defects.
These problems are manageable, but they leave less room for error than a flat weld. A stable body position and a clean joint are especially important.
How to TIG weld upside down
Prepare the joint and work area
Clean the joint thoroughly before striking an arc. Remove oil, paint, coatings, rust, and other contaminants. Use the appropriate cleaning method for the metal, and avoid transferring dirt from a contaminated brush or rag back onto the workpiece.
Fit-up matters just as much as cleaning A tight consistent joint is easier to bridge overhead than a wide or irregular gap Tack weld the pieces securely so they cannot shift when heat is applied If the workpiece is large make sure it is.
Position the work so you can keep your head, arms, and torch steady. Do not force yourself into a position where you must reach, twist, or look around the torch. A small adjustment to the workpiece can make puddle control significantly easier.
Use controlled amperage
Start with an amperage appropriate for the material thickness, joint type, and metal being welded. For overhead work, many welders use less heat than they would in the flat position, but the correct setting depends on the specific joint.
Lower amperage is not automatically better. Too little heat can cause incomplete fusion, weak penetration, and a bead that merely sits on top of the joint. The goal is a small, active puddle with enough heat to fuse both sides without allowing the metal to sag.
Use the machine’s foot pedal or fingertip control when available. Being able to reduce amperage as the puddle grows gives you more control than relying on one fixed output. A brief reduction in heat can stabilize the puddle without stopping the weld.
Keep a short arc length
A short, consistent arc helps concentrate heat and improves control. A long arc spreads heat, reduces precision, and can make the overhead puddle more fluid than intended. Keep the tungsten close to the work without allowing it to touch the joint or filler metal.
A contaminated tungsten can create an unstable arc and introduce inclusions into the weld. If the tungsten touches the molten puddle, stop and regrind or replace it as needed before continuing.
Control the torch angle
Hold the torch at a shallow angle in the direction of travel, commonly described as a slight push angle. The exact angle depends on joint access, but the cup should direct shielding gas over the puddle without blowing directly into it or pulling air across the weld.
Keep the torch movement smooth and avoid sudden wrist changes. Excessive torch angle can reduce gas coverage and make the puddle difficult to see. A stable torch hand is more valuable than fast travel.
Add filler in small amounts
Use short, controlled filler additions rather than feeding a long length of rod into the puddle. Keep the filler close to the leading edge of the molten pool, and withdraw it slightly after each addition so it does not become part of the arc.
Adding too much filler at once can overload the joint and cause dripping. If the joint is properly fitted, small filler additions are usually easier to control overhead than trying to build a large bead quickly.
Do not move the filler rod outside the shielding gas for extended periods while its heated end is exposed. This can oxidize the filler and contaminate the weld.
Travel steadily
Maintain a consistent travel speed. Moving too slowly increases heat input and enlarges the puddle. Moving too quickly can leave insufficient fusion or an undersized bead.
Watch the edges of the puddle rather than focusing only on the bright center. The puddle should wet both sides of the joint without becoming excessively wide or sagging. If it starts to grow, reduce amperage, increase travel speed slightly, or pause filler additions while maintaining arc control.
Recommended technique adjustments
Overhead TIG welding often improves when the technique is simplified:
- Use the smallest practical tungsten and cup combination for the joint and required current.
- Keep the tungsten properly sharpened and centered in the ceramic cup.
- Use adequate shielding gas flow without creating turbulence.
- Keep the gas lens and cup clean so coverage remains consistent.
- Use short weld segments if the joint is long or heat builds quickly.
- Pause briefly between passes when necessary to control temperature.
- Practice the torch motion without an arc before welding the actual joint.
Excessive gas flow can be as problematic as insufficient flow because turbulence may draw surrounding air into the shielding area. Set the flow for the torch, cup, joint, and working conditions rather than assuming that a higher setting always provides better protection.
Safety concerns when TIG welding overhead
Overhead TIG welding requires more protection than a normal flat-position weld. Molten metal, hot filler, sparks, and hot debris can fall toward your face, neck, clothing, and exposed skin.
Wear a properly rated welding helmet, safety glasses under the helmet, flame-resistant clothing, welding gloves, and suitable footwear. Clothing should cover the neck and prevent hot particles from entering cuffs, collars, or pockets. Avoid synthetic fabrics that can melt when exposed to heat.
Protect the surrounding area from fire. Remove combustible materials, use appropriate fire-resistant barriers, and inspect the area for smoldering debris after welding. A hot workpiece may remain dangerous long after the arc stops.
Ventilation is also important. TIG welding can produce hazardous fumes when the base metal, coating, or cleaning residue is heated. Do not weld unknown coatings or galvanized surfaces without proper controls, and use suitable local exhaust or respiratory protection when required.
Never position your body directly beneath a joint if the work can be safely repositioned. When overhead access is unavoidable, secure the workpiece and maintain a stable stance before starting the arc.
Common overhead TIG welding mistakes
Using flat-position settings
Settings that work well on top of a plate may create an overly fluid puddle underneath it. If the weld sags, reduce heat input through amperage control, faster travel, shorter weld segments, or a combination of these adjustments.
Trying to weld too quickly
Speed alone does not solve overhead problems. Fast movement can produce poor fusion, undercut, or an inconsistent bead. Control the puddle first, then choose a travel speed that maintains fusion without allowing the pool to grow.
Holding the filler too far away
A long gap between the filler rod and puddle makes additions less accurate and increases the chance of contaminating the filler. Keep the rod close enough to add small amounts without blocking the arc or disturbing gas coverage.
Ignoring fit-up problems
A large gap or uneven joint may be difficult to fill in any position and especially unstable overhead. Correct the fit-up before increasing amperage or adding more filler. More heat is not a substitute for a properly prepared joint.
Continuing after contamination
If the tungsten touches the puddle or filler, the arc becomes erratic, or the weld suddenly looks dirty, stop and correct the cause. Continuing over contamination can trap defects beneath later passes.
Can beginners TIG weld upside down?
A beginner can eventually learn overhead TIG welding, but it is not the best position for learning basic puddle control. Practice first on flat and horizontal joints, where the work is easier to see and the molten metal is less likely to fall.
Once you can maintain a consistent arc length, control amperage, add filler smoothly, and recognize proper fusion, practice overhead on clean scrap of similar material and thickness. Begin with short beads and inspect them before attempting a longer joint.
Do not judge success by appearance alone. A smooth bead can still lack penetration or contain discontinuities. For work that must meet a code, engineering requirement, or employer qualification, follow the applicable welding procedure and inspection requirements.
FAQ about overhead TIG welding
Can TIG welding be done completely upside down?
Yes. TIG welding can be performed with the torch pointed upward and the joint above the welder. This is classified as overhead welding. The puddle must be kept small and controlled so it does not sag or drip.
Is TIG welding upside down harder than flat welding?
Yes. Overhead TIG welding is generally harder because gravity pulls the molten metal away from the joint, visibility is reduced, and torch and filler control are more awkward. Proper fit-up and a controlled heat input make the position more manageable.
Should amperage be reduced for overhead TIG welding?
Often, a lower or more closely controlled amperage helps prevent an oversized puddle, but there is no universal reduction that works for every weld. Set the heat high enough for complete fusion, then use arc control and travel speed to keep the puddle stable.
Why does my overhead TIG weld sag?
Sagging can result from excessive heat, slow travel, too much filler, a long arc, poor joint fit-up, or an unsuitable torch angle. Reduce the size of the puddle, improve fit-up, and make smaller filler additions while maintaining shielding coverage.
Can overhead TIG welding be done on aluminum?
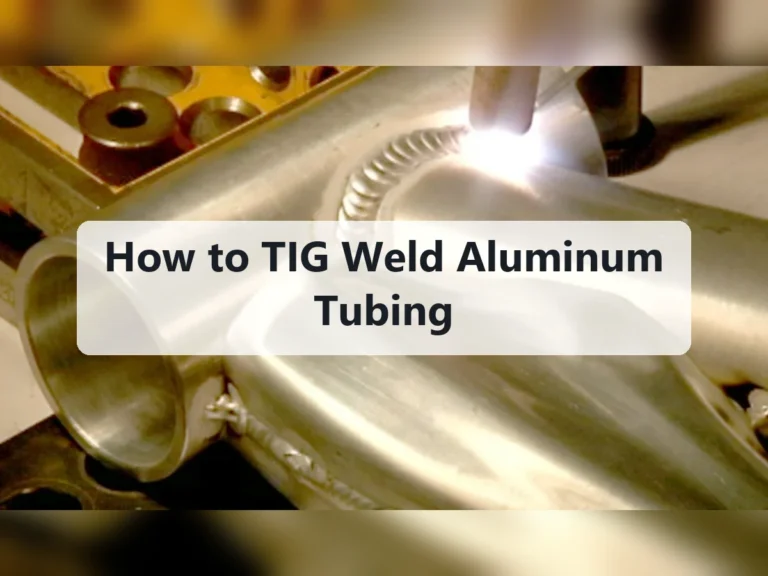
Yes, aluminum can be TIG welded overhead, but its high thermal conductivity and fluid molten puddle require careful heat control. Cleanliness, correct current type and settings, stable shielding gas coverage, and consistent technique are especially important.
Conclusion
So, can you tig weld upside down? Yes, but overhead TIG welding demands a clean joint, secure positioning, a short arc, controlled heat, small filler additions, and strong safety precautions. Keep the puddle compact, maintain steady movement, and practice on scrap before relying on the technique for a critical weld.