How to Grind Tungsten for TIG Welding Aluminum: Safe, Clean Prep
Grinding a tungsten electrode for aluminum is a small preparation job that can determine whether an AC TIG arc starts cleanly or wanders, spits, and contaminates the weld. Aluminum adds another variable because alternating current can make the electrode ball or erode faster than it would during a typical DC steel weld. The goal is not simply to make the end sharp; it is to create a clean, symmetrical tip that matches your welder and electrode.
For most modern AC TIG setups, a 1.5% or 2% lanthanated tungsten with a tapered, slightly truncated point is a practical starting choice. Some welders and older procedures call for zirconiated tungsten, and the machine manufacturer’s guidance takes priority. A dedicated diamond wheel is the safest way to produce a consistent finish without embedding abrasive particles in the electrode.
This guide explains how to grind tungsten for TIG welding aluminum from an unused or contaminated electrode, including choosing the correct grinding direction, forming the tip, checking the result, and responding when the electrode balls or discolors. You will also learn when a quick touch-up is enough and when the tungsten should be reground completely.
At a glance
- Use a dedicated, clean diamond wheel and grind lengthwise from the electrode body toward the tip.
- For AC aluminum, start with a symmetrical taper and small flat rather than a needle point.
- Stop welding and regrind the tungsten if the arc wanders or the tip becomes contaminated.
How to grind tungsten for TIG welding aluminum
The procedure below prepares a tungsten for common AC TIG aluminum work. It assumes the electrode is compatible with your machine and torch collet, and that you are shaping a clean electrode rather than trying to rescue one covered with heavy aluminum or foreign metal.
Tools you will need
- Dedicated diamond grinding wheel or tungsten grinder for producing clean, lengthwise grind marks
- Eye protection and appropriate respiratory protection for the grinder and electrode material
- Clean, dry shop towel for handling the prepared tungsten
- Electrode gauge or calipers for checking the ground length and tip symmetry
- Optional: separate electrode holder or collet chuck to keep fingers away from the wheel
Step 1 Confirm the electrode and AC procedure
Read the welding machine and tungsten manufacturer’s recommendations before grinding. Modern inverters commonly use 2% lanthanated tungsten for AC aluminum, while zirconiated tungsten is also used for AC because it tolerates high current and resists splitting. The correct diameter depends on welding current, torch cooling, and the joint, so match the electrode to the procedure rather than choosing the largest available rod.
Do not assume that a tungsten labeled “for aluminum” must be pure tungsten. Pure tungsten was traditionally used with AC and allowed to form a rounded ball, but many current machines are designed around a sharpened lanthanated or zirconiated electrode. A pointed electrode that is too small for the amperage can overheat, deform, and shed material into the weld.
Check the tungsten for cracks, deep gouges, oil, or discoloration. A small amount of previous welding damage can be removed by grinding, but an electrode that is badly split or substantially undersized is better replaced.
Step 2 Set up a clean, safe grinding station
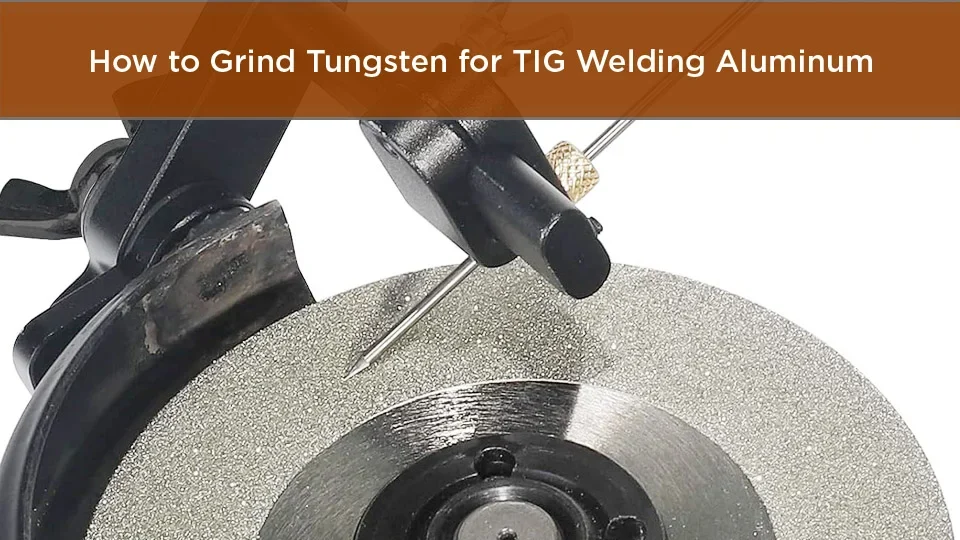
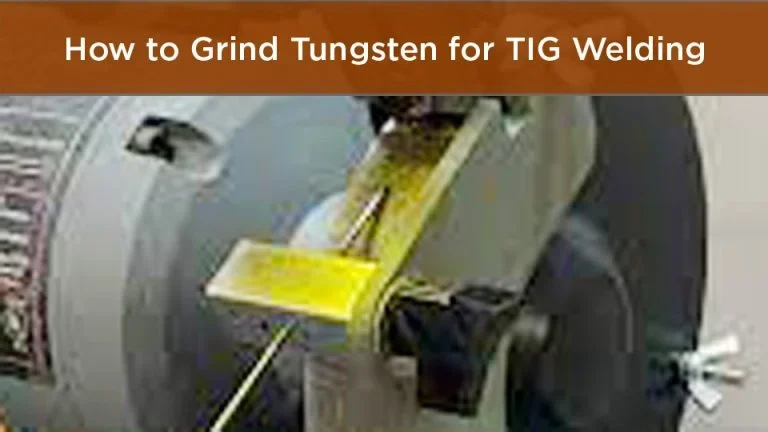
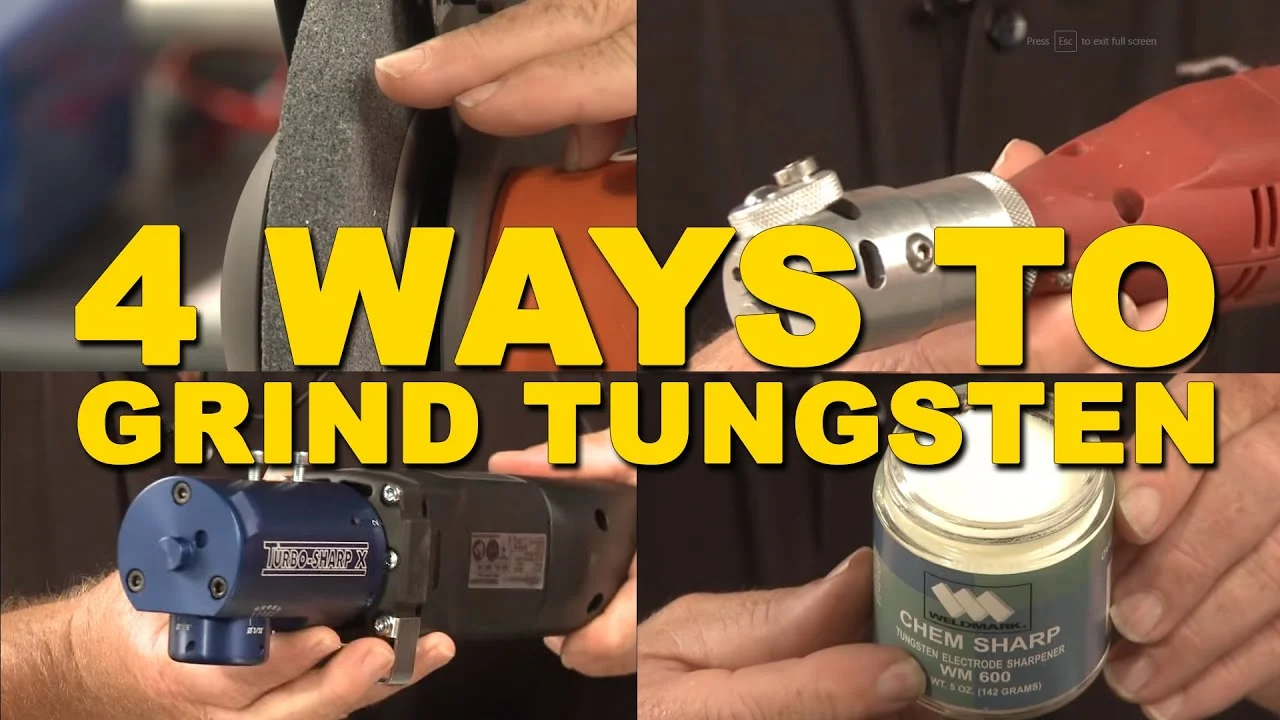
Use a dedicated diamond wheel reserved for tungsten, or use a purpose-built tungsten grinder. A general-purpose wheel can leave abrasive particles in the electrode, and a wheel previously used on steel or other metals can transfer contaminants that later appear in the aluminum weld.
Wear safety glasses or a face shield, keep loose clothing and hair away from the wheel, and use the grinder’s guard. Tungsten grinding creates fine dust, so use the grinder’s collection system when available and follow the electrode and abrasive manufacturer’s respiratory guidance. Do not blow the dust around the workspace with compressed air.
Hold the electrode securely, but do not force it into the wheel. If you use a handheld grinder, keep both hands positioned so a slip moves the electrode away from your fingers. A small electrode holder makes this easier and keeps the rod aligned.
Important
Grinding dust and sparks require proper ventilation and eye protection. Avoid grinding unknown thorium-containing tungsten without following the applicable safety guidance for radioactive-material dust; when in doubt, choose a known non-thoriated electrode or ask a qualified safety professional.
Step 3 Remove contamination and establish a straight end
Inspect the last portion of the electrode. If the end has a gray, black, or shiny blob from aluminum contact, grind beyond the damaged area until clean tungsten is visible. Do not merely polish the surface of a large contaminated ball; trapped metal can remain at the tip and cause immediate arc instability.
Touch the electrode lightly to the wheel and square the end only enough to remove a broken or uneven section. This creates a reliable starting face for the taper. Keep the rod moving instead of holding one spot against the wheel, because a stationary contact can create a hollow, flat, or overheated area.
Success at this point looks simple: the end is clean, centered, and free of visible cracks. If the rod has become blue, purple, or excessively hot, let it cool before continuing. Excessive heat can alter the surface and make it harder to judge the final shape.
A useful way to approach how to grind tungsten for tig welding aluminum is to check your progress after each stage.
Step 4 Grind lengthwise from the body toward the tip
Place the tungsten against the wheel so the grinding marks run parallel to the electrode’s length. Rotate the tungsten steadily while moving it lightly across the wheel, or use the rotation built into a tungsten grinder. The objective is a set of straight, longitudinal scratches that guide the arc along the electrode instead of encouraging it to jump sideways.
Grinding around the circumference is a common mistake. Circular scratches can give the arc paths that promote wandering, especially with a small, concentrated AC electrode. They can also leave a rough edge that breaks off as the tungsten heats.
Use light pressure and frequent visual checks. A diamond wheel removes material quickly, so stop before the end becomes an extremely thin needle. If the wheel is loading up, vibrating, or producing a visibly uneven surface, stop and correct the grinder rather than trying to compensate with harder pressure.
Step 5 Form a symmetrical taper and small flat
For a typical AC aluminum setup using a modern inverter, form a smooth cone with a small flat at the very end. The taper concentrates the arc, while the small flat reduces the chance that a fragile needle point will break off. Many procedures use a taper length of roughly one to two electrode diameters, but the appropriate geometry can vary with electrode diameter, amperage, AC balance, and the machine’s instructions.
A practical starting shape is a centered taper with an included angle commonly in the approximate 20- to 30-degree range, ending in a small flat rather than a razor point. Treat that range as a starting reference, not a universal specification. High-current procedures, automated welding, and specialized AC waveforms may call for a different preparation.
Rotate the tungsten while maintaining the same angle so the taper is even on all sides. Compare the tip against the light or use an electrode gauge. The flat should be centered, and the cone should not lean to one side.
A lopsided tip usually produces an arc that favors one direction.
Helpful tip
Do not copy the rounded “ball” used in older AC welding instructions unless your specific procedure calls for it. On many modern inverters, deliberately making a large ball weakens arc control and increases the chance of tungsten contamination.
Step 6 Clean, install, and test the prepared electrode
Wipe the finished electrode with a clean, dry, lint-free towel and handle it by the unground portion. Do not touch the tip with greasy fingers, and do not use a solvent that could leave a residue. Install the tungsten with the correct collet and set the stickout according to the torch cup and welding procedure.
Before welding the aluminum joint, perform a brief arc test on clean scrap of the same or a similar alloy. Use the same AC frequency, balance, amperage, shielding gas, and tungsten extension planned for the weld. A stable arc should start where expected and remain centered over the tip without obvious wandering or repeated extinguishing.
Watch the electrode after the test. A small, even change at the tip can be normal, but rapid mushrooming, cracking, or a large irregular ball indicates that the electrode, current, gas coverage, or AC settings need attention. If the tip touches the workpiece or filler rod, stop and regrind it before continuing.
Check your result
A prepared tungsten has a clean surface, straight lengthwise grind marks, a centered taper, and a small even flat. During the test, the arc should remain stable and the tip should not shed visible particles or develop an irregular ball.
Why tungsten shape matters on AC aluminum
AC TIG alternates between electrode-negative and electrode-positive portions of the cycle. Electrode-negative concentrates more heat in the workpiece, while electrode-positive contributes cleaning action on the aluminum oxide but places more heat on the tungsten. The balance and frequency settings change how much stress the electrode sees.
Understanding how to grind tungsten for tig welding aluminum also means recognizing the limits of the method.
That is why the best tip is a compromise between arc concentration and durability. A needle point can provide a very focused arc, but it may quickly overheat on AC. A broad ball can tolerate some older AC practices, but it produces less precise arc control and may shed contamination if it grows unevenly.
Match the tip to the actual welding conditions
Electrode diameter, amperage, AC balance, AC frequency, shielding gas, and torch cooling all interact. A tip that behaves well at moderate current may fail when the amperage is increased or when the electrode-positive portion of the AC cycle is extended.
If the electrode repeatedly deforms despite a correct taper, first compare the current and electrode diameter with the manufacturer’s chart. Then check gas coverage, cup size, tungsten stickout, and torch cooling. Grinding a sharper point is not a reliable fix for an electrode that is simply being overloaded.
For low-current work, a finer diameter and more controlled taper may be appropriate. For higher-current work, a larger electrode and a more durable tip preparation are usually safer, provided the torch and procedure support them. The finished shape should be judged by arc behavior, not by appearance alone.
How to verify the grind before welding the joint
A visual inspection catches most grinding problems before they become weld defects. Good preparation is symmetrical and predictable; it does not need to look mirror-polished, but it should not have deep crosswise grooves, a hooked end, or a visibly off-center point.
Use an observable inspection checklist
- Clean metal: no aluminum, filler metal, oil, or dark damaged section remains at the tip.
- Lengthwise marks: scratches run from the body toward the end rather than in rings around the rod.
- Centered shape: the taper is even all the way around and the flat is centered.
- Sound edge: no crack, feather edge, burr, or loose fragment is visible.
- Correct fit: the electrode seats firmly in the collet without being forced or crushed.
Then verify the arc on scrap. The arc should not consistently pull toward one side of the tungsten. If it does, the tip may be asymmetrical, contaminated, or damaged, although poor gas flow and magnetic effects can also contribute.
Troubleshoot a damaged or unstable tungsten
Most tungsten problems have more than one possible cause, so change one variable at a time when practical. The table below helps separate a grinding fault from a setup or welding fault.
| What you see | Likely cause and response |
|---|---|
| Arc wanders immediately | Tip is off-center, cross-ground, contaminated, or too blunt. Regrind with lengthwise marks and check the collet, gas flow, and stickout. |
| Tip becomes a large uneven ball | Electrode may be undersized, AC heat may be excessive, or the procedure may call for a different tungsten. Check current, balance, cooling, and electrode type. |
| Black or gray material appears in the weld | Tungsten or aluminum contamination may be present. Stop, clean the joint and filler, and remove the contaminated electrode section. |
| Tip splits or sheds pieces | Overheating, excessive pressure during grinding, a damaged electrode, or an unsuitable type may be involved. Replace it and review the procedure. |
| Arc starts poorly but the tip looks good | Check polarity, high-frequency start settings, torch connections, shielding gas, work clamp, and the machine’s AC setup. |
Decide whether to touch up or regrind
A light touch-up is reasonable when only the extreme end has a small flat spot and the taper remains centered. Remove all visibly contaminated material, then restore the same taper and flat. If contamination extends down the electrode, the grind is badly angled, or the electrode has cracked, regrind farther back or replace it.
Do not keep welding with a tungsten that has touched the aluminum. That contact can transfer aluminum to the electrode and make the next arc unstable. The few seconds saved by continuing usually cost more time in weld cleanup and troubleshooting.
Frequently asked questions
Should tungsten for aluminum be sharp or rounded?
For many modern AC TIG machines, use a tapered electrode with a small flat rather than a large rounded ball or a fragile needle point. Follow the machine or welding procedure when it specifies a different geometry.
What tungsten color is best for AC aluminum?
There is no universal color answer because color codes vary by manufacturer, but 2% lanthanated and zirconiated electrodes are common AC choices. Confirm the alloy and diameter on the package instead of relying on color alone.
Can I use the same grinding wheel for tungsten and steel?
It is better to use a dedicated diamond wheel or tungsten grinder. A wheel used on steel can transfer particles to the electrode, which may contribute to contamination and unstable arc behavior.
Which way should the grinding marks run?
Run the marks lengthwise, from the electrode body toward the tip. Avoid grinding rings around the tungsten because those grooves can encourage the arc to wander.
How often should I regrind the tungsten?
Regrind it whenever the tip is contaminated, cracked, badly deformed, or no longer produces a stable arc. A tungsten that remains clean and symmetrical does not need routine grinding after every weld.
Finish with a clean, repeatable electrode
Learning how to grind tungsten for TIG welding aluminum is mainly a matter of consistency: choose a compatible electrode, use a clean diamond wheel, grind lengthwise, and form a centered taper with a small flat. The exact angle and diameter should follow the welding machine, electrode, and amperage rather than a single universal rule.
Inspect the tip before installation and confirm it on clean scrap under the same AC settings you will use for the joint. If the arc wanders, the tip balls unevenly, or the tungsten touches the work, stop and regrind or replace it before welding further. That simple check keeps contamination out of the aluminum weld and makes the next adjustment much easier to diagnose.