What Is a Weld Pool? How to Read and Control the Molten Metal
Every bead starts as liquid metal, and that brings up a useful question: what is a weld pool? It’s the small patch of molten metal formed by welding heat that turns solid as the torch or electrode moves along. Welders also call it a molten puddle.
The bright arc can steal your attention. When you’re learning, it’s easy to focus on the sparks, lift your helmet, and find a bead that sits too high, wanders off the joint, or melts through thin steel.
I pay closest attention to the metal just behind the arc, where the liquid meets the solid plate. That habit helps me catch a change in flow before the weld gets away from me. Once you learn what to watch, those tiny movements start making sense.
Say you’re practicing on two pieces of mild steel, and the arc sounds smooth, yet the bead comes out narrow and rounded. Is the heat too low, or did your hand move too fast? The puddle gives you clues, but a bright center can fool you.
In this guide, I’ll explain how the puddle forms, what its edges can tell you, and the adjustments that make MIG, TIG, and stick welding steadier. The key is learning to read the liquid metal before it freezes.
What Is a Weld Pool and How Does It Form?
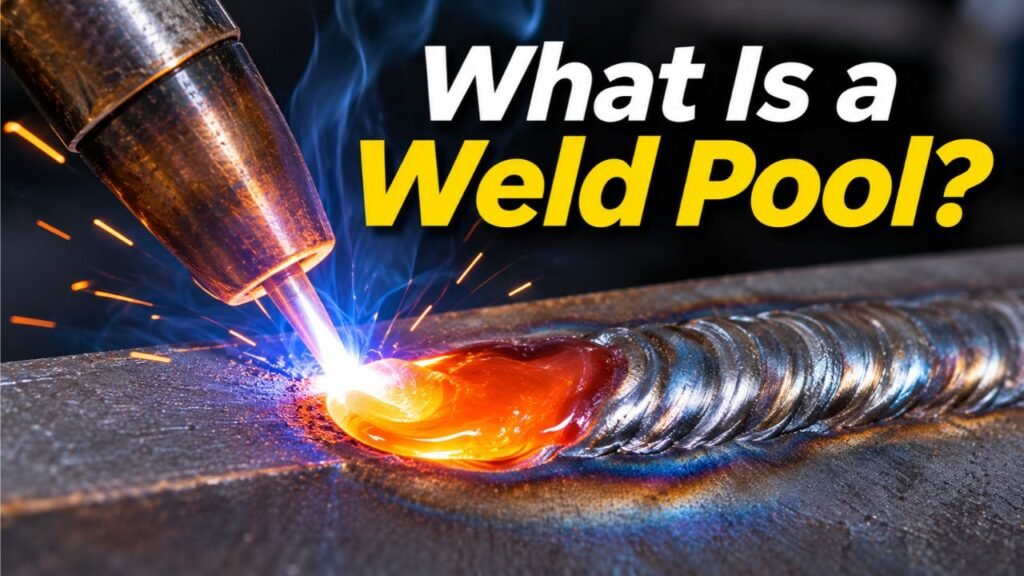
A weld pool is an active melt zone where the metal being joined becomes liquid under concentrated heat. Its size, movement, and shape change as the welding process continues.
In common arc welding processes, electricity creates an arc between an electrode and the workpiece. The arc produces enough heat to melt the base metal at the joint.
Depending on the process, extra metal enters the molten area through a wire electrode, welding rod, or separate filler rod. The two materials combine within the liquid region.
If these terms sound similar, the difference between filler metal and base metal helps explain what actually becomes part of a weld.
What Happens Inside the Molten Puddle?
Three actions occur as the heat source moves:
- Melting: Concentrated heat turns a small area of solid metal into liquid.
- Joining: The molten metal flows into the joint and connects with the prepared surfaces.
- Solidification: The liquid cools behind the moving heat source, creating solid weld metal.
Think of the process as moving a tiny pool of liquid along a narrow path. Unlike water, the metal quickly becomes solid again once enough heat leaves it.
The molten area also needs protection from the surrounding air. MIG and TIG commonly use shielding gas, while stick welding uses flux that produces shielding gases and protective slag.
Without suitable shielding, oxygen and nitrogen can affect the molten metal and contribute to welding defects.
What Does a Good Weld Pool Look Like?
A properly controlled weld pool generally has a steady shape, visible boundaries, and edges that flow smoothly into the surrounding metal. Its appearance depends on the welding method, material, and joint position.
A large, bright puddle isn’t automatically a good one. The behavior of its edges tells you much more.
Watch the Leading Edge of the Puddle
The leading edge is the front portion of the molten pool, close to where the arc melts fresh metal.
Watch how this area develops as the electrode moves.
A controlled puddle normally shows:
- A stable outline without sudden spreading or shrinking.
- Molten metal flowing into the intended sides of the joint.
- A consistent width suited to the joint.
- Smooth movement rather than uncontrolled surging.
I find it more useful to watch how the metal meets the joint edges than to judge the bright center alone. A shiny puddle can still leave an area that hasn’t fused properly.
The point where the completed weld meets the base metal is called the weld toe. Smooth wetting, where liquid metal spreads into the adjoining surface, is a useful visual sign of proper fusion.
Weld Pool vs. Weld Bead vs. Slag
These terms describe different parts or products of welding.
The pool is still liquid. The weld bead is the solidified metal left behind after the puddle cools. For a closer look at its shape and appearance, read what is a weld bead.
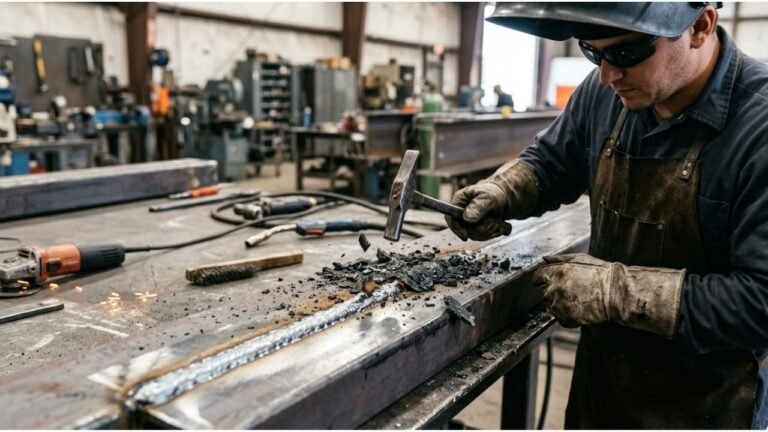
Slag is different. It’s a protective byproduct produced by certain flux-based processes, including stick welding and some flux-cored welding methods.
Molten slag can float over the weld metal and partly hide the actual puddle. Once cooled, it often forms a layer that needs removal before inspection or another pass.
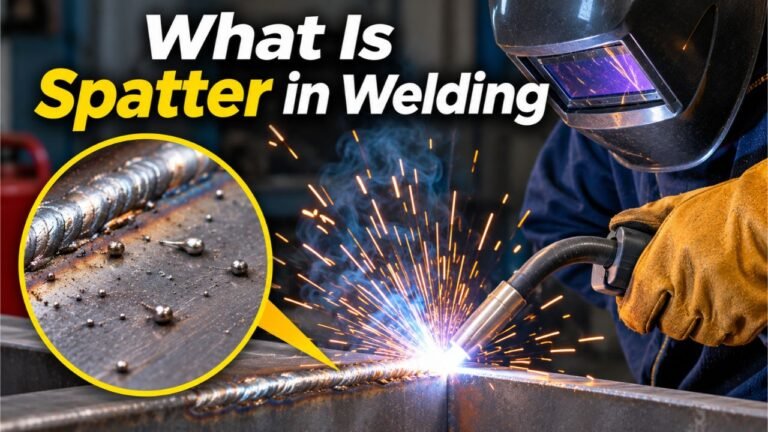
Spatter consists of metal droplets expelled outside the intended weld area. It’s not the controlled liquid region you’re trying to follow.
Key Takeaways:
- Read the boundary between liquid and solid metal.
- Judge the joint edges, not just the brightest spot.
- A finished bead and an active puddle tell different parts of the welding story.
What Controls Weld Pool Size and Shape?
The main factors are welding current, arc voltage, travel speed, electrode position, and filler deposition. These variables work together to determine how the molten metal behaves.
A small change can turn a steady puddle into a difficult one, particularly on thin material.
Amperage Controls How Much Metal Melts
Amperage is the electrical current flowing through the welding circuit.
In stick and TIG welding, adjusting the current is a primary way to change heat input and puddle behavior.
Too little current can make it difficult to form a usable molten area. Excessive current can create a puddle that spreads rapidly and becomes hard to manage.
The correct setting depends on the metal thickness, electrode type, welding position, and process.
If you’re unsure how current relates to welding heat, this explanation of amperage in welding covers the basics.
Voltage Changes Arc Behavior
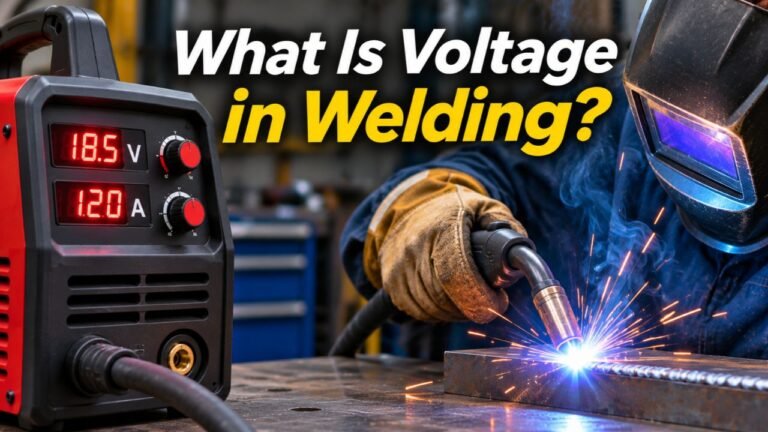
Voltage affects the arc and how heat spreads across the joint.
In conventional constant-voltage MIG welding, voltage strongly influences arc length and bead shape. Wire feed speed largely controls the welding current.
For instance, excessive MIG voltage can produce a longer, less controlled arc and a turbulent puddle. Very low voltage may cause the wire to stub into the work and leave a raised bead.
The relationship changes with the power source and welding process, so don’t treat voltage as a direct substitute for amperage.
The guide to voltage in welding explains why the two settings affect the arc differently.
Travel Speed Determines Heat Exposure
Travel speed is how quickly you move the electrode or torch along the joint.
Moving too quickly can leave insufficient time for the metal at the joint edges to melt and join properly.
Moving too slowly can add excessive heat and filler metal to one area. The bead may become unnecessarily wide, while thin sheet metal can burn through.
A useful goal is to move at a rate that maintains the required puddle size without letting the arc fall too far behind its leading edge.
Electrode Angle, Arc Length, and Welding Position
Your hand position also changes the molten pool.
A poorly controlled arc length can make the heat distribution erratic. An incorrect electrode angle may direct heat toward one side instead of evenly into the intended joint.
Gravity becomes another factor when welding vertically or overhead.
Say you make a tidy weld on a flat test plate, then turn the work upright. The liquid metal may begin to sag before it solidifies. The new position calls for a suitable welding technique and tighter control of the molten area.
Key Takeaways:
- Current and wire feed settings influence how the puddle develops.
- Travel pace must match the amount of heat entering the joint.
- Welding position changes how gravity acts on the molten metal.
How to Control a Weld Pool Step by Step
To control a weld pool, begin with the correct setup, create a manageable molten area, and guide the arc at a steady pace while watching the pool’s shape.
For practice, a clean, flat piece of mild steel is easier to learn on than a complex joint.
1. Prepare Your Workspace and Safety Equipment
Before striking an arc, wear a welding helmet with the correct filter shade, appropriate eye protection, welding gloves, flame-resistant clothing, and suitable footwear.
Remove nearby combustible materials, check your equipment, and provide adequate ventilation or local fume extraction for the work.
Welding exposes you to ultraviolet radiation, fumes, burns, and electrical hazards. Follow established welding safety precautions before starting.
Never weld a sealed container or material with an unknown coating without proper hazard assessment and a qualified procedure.
2. Clean and Secure the Metal
Remove rust, oil, dirt, paint, and other contaminants using methods appropriate for the material.
Clamp the workpiece securely and establish a sound work-return connection.
A clean joint makes the melting pattern easier to judge. It also reduces the chance that contamination will interfere with the puddle.
3. Select Suitable Welding Settings
Use the machine’s setup chart, electrode or wire information, and any required welding procedure to choose initial settings.
Match the settings to the material type, thickness, joint design, and welding position.
For example, a thin steel sheet needs a different heat-control approach than a thick steel plate. Starting from the correct chart keeps you from guessing blindly.
4. Establish a Small, Stable Puddle
Strike the arc using the technique recommended for your welding process.
Allow the metal at the intended starting point to melt enough to establish a controlled pool. Avoid holding the arc in one spot longer than needed.
Keep the electrode distance and angle consistent while the molten area forms.
This is where patience pays off. Rushing forward before the joint edges have melted can cause problems that become harder to correct farther along the weld.
5. Guide the Arc Along the Joint
Once the puddle forms, begin moving smoothly.
In stick welding, the arc should generally stay near the leading portion of the molten pool rather than trailing far behind it. The stick welding technique guidance explains how travel pace and arc position affect bead formation.
My cue is the first short section of the weld. If the liquid metal is spreading evenly into the joint edges, I have a better basis for holding a consistent pace.
Support your hands whenever possible. A stable position makes small corrections easier and helps prevent unnecessary side-to-side movement.
6. Make Small Corrections and Finish the Weld
If the molten area starts changing shape, identify the likely cause before making an adjustment.
You might need to correct travel speed, electrode angle, or a machine setting. Change one variable at a time so you can judge its effect.
When finishing the pass, use the appropriate crater-filling or arc-ending technique for the process. An abrupt finish can leave a depression at the end of the bead.
Allow the weld to cool and inspect it using the required procedure.
Key Takeaways:
- Start with prepared metal and process-specific settings.
- Establish the puddle before committing to forward travel.
- Make controlled corrections rather than chasing every flicker of light.
How Weld Pool Control Differs in MIG, TIG, and Stick Welding
Each welding process produces molten metal, but the way you feed filler and manage the arc changes how the puddle responds.
Learning these differences helps you choose the right technique instead of applying one method to every welding job.
MIG Welding: Control the Flow of Wire and Heat
MIG welding uses a continuously fed wire electrode.
As the wire melts, it adds material to the pool, so wire feed speed and voltage need to work together.
With short-circuit MIG welding, the metal transfers through repeated contact between the wire and puddle. Depending on the setup, you’ll often hear a steady sizzling or crackling sound.
Watch for a consistent pool that flows into both sides of the joint without piling up excessively.
TIG Welding: Control Heat and Add Filler Separately
TIG welding uses a nonconsumable tungsten electrode to create the arc. Filler metal, when required, enters through a separate rod.
This gives you direct control over the molten area and the timing of filler addition.
With foot-pedal-equipped TIG machines, you can adjust current while welding. That control can help manage the puddle as heat builds in the workpiece.
Keep the tungsten from touching the molten metal or filler rod. Contact can contaminate the electrode and affect arc stability.
For a clean filler addition, dip the rod into the leading area of the pool while keeping its heated end within the shielding gas coverage.
Stick Welding: Learn to Look Past the Slag
Stick welding uses a consumable, flux-coated electrode.
The electrode supplies filler metal while its coating produces protective gases and slag.
Because the slag can partly cover the molten region, beginners sometimes follow its movement instead of the actual metal.
Focus on the liquid weld metal close to the arc, not the larger area of flowing slag behind it.
For a first practice session, I recommend MIG welding on clean, flat mild steel if you have access to suitable equipment. Automatic wire feeding removes one hand-coordination task, making it easier to concentrate on puddle movement.
Common Weld Pool Problems and How to Fix Them
Most puddle problems show up as poor melting, excessive fluidity, uneven flow, or contamination. The shape and behavior of the metal can point you toward the cause.
The Weld Pool Is Too Small or Sluggish
If the molten metal barely spreads and forms a raised, narrow bead, the setup may be too cold for the joint.
Check the current or wire feed setting, along with travel speed and electrode placement.
Don’t assume the machine needs more power until you’ve checked whether the arc is reaching the intended joint surfaces.
The Puddle Is Too Large and Runny
A rapidly spreading puddle may indicate excessive heat input or poor control of the torch angle.
This is especially troublesome on thin material, where the pool may collapse through the plate.
Stop if control is lost. Review the settings and technique before restarting rather than trying to chase the escaping metal.
One Side of the Puddle Isn’t Joining Properly
An uneven pool can leave one side of the joint poorly fused.
Check whether the electrode is centered correctly and whether your work angle directs heat into both surfaces.
Joint preparation matters, too. A gap or poorly fitted edge may alter how the metal flows.
The Puddle Bubbles or Produces Porosity
Bubbling, pinholes, or repeated surface disturbances can signal contamination or poor shielding.
Check gas delivery, leaks, drafts, surface cleanliness, and the condition of the filler material.
For gas-shielded welding, a strong air current blowing across the arc can disturb the protective gas coverage.
The Weld Looks Good but May Lack Fusion
A smooth-looking surface doesn’t prove that the joint has adequate penetration or fusion.
Metal can spread across a surface without fully joining the material beneath it. The guide to weld penetration explains this difference.
I’ve found that adjusting several machine controls at once makes troubleshooting harder. One controlled change followed by a fresh test bead gives much clearer feedback.
For structural or safety-related joints, visual inspection alone isn’t enough. Use the specified inspection or testing methods and qualified personnel.
A Simple Practice Exercise for Better Weld Pool Control
One useful way to improve puddle control is to practice short, straight beads while keeping your settings consistent. This helps separate hand movement from machine adjustments.
Try this exercise on suitable clean scrap metal:
- Secure a flat steel practice plate and use settings appropriate for its thickness and your welding process.
- Run one short, straight bead without weaving.
- Concentrate on maintaining an even puddle width and steady electrode distance.
- Stop, let the metal cool, and inspect the finished bead.
- Make another pass and concentrate on correcting one specific problem.
Compare the beads for consistent width, smooth edges, and signs of undercut or excess buildup.
Can you maintain the same puddle shape from the beginning of a pass to the end? That’s a useful practice target because it gives your eyes and hands a clear job.
If you’re learning in a class or workshop, ask an instructor to review your practice welds and show you how to check their fusion.
FAQs About What Is a Weld Pool
Can a weld pool form without filler metal?
Yes. Some welding methods allow the edges of the base material to melt and join without adding a separate filler.
This is called an autogenous weld and is possible with certain TIG welding applications. The joint design, material, and welding requirements determine whether a filler-free weld is suitable.
What temperature does a weld pool reach?
The temperature depends on the material and welding conditions. The metal must reach its melting range, but the entire molten region doesn’t stay at one uniform temperature.
For example, steel and aluminum melt at very different temperatures. The arc itself can be much hotter than the liquid metal underneath it.
Why is an aluminum weld pool harder to read?
Aluminum conducts heat rapidly and has a surface oxide layer with a much higher melting temperature than the base metal.
That oxide can make the surface harder to judge during welding. Proper cleaning, suitable shielding, and the correct welding process help produce a more predictable molten area.
What is a keyhole weld pool?
A keyhole is an opening that extends through the joint during certain full-penetration welding techniques.
It can appear in specialized arc or high-energy welding processes. The opening is controlled as molten metal flows around it and solidifies behind the heat source.
This technique requires suitable equipment, settings, and training. It isn’t the same as accidentally burning through a workpiece.
How quickly does a weld pool solidify?
Solidification time depends on material thickness, heat input, joint shape, and how quickly heat leaves the welded area.
Thin material can lose heat rapidly, while a large or heavily heated joint may cool differently. The surface becoming solid doesn’t mean the metal is safe to touch or has reached room temperature.
A Steady Weld Pool Is the Start of a Better Weld
The answer to what is a weld pool becomes much more useful once you can recognize how the molten metal responds to your movements.
You don’t need a complicated weaving pattern or an expensive machine to begin developing that skill. A suitable setup, a clear view, and a steady hand will teach you more than repeatedly changing settings without checking the result.
My recommendation is to focus on consistency before appearance. Make a practice pass, inspect the bead, and identify one specific improvement for the next attempt.
The goal isn’t simply to produce a smooth line of metal. It’s to create a joint that meets the required welding procedure and performs as intended.
For work that carries loads or affects safety, get qualified instruction and inspection rather than relying on appearance alone.
Once the puddle starts behaving predictably, welding becomes less of a guessing game and more of a controlled process.