How Welding Works: Basic Principles, Settings, and Terminology
Welding joins metal by heating the joint until the edges melt, then letting the molten metal cool into a solid connection. Depending on the process, an electric arc or a flame supplies the heat, and filler metal may be added to fill the joint.
Have you watched a weld bead pile up on top of a joint without seeming to connect the pieces underneath? Or wondered why one welder uses a spool of wire while another holds a thin electrode?
I once rushed through a small repair and focused on laying down a neat-looking bead. The joint looked fine until I cleaned it and found the edges hadn’t fused properly. That’s a common mistake, not a dumb one: a weld can look tidy before you know what happened beneath the surface.
I wrote this to make the basic mechanics easy to follow, whether you’re choosing a process, learning the controls, or just trying to make sense of what you’re seeing in a shop. You’ll get a plain explanation of how heat, electricity, filler metal, and shielding work together.
Get the basics right and you can make better choices, spot weak welds sooner, and avoid wasting time on settings that don’t suit the job. Skip them and you may get spatter, a brittle joint, or a bead that never truly joined the parts.
This takes about 11 minutes to read. By the end, you’ll be able to:
- Trace the path from power source to finished weld.
- Tell what current, voltage, and wire speed control.
- Recognize the main welding processes and what they’re suited for.
- Spot common weld defects and know when to stop and ask for help.
How Welding Works
Welding works by creating enough heat to melt metal at the joint, then cooling that molten area into one connected piece. In many common shop processes, electricity creates an arc, a hot electrical discharge between an electrode and the workpiece; filler metal may melt into the joint at the same time.
The basic sequence is simple: establish the arc, direct heat into the joint, add filler metal when the process calls for it, and let the pool cool. If you join two pieces of steel edge to edge, the heat melts the edges and forms a small liquid pool that solidifies across the gap.
An arc welder needs a complete electrical circuit. Current travels from the power source through the torch or electrode, across the arc, into the workpiece, and back through the work lead; the work clamp connects the circuit to the metal being welded.
The arc’s heat melts the base metal near the joint. When the metal cools, the melted region forms the weld metal, and the surrounding heated area that didn’t melt is called the heat-affected zone, or HAZ. The HAZ can change the metal’s properties, so the heat’s effect extends beyond the bead you can see.
The parts that make the weld
The base metal is the material being joined, such as mild steel, stainless steel, or aluminum. Filler metal is extra metal added to the joint, while the weld pool is the small area that’s liquid during welding.
A weld doesn’t just need to stick the parts together at the surface. The melted base metal and filler metal must join into a continuous bond; that process is called fusion. A bead sitting on top with unmelted edges underneath may look convincing but lack a sound connection. how fusion works in welding
How deep the weld connects into the joint is its penetration. The required depth depends on the joint design and job, not on a simple rule that deeper is always better; too much heat can burn through thin metal, while too little can leave the joint weak. weld penetration and control
The visible bead has named parts, including the face (the exposed surface), toe (where the face meets the base metal), and root (the deepest area of the joint). Those details matter when you’re checking a weld, because cracks or incomplete fusion at the toe or root can be harder to spot than a lumpy surface. the parts of a weld
A complete guide to welding basics for beginners helps connect these pieces to joint fit-up, tools, and shop habits. The key idea is that the bead is only the visible part of a process happening inside and around the joint.
What shielding does
Hot metal can react with gases in the air. Shielding gas or a flux coating protects the arc and molten pool from contamination, which helps the weld form properly.
Different processes protect the weld in different ways. Gas metal arc welding (GMAW), often called MIG welding in shops, uses shielding gas supplied through the gun; flux-cored arc welding (FCAW) uses flux inside the wire, and some FCAW setups also use shielding gas.
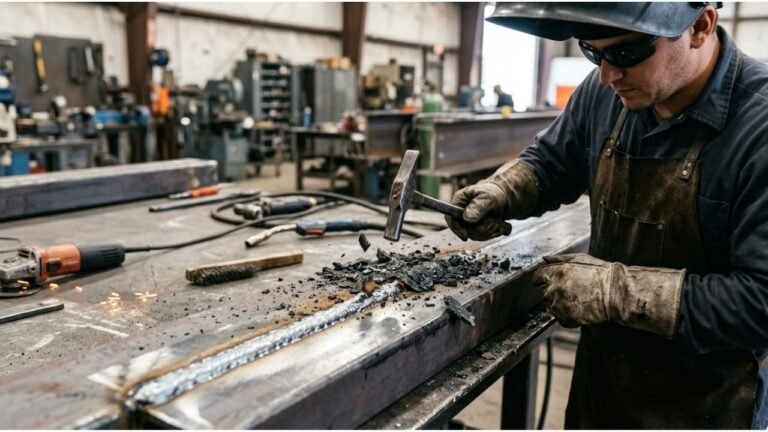
Stick welding, formally shielded metal arc welding (SMAW), uses a flux-coated electrode. As the electrode melts, its coating creates protective gas and a layer of slag, a crust that covers the cooling weld and needs to be removed between passes or after the weld.
If shielding fails, the bead can develop pores, pinholes, or other flaws. A draft blowing gas away, a clogged nozzle, dirty base metal, or damp consumables can all get in the way. That’s why a clean surface and steady setup matter just as much as a steady hand.
What happens as the metal cools
After the arc moves away, the weld pool cools and becomes solid. The weld metal and nearby base metal shrink as they cool, which can pull the parts out of alignment or leave residual stress, the stress trapped in the metal after welding.
A longer or hotter weld can cause more distortion, especially on thin sheet. If you’re joining two light-gauge panels, alternating short welds from one area to another can limit the heat buildup better than running one long bead straight across.
Weld shape also depends on how quickly you move, the angle of the torch or electrode, and how the parts are positioned. A bead that’s too tall, too wide, or inconsistent may point to a technique or setup issue, but its appearance alone can’t prove the weld is sound.
What Changes Weld Quality
Weld quality depends on the process, joint preparation, material, and settings working together. A setting that behaves well on thick steel may burn through thin metal, so start with the machine guidance for your process and material rather than borrowing a number from an unrelated job.
Current, voltage, and wire speed
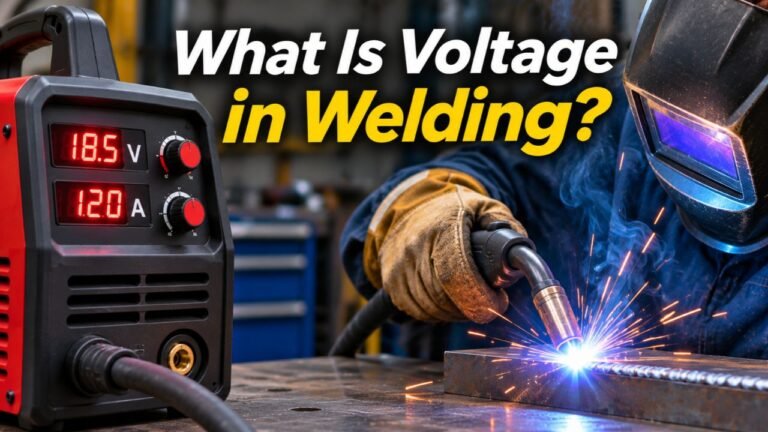
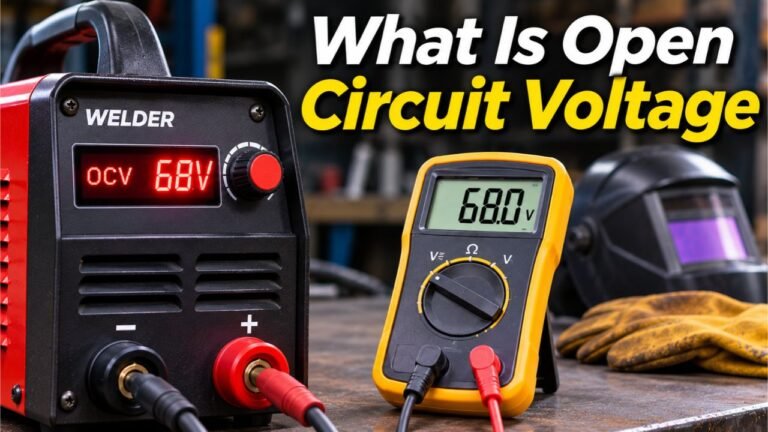
Amperage, measured in amps, describes the welding current and strongly affects how much heat reaches the joint. Voltage affects arc length and arc behavior; the way voltage is adjusted depends on the welding process and machine.
For wire-feed welding, wire-feed speed controls how quickly electrode wire enters the arc. On many machines, increasing wire speed raises welding current, so wire speed and voltage often need to be adjusted together. On stick and TIG machines, current is usually the main setting the operator controls.
What should you change if the bead looks wrong? Change one setting at a time, make a short test weld on matching scrap, and compare the result; changing voltage, speed, angle, and travel rate all at once leaves you guessing.
| Control or condition | What it affects | What a beginner can check |
|---|---|---|
| Amperage | Heat and melting action | Use the process guide and test on matching scrap |
| Voltage | Arc length and arc behavior on applicable processes | Adjust in small steps, then listen and watch the arc |
| Wire-feed speed | Electrode feed and, on many machines, current | Check for a steady feed and a consistent bead |
| Travel speed | Heat input and bead size | Move evenly; a slow pass can overheat thin metal |
| Joint fit-up | Gap and access to the joint | Remove rust and scale, and keep the parts aligned |
| Shielding | Protection of the molten weld | Check gas flow, nozzle condition, or electrode storage |
Machine charts are a starting point, not a promise. Metal thickness, joint shape, filler type, position, and operator technique can all shift the settings that work best.
Polarity and electrical connection
Polarity describes the direction of current flow in a direct-current welding circuit. The two common arrangements are direct current electrode negative (DCEN) and direct current electrode positive (DCEP); the right one depends on the process, electrode, and material.
Don’t pick polarity by habit. Check the consumable packaging or machine guidance because the wrong setup can change arc behavior and weld performance. DCEN versus DCEP polarity
The work clamp needs a clean connection to the workpiece or a solidly connected metal surface. Paint, rust, grease, or a loose clamp can interrupt the circuit and make the arc unstable. The clamp isn’t a substitute for proper electrical safety practices, so don’t attach it to a random part of a machine and hope for the best.
Joint fit-up and preparation
A joint is the meeting point between the parts being welded. Common joint shapes include butt joints, where edges meet, lap joints, where pieces overlap, and T-joints, where one piece meets another at roughly a right angle.
Clean metal makes it easier to form a consistent weld. Remove oil, paint, rust, and heavy scale near the joint using tools suited to the material, and avoid contaminating the cleaned surface before welding.
Fit-up matters too. A gap that’s too large can cause burn-through, while a tight joint with poor access may make it hard to reach the root. On a critical repair, don’t fill a bad fit-up with extra filler and hope it holds; correct the fit or ask a qualified professional to assess the job.
A tack weld is a short temporary weld used to hold parts in place before the full weld. I once skipped a tack on a small assembly because the pieces felt snug by hand; the first hot pass pulled the corner out of line, and I had to stop and reset it. A few well-placed tacks can save a lot of aggravation, but they need to be sound enough for the parts and work involved. what a tack weld does
Process names and common uses
The main arc processes differ in how they create the arc, feed filler metal, and shield the molten pool. The labels may look like alphabet soup at first, but each abbreviation points to a specific process.
- SMAW: Stick welding uses a flux-coated electrode held in an electrode holder. It’s portable and doesn’t need a separate shielding-gas cylinder, but the electrode gets shorter as it’s used and leaves slag.
- GMAW: Wire-feed welding uses a continuously fed electrode wire and shielding gas. It’s common for shop work, but wind can disrupt the gas shield outdoors.
- GTAW: TIG welding uses a nonconsumable tungsten electrode to create the arc; filler metal can be added separately. It offers fine control, though it takes practice and is generally slower than wire-feed work.
- FCAW: Flux-cored welding feeds a tubular wire with flux inside. Some versions rely on the flux for shielding, while others use added gas.
The names tell you what kind of process you’re dealing with, not whether a weld is good. basic welding process names When you see SMAW, GMAW, GTAW, and FCAW in a job description or equipment label, learning the full names makes the instructions easier to follow.
You’ll also run into shop shorthand such as MIG, TIG, and stick. MIG is commonly used for GMAW, and TIG is commonly used for GTAW, though formal process names are more precise. Abbreviations can vary by shop or document, so read the surrounding instructions rather than assuming every term means the same thing. common welding abbreviations
How to Weld More Reliably and Safely
A reliable weld starts before you strike the arc. Choose the right process and consumable, prepare the joint, protect yourself, and test the setup on similar scrap when the job allows.
A sensible setup sequence
- Identify the metal and joint. Check the material label or job instructions, and note the thickness, joint shape, and welding position.
- Choose a compatible process and filler. Use consumables suited to the base metal and follow their packaging or machine guidance.
- Prepare the joint. Remove contaminants, fit the parts, and clamp them so movement won’t open the joint.
- Set up the machine. Confirm polarity, settings, shielding method, and connections for the process you’re using.
- Protect yourself and the work area. Put on suitable protective gear, clear flammable material, and check ventilation.
- Test on matching scrap. Make a short weld, inspect the bead and arc behavior, and adjust one control at a time.
- Weld and inspect. Keep a steady position and travel speed, then check the finished weld for visible defects and the job’s required acceptance criteria.
If you’re welding a bracket that must sit square, secure the parts before you tack them and check alignment again before running the full bead. Heat can pull metal as the weld cools, so a setup that starts square may not stay that way.
Pro Tip: Keep a small piece of the same material and thickness for test welds. Scrap lets you tune the machine without turning the actual part into your practice piece.
Common problems and what they can mean
Visual problems can point you toward a cause, but they don’t give a complete test of weld strength. A qualified inspector may be needed for structural, pressure-containing, vehicle, or otherwise safety-critical work.
- Porosity: Small holes or pits can result from poor shielding, contamination, or damp consumables. Check the surface, gas coverage, and consumable condition before changing several machine settings.
- Undercut: A groove along the weld toe can come from excessive heat or travel that’s too fast. Follow the job requirements and correct the technique rather than simply covering the groove with another pass.
- Lack of fusion: Weld metal may fail to join properly with the base metal or an earlier weld pass. Joint cleanliness, access, heat, and torch or electrode angle can all matter.
- Burn-through: A hole through thin material often means too much heat stayed in one spot. Check the setup and travel speed before trying again on scrap.
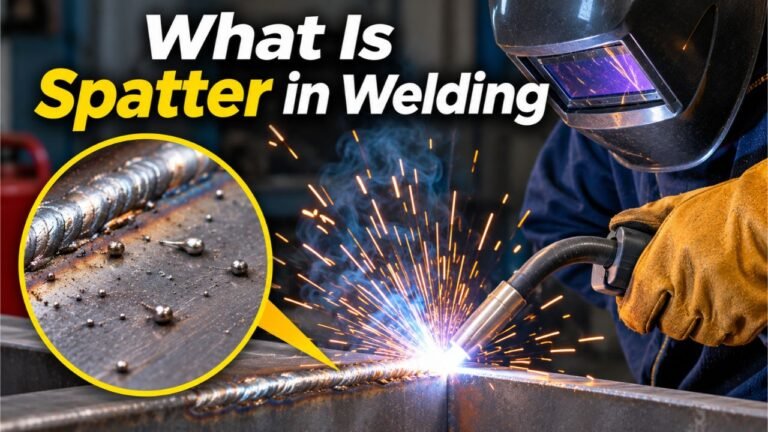
- Excessive spatter: Small metal droplets around the weld can point to settings, technique, or poor fit-up. Some spatter is normal in certain processes, but heavy spatter can make cleanup miserable and hide surface flaws.
Which problem deserves the most concern? A visible crack is a serious warning, but a smooth bead isn’t proof of a sound joint either. Don’t weld over a crack and call the repair done; stop, identify the cause, and get qualified help if the part’s failure could hurt someone.
Safety starts before the arc
Welding can cause burns, fires, eye injuries, electric shock, and exposure to hazardous fumes. Wear a correctly rated welding helmet, safety glasses, welding gloves, protective clothing, and closed-toe footwear; gear needs to cover skin that could catch sparks or ultraviolet light.
Welding fumes are airborne particles and gases produced during welding. Use suitable ventilation and follow workplace rules for the material and process; some metals, coatings, and confined spaces need more controls than a fan or an open shop door can provide.
Before welding, remove combustible items from the work area and check what’s behind or below the joint. Sparks can travel into gaps and start a fire out of sight, so keep appropriate fire protection nearby and follow the site’s hot-work procedures.
Electrical hazards deserve care too. Keep leads and connections in good condition, stay clear of wet surfaces, and don’t handle energized equipment with wet gloves. Turn equipment off before maintenance, and get a qualified professional to handle repairs you’re not trained to do.
Important Tip: Never weld a container that held fuel, solvent, or another flammable substance unless a qualified professional has made it safe using the correct procedure. An empty-looking container can still hold dangerous vapors.
What a visual check can and can’t tell you
A visual check can catch obvious issues such as cracks, visible porosity, an uneven profile, or an incomplete-looking bead. It can’t reliably reveal every internal flaw or confirm that a weld meets a particular design requirement.
Acceptance depends on the job, material, drawing, and governing requirements. If you’re working on a trailer hitch, a structural connection, or a pressure system, don’t use appearance alone to decide that the weld is safe; ask a qualified professional to check the work and follow the applicable requirements.
- Heat melts the joint area, and cooling forms the connection.
- Process, material, fit-up, shielding, and settings all affect the result.
- A neat-looking bead doesn’t prove the weld is sound.
- Treat fumes, fire, electricity, and eye protection as part of the job, not extras.
FAQs About How Welding Works
Does welding melt both pieces of metal?
Yes, most fusion welding melts the base metal at the joint so the parts can join as the weld cools. Some processes add filler metal to help fill the joint, while others can join the edges without separate filler. The exact setup depends on the process, material, and joint design.
Does welding always need filler metal?
No, some welds can fuse the base metals without added filler, while other joints need filler to bridge a gap or build the weld to the required shape. The welding process, material thickness, joint design, and job requirements determine the right choice. Use compatible filler rather than guessing from appearance.
Why does welding use shielding gas?
Shielding gas protects the hot weld area from gases in the air that can contaminate the molten metal. Gas type and flow depend on the process and material, and drafts can disrupt coverage. Stick and some flux-cored welding use flux for shielding instead of relying only on a gas supply.
What makes a welding arc unstable?
A welding arc can become unstable when the electrical connection is poor, the consumable feed is uneven, the settings don’t suit the process, or the work surface is contaminated. Gas problems can also affect wire welding. Check the machine instructions and connections, then test one change at a time on scrap.
Is a bigger weld bead stronger?
No, a bigger bead isn’t automatically stronger. Strength depends on the joint design, weld size required, fusion, material, and workmanship. Adding extra weld metal can increase heat and distortion without fixing a poor joint or a lack of fusion.
Follow the drawing or have a qualified professional assess safety-critical work.
Can beginners learn welding at home?
Yes, beginners can learn basic welding with training, suitable equipment, a safe workspace, and practice on scrap. Start with a process that fits the material and job, and learn machine setup and protective measures before welding a real part. Avoid repairs where a failed joint could injure someone or cause major damage.
Start with the Joint, Not the Bead
Welding makes more sense once you stop judging the job by the bead alone. The real work is choosing a suitable process, preparing the joint, controlling heat, protecting the molten metal, and letting the connection cool without losing sight of safety.
My practical preference is to learn one process well before chasing every machine setting and technique. You’ll build better judgment from steady practice on scrap than from trying to copy a bead without knowing what the arc is doing.
Your clearest next step is to identify the metal and joint you want to work on, then check the machine and consumable guidance before striking an arc. If the part carries a safety risk, ask a qualified professional to handle or inspect the weld.