Basic Welding Terms Every Beginner Should Know
Welding terms are the shop words for the processes, parts of a weld, settings, and flaws you’ll hear on day one. The core set is small: MIG, TIG, Stick, bead, joint, position, amperage, shielding gas, slag, and porosity. Learn those and most shop talk makes sense.
This article groups the basic welding terms by how you’ll actually use them: processes, weld parts, joints, positions, machine settings, materials, defects, and gear. Each term gets a plain definition and a quick comparison from everyday life.
Quick Answer
- Process terms tell you how the weld is made (MIG, TIG, Stick, flux-cored).
- Weld-part terms describe what you see (bead, toe, root, penetration).
- Setting terms control the machine (amps, volts, wire speed, duty cycle).
- Defect terms name what went wrong (porosity, undercut, spatter).
What Are the Basic Welding Terms for Beginners?
The basic welding terms are the words for the welding process, the weld itself, the joint, the position, the machine settings, and the common flaws. Most of them come from the American Welding Society (AWS), which sets the standard vocabulary used in US shops, drawings, and tests.
Think of it like learning to cook. You need to know “simmer,” “sauté,” and “preheat” before a recipe makes sense. Welding works the same way.
Here’s a mistake beginners make: they memorize terms in a random order. Don’t. Learn them in the order you’ll meet them. First you pick a process, then you set up a joint, then you adjust the machine, then you inspect the weld. This article follows that order.
What Are the Main Welding Processes Called?
A welding process is the method used to melt metal and join it. The four you’ll hear most are MIG, TIG, Stick, and flux-cored. Each has a formal AWS name and a nickname, and shops almost always use the nickname.
| Nickname | Formal name | How it works | Typical beginner use |
| MIG | GMAW (gas metal arc welding) | A wire feeds through a gun while shielding gas protects the weld | Auto repair, light fabrication, indoor projects |
| TIG | GTAW (gas tungsten arc welding) | You hold a tungsten electrode in one hand and feed filler rod with the other | Thin metal, stainless, aluminum, clean-looking welds |
| Stick | SMAW (shielded metal arc welding) | A flux-coated rod melts to form the weld | Outdoor work, rusty or dirty steel, repairs |
| Flux-cored | FCAW (flux-cored arc welding) | A hollow wire filled with flux, with or without added gas | Thicker steel, windy conditions |
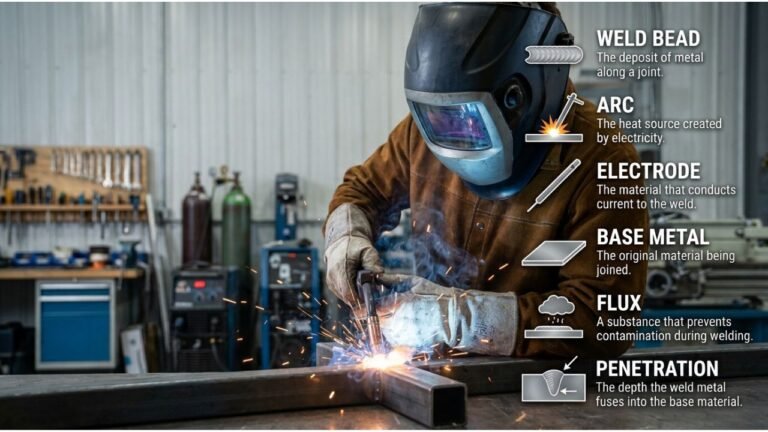
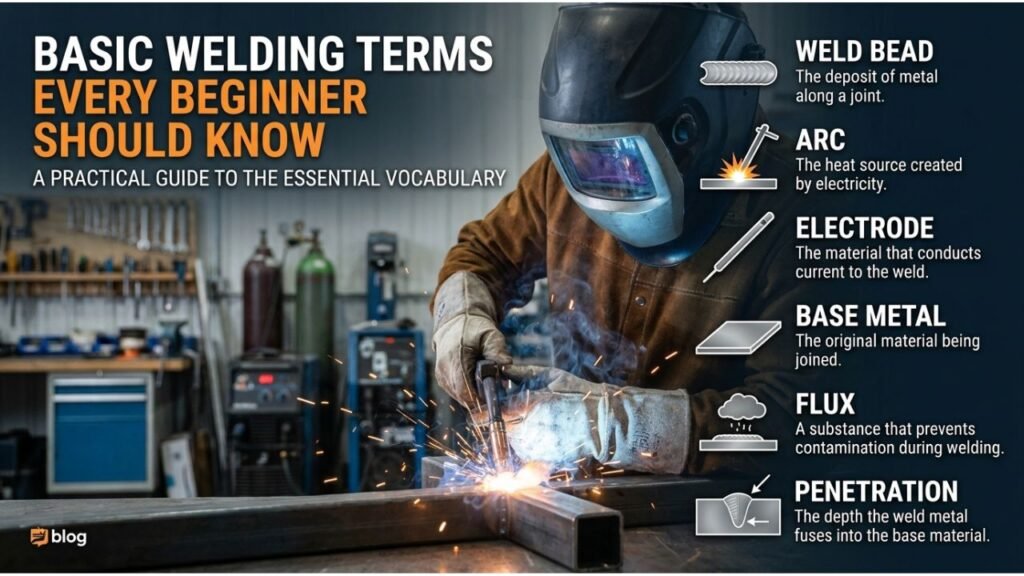
An arc is the electrical spark that jumps between your electrode and the metal. It’s the heat source. Think of it as a tiny, controlled bolt of lightning that melts steel.
The electrode is the part that carries current to the arc. In Stick it’s the rod. In MIG it’s the wire. In TIG it’s a tungsten tip that doesn’t melt.
Filler metal is the extra metal added to the weld. In TIG you feed it by hand as a thin rod. In MIG and Stick it comes from the electrode itself.
The base metal (also called parent metal) is the metal you’re joining. The pieces of steel on your table are base metal.
Next, let’s look at what the finished weld is made of.
What Are the Parts of a Weld Called?
A weld has a few named parts you can see and measure. The bead is the visible line of solidified metal. The toe is where the bead meets the base metal. The root is the deepest point of the joint. Penetration is how far the weld melts into the base metal.
Here’s a simple way to picture it. Say you’re joining two 1/8-inch steel plates with a small bead down the seam. The bead is the ridge on top. Its edges are the toes. The point at the very bottom of the joint is the root.
Other terms you’ll use:
- Face: the outer surface of the weld, the side you look at.
- Fusion: when the weld metal and base metal melt together and become one piece. Good fusion is the whole point.
- Throat: the shortest distance through a fillet weld, from the root to the face. It’s a key measurement for weld strength.
- Leg: the length of each side of a fillet weld, measured along the base metal.
- Puddle (or weld pool): the small pool of molten metal you control with the torch or gun. Beginners spend their first hours learning to watch it.
Pro Tip: Watch the puddle, not the arc. The puddle’s shape and shine tell you whether you’re moving too fast, too slow, or running too hot.
What Are the Five Basic Weld Joints?
A weld joint is the way two pieces of metal meet before you weld them. AWS names five basic joint types: butt, lap, T, corner, and edge. The joint decides how you prepare the metal and which weld type you’ll use.
| Joint | How the pieces meet | Everyday comparison |
| Butt joint | Two pieces end to end, in the same plane | Two planks laid side by side |
| Lap joint | One piece overlaps another | Two sheets of paper stacked with edges offset |
| T-joint | One piece sits at 90 degrees on the face of another | The letter T |
| Corner joint | Two pieces meet at an angle to form a corner | The corner of a picture frame |
| Edge joint | Two edges sit side by side, often on thin sheet | Two pages with edges lined up |
Then there are the two weld types you’ll use on those joints. A groove weld is made in a gap or bevel between two pieces, common on butt joints. A fillet weld is a triangle-shaped weld in the corner where two pieces meet, common on T-joints and lap joints.
A tack weld is a small temporary weld that holds parts in place before the full weld. Tack first, check alignment, then finish. It saves a lot of grinding.
Common Mistake: Skipping the tack welds on long seams. Heat pulls the metal as it cools, and untacked pieces can drift apart.
What Do the Welding Position Numbers Mean?
Welding position terms describe the angle of the joint. The four positions are flat (1), horizontal (2), vertical (3), and overhead (4). A “G” after the number means groove weld. An “F” means fillet weld. So 3G is a vertical groove weld.
| Number | Position | What it feels like |
| 1G / 1F | Flat | Easiest. Gravity helps keep the puddle in place |
| 2G / 2F | Horizontal | The puddle tries to sag downward |
| 3G / 3F | Vertical | Harder. You weld up or down a standing joint |
| 4G / 4F | Overhead | Hardest. Molten metal wants to fall on you |
Most beginners practice in the flat position first, and that’s the right call. You can learn puddle control without fighting gravity.
Safety Note: Overhead welding drops sparks and molten metal. Wear a welding jacket or sleeves, a cap, and a buttoned collar, and keep pants cuffs down. Sparks love to find a gap.
What Do Amps, Volts, and Duty Cycle Mean?
Amperage (amps) is the amount of electrical current flowing through the arc. It mostly controls heat and penetration. Voltage controls arc length and bead shape. Duty cycle is the percentage of a 10-minute period a welder can run at a set output without overheating.
Use a garden hose as your comparison. Amps are like how much water flows. Voltage is like the water pressure pushing it. More flow means more heat in your weld.
Here are the settings terms you’ll see on a machine or in a manual:
- Wire feed speed: how fast MIG wire leaves the gun, usually in inches per minute. It also sets the amperage on most MIG welders.
- Stickout: the length of bare wire sticking out past the tip of the MIG gun. A common range is about 3/8 to 1/2 inch, but check your wire and machine manual.
- Travel speed: how fast you move the gun or torch along the joint.
- Polarity: the direction current flows. DCEP (direct current electrode positive) and DCEN (direct current electrode negative) are the two you’ll see. Each process and electrode type prefers one.
- Duty cycle: a welder rated at 20% duty cycle at 130 amps can weld about 2 minutes, then needs about 8 minutes to cool.
Settings depend on metal thickness, wire or rod type, and your machine. Manufacturers like Lincoln Electric publish setup charts and manuals for their equipment, and they’re the best starting point for your exact welder.
That covers the machine. Now for the stuff that protects the weld.
What Are Shielding Gas, Flux, and Slag?
Shielding gas, flux, and slag all deal with the same problem: hot molten metal reacts with air and gets weak or full of holes. Shielding gas blankets the weld from the air. Flux is a coating or core material that makes protection. Slag is the crust flux leaves behind.
- Shielding gas: a gas, such as argon or a mix of argon and carbon dioxide (CO2), that flows around the arc. For MIG on mild steel, a common mix is 75% argon and 25% CO2. TIG typically uses pure argon.
- Flux: the coating on a Stick rod, or the material inside flux-cored wire. It burns off as gas and forms slag.
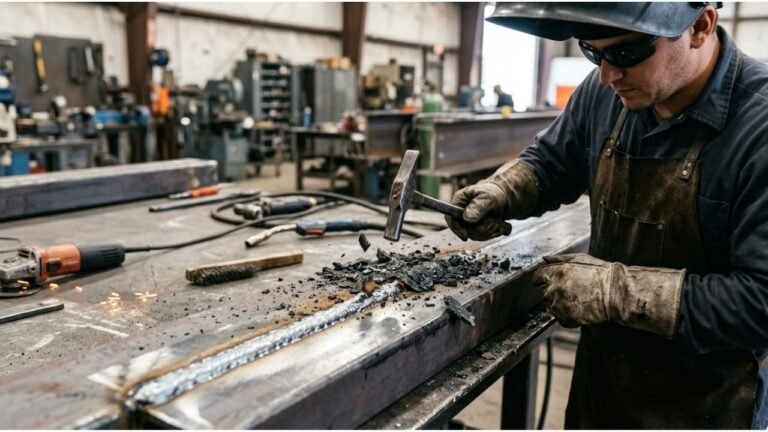
- Slag: the hard, glassy crust that covers a Stick or flux-cored weld. You chip it off with a chipping hammer and wire brush after the weld cools.
- Self-shielded: flux-cored wire that makes its own protection and needs no bottle of gas.
Slag is like the crust on a baked casserole. It protects what’s underneath while it cools, then you remove it.
Safety Note: Welding fumes can harm your lungs, and some metals and coatings (like galvanized steel) create dangerous fumes. Weld with good ventilation, and read OSHA’s welding, cutting, and brazing guidance. If you have breathing concerns, talk to a doctor.
What Are the Most Common Weld Defects?
A weld defect is a flaw that weakens the weld or ruins its look. The ones beginners meet first are porosity, undercut, spatter, lack of fusion, and distortion. Knowing the names helps you figure out the cause and fix it.
| Defect | What it is | Common cause |
| Porosity | Tiny holes or bubbles in the weld | Dirty metal, lost shielding gas, wind |
| Undercut | A groove melted into the base metal along the toe | Too much heat or moving too fast |
| Spatter | Small balls of metal stuck near the weld | Wrong settings, dirty metal |
| Lack of fusion | The weld sits on top without melting into the base metal | Too little heat or poor technique |
| Distortion | Warping or bending from heat | Too much heat in one spot |
| Overlap | Weld metal rolls onto the base metal without bonding | Moving too slowly |
Common Mistake: Blaming the machine first. Most beginner defects come from dirty metal, wrong travel speed, or a bad angle. Clean the steel to bright metal and check your gas flow before touching the settings.
Say you run a MIG bead and the surface looks like Swiss cheese. That’s porosity, and your first checks are a loose gas hose, an empty bottle, or a breeze from a fan.
What Safety and Gear Terms Should You Know?
Safety gear terms describe what protects your eyes, skin, and lungs. PPE (personal protective equipment) is the umbrella term. In welding it includes a helmet, gloves, a jacket, boots, and safety glasses worn under the helmet.
- Auto-darkening helmet: a helmet with a lens that goes dark the instant an arc starts, so you don’t have to flip it down.
- Shade number: how dark the lens gets. Higher means darker. Many common MIG and Stick jobs use somewhere around shade 10 to 13, but follow your helmet’s guide for your amps.
- Arc flash: eye damage from arc light, like a sunburn on your eyeball. It can show up hours later.
- Ground clamp (work clamp): the clamp that connects your workpiece to the welder to complete the electrical circuit. A poor connection causes a weak, unstable arc.
- Welding lead: the cable carrying current to the electrode holder or gun.
A good [AFFILIATE LINK: auto-darkening welding helmet] makes a real difference for beginners, since you can position your gun before the arc starts. Buy one rated for the process you use.
Safety Note: Never watch an arc with bare eyes, even for a second. Also check the area for flammables (paper, sawdust, solvent rags) before striking an arc, and keep a fire extinguisher nearby. For general standards and training information, see the American Welding Society.
How Do You Learn These Terms Faster?
The fastest way to learn welding terms is to use them while you work. Say the term out loud as you do the step, such as “tack, then fillet weld on a T-joint.” Pair each term with something you can see or touch.
Try this on your next practice session:
- Pick one joint, like a T-joint on 1/8-inch steel.
- Name it out loud before you weld.
- After the weld, point to the bead, toes, and root.
- Look for one defect from the table above and name it.
- Write down one setting you’d change next time.
Do that for a week and the vocabulary sticks without flashcards.
FAQ
What are the four main types of welding?
The four most common are MIG (GMAW), TIG (GTAW), Stick (SMAW), and flux-cored (FCAW). MIG feeds wire through a gun, TIG uses a tungsten electrode and hand-fed rod, Stick uses a flux-coated rod, and flux-cored uses hollow wire filled with flux.
What is a weld bead?
A weld bead is the visible line of metal left after you weld a joint. It forms when molten filler metal and base metal cool together. A good bead is even in width, has smooth ripples, and blends into the base metal at the edges.
What does 1G, 2G, 3G, and 4G mean in welding?
These are welding positions for groove welds. 1G is flat, 2G is horizontal, 3G is vertical, and 4G is overhead. The number shows the joint angle, and the G stands for groove. For fillet welds, the letter is F instead.
What is duty cycle in welding?
Duty cycle is the percentage of a 10-minute period a welder can run at a given output without overheating. A 30% duty cycle means about 3 minutes of welding and 7 minutes of cooling at that setting. It’s listed on the machine’s rating label.
What is the difference between slag and spatter?
Slag is the hard crust left over from flux that covers a Stick or flux-cored weld, and you chip it off. Spatter is small beads of molten metal thrown out of the arc that stick near the weld. Slag protects the weld, but spatter is waste.
What is porosity in welding?
Porosity is a group of tiny holes or bubbles trapped inside or on the surface of a weld. It’s usually caused by dirty metal, lost shielding gas, or wind blowing the gas away. Porosity weakens the weld, so grind it out and redo it.
Closing
You don’t need to learn every term at once. Start with the processes, the parts of a weld, and the defect names, because those show up in every practice session. Once those feel natural, your next step is to compare MIG, TIG, and Stick in more detail so you can pick the process that fits your first project.