What Is a Weld Bead? Parts, Types and Examples
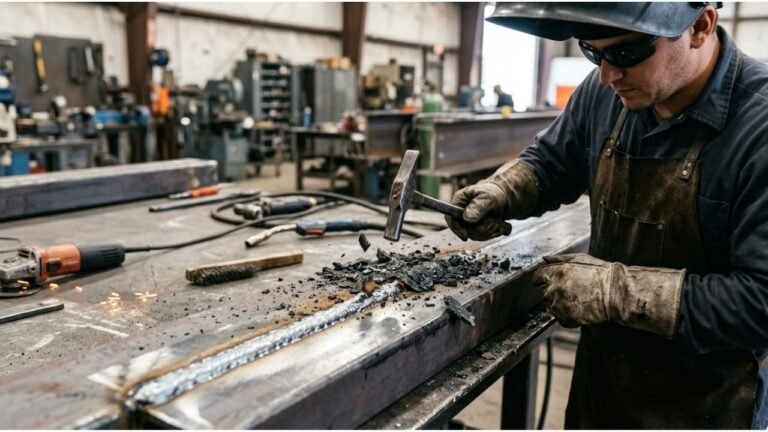
A weld bead is the line of metal left behind by one welding pass. Heat melts the base metal (the pieces you’re working on) and, in many cases, added filler metal. As that molten metal cools, it hardens into the raised or flat strip you see along the joint.
When you look at a welded bracket, the bead is usually the first thing you notice. Its width, edges, and surface give clues about how steadily the welder controlled the heat and movement. But a neat-looking line doesn’t prove the joint is strong.
For a new MIG, stick, or TIG welder, this simple term opens the door to useful shop talk. You’ll hear people ask for a stringer bead, point to the toe of a weld, or warn about a bead that sits too high on the steel.
This guide explains those words, shows how common bead types differ, and gives real examples of where you’ll see them. You’ll also learn what common surface flaws mean and how to practice on scrap steel before welding anything that needs to carry a load.
Quick Answer
- Meaning: A weld bead is the metal formed by one welding pass.
- Main styles: Stringer beads run mostly straight; weave beads move side to side.
- What matters: Look for even size, smooth edges, and good fusion, not just pretty ripples.
What Is a Weld Bead and How Does It Form?
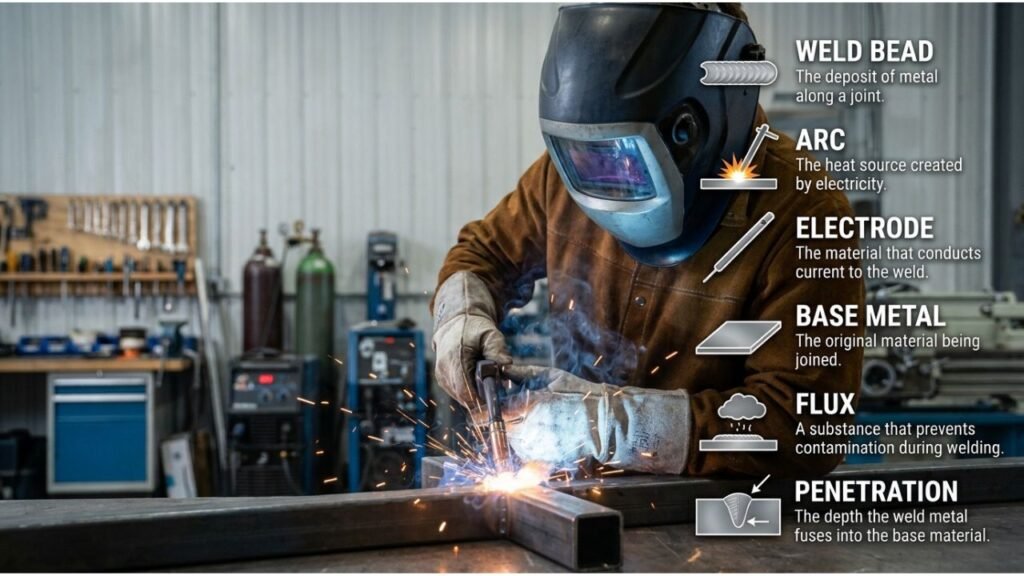
One pass of a welding torch, gun, or electrode leaves one bead when the molten metal cools. A finished weld can contain one bead or several beads stacked or placed beside each other, so a bead is a building block of a welded joint rather than always the whole weld.
From liquid metal to a solid line
During arc welding, electricity makes a hot arc between the tool and the metal. That heat creates a small pool of liquid metal called the weld pool or puddle. As you move forward, the pool cools behind the arc and forms the bead.
Imagine running a short line across a flat piece of 1/8-inch steel for practice. The solid track that remains is a bead, even if you weren’t joining two parts. When you lay that track along the gap between two plates, it can help form a welded joint.
Weld bead, weld pass, and weld seam
A pass is the act of moving along the work while welding. The bead is what that pass leaves behind. The seam is the line or joint being welded, and a finished seam may need several passes to fill it.
What Are the Parts of a Weld Bead?
The surface, edges, and lower part of a weld bead have different names because each area tells you something about the joint. Find the outside edges where the weld meets the base metal, then move toward its top surface and picture what lies underneath.
| Part or feature | Plain-English meaning | Why you should notice it |
| Face | The exposed top surface of the finished weld | Shows the bead’s width, shape, and visible flaws |
| Toes | The edges where the weld face meets the base metal | Should blend into the steel without sharp grooves or unfused lips |
| Root | The deepest part of the weld at the joint | Helps describe how the two pieces join at the bottom |
| Reinforcement | Weld metal raised above the filled joint | Too much height can be a problem, not extra proof of strength |
| Fusion and penetration | How the molten weld joins and extends into the base metal | Matter for strength but may be hidden from view |
| Ripples | Small marks left as the pool freezes during travel | Show movement patterns, not a strength rating |
| Heat-affected zone (HAZ) | Base metal next to the weld that got hot without melting | Not part of the bead itself, but welding changes this nearby metal |
Two measurements you may hear
Bead width runs across the face, usually from toe to toe. Bead height shows how far it rises. Neither has one correct value for every job.
On a fillet weld, which fills the inside corner between two pieces, leg length runs from the joint’s root toward a toe along one piece. The throat measures weld thickness through its cross-section. Both help describe fillet weld size.
Try this: View a cooled bead from above and from its end. The face and toes are visible; the root makes more sense when you picture a slice through the joint.
What Are the Main Types of Weld Beads?
The two main movement styles are the stringer bead, made with little side-to-side motion, and the weave bead, made by moving across the joint as you travel forward. Neither works best for every job because the right choice depends on joint size, metal thickness, welding position, and the required procedure.
| Bead style | How it’s made | Where it often fits |
| Stringer bead | Move mainly forward in a straight or gently guided line | Narrow joints, thin steel, practice runs, and many root passes |
| Weave bead | Move from side to side as you advance | Wider joints and some fill or cover passes when the procedure permits it |
A stringer is easier to control because you follow one path. A weave can cover more width, but moving too far sideways or pausing too long may leave poor fusion or too much heat.
The Iowa Department of Transportation’s welding terminology guide also distinguishes stringer beads from weave beads by whether the electrode moves sideways during the pass.
Root, fill, and cap beads describe their job
Those words tell you where a bead sits in a multi-pass weld, not how the welder moved.
- Root bead: The first bead at the bottom of a prepared joint.
- Fill beads: Later beads that build up the joint toward its finished size.
- Cap bead: The final visible bead or set of beads that covers the joint.
A cap may use stringers or a permitted weave. A simple 1/8-inch bracket might need only one properly sized bead.
How Do Weld Beads Look on Different Joints and Processes?
A bead changes shape with the welding process and the joint beneath it, but its basic meaning stays the same: one pass creates one line of fused metal. On flat steel, it may look like a narrow ridge, while a bead inside a corner often has a triangular cross-section.
Examples by welding process
| Process | What the bead often looks like | What changes the look |
| MIG (wire-feed) welding | A fairly smooth line with regular surface marks | Wire feed, voltage, travel speed, and shielding gas |
| TIG welding | A narrow, controlled line that may show neat ripples | Torch movement, added filler rod, and heat control |
| Stick welding | A line hidden under a coating of slag until cleaned | Electrode choice, arc length, and hand movement |
| Flux-cored welding | A bead often covered with slag that must be removed | Wire type, travel technique, and machine settings |
Slag is the hard coating left by some processes. Remove it before inspecting the bead or making another pass. Solid-wire MIG normally leaves no slag coating.
Examples by joint shape
A 1/8-inch steel bracket joined at a right angle often uses a fillet weld in the inside corner.
Two steel strips placed edge to edge form a butt joint, often welded with a groove weld. Overlapping strips form a lap joint.
Fillet and groove name weld types. Stringer and weave name bead movement styles.
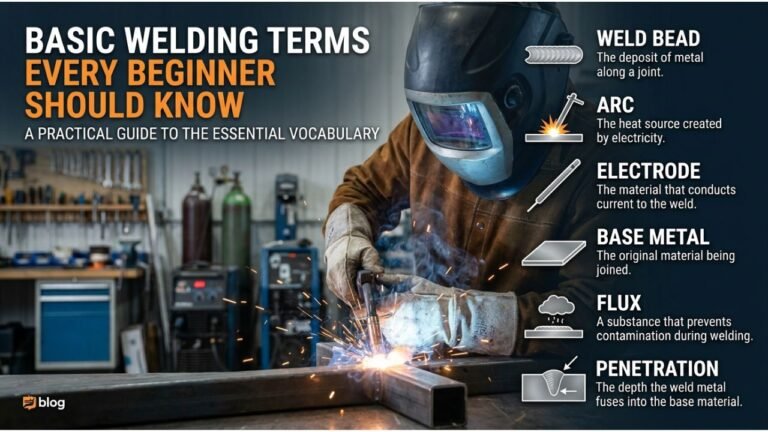
If those joint names are unfamiliar, keep the basic welding terms reference handy while you practice identifying the parts of a weld.
What Does a Good Weld Bead Look Like?
A good weld bead generally has even width, a suitable size, and edges that flow smoothly into the base metal without open holes, deep grooves, or metal folded over an unfused edge. But appearance is only a clue because a clean surface can’t reveal every problem hidden inside the weld.
Look for these features on a cooled, cleaned practice bead:
- Consistent width: The bead doesn’t jump from narrow to wide without a reason.
- Smooth toes: Each edge joins the steel instead of looking like a separate rope laid on top.
- Suitable profile: The face is reasonably flat or gently rounded for the joint, not badly sunken or piled high.
- Steady start and finish: The ends aren’t left with an open crater, which is a small hollow where you stopped welding.
- No clear defects: You don’t see pinholes, cracks, deep notches, or large trapped bits of slag.
Do the ripples have to look like stacked dimes?
No. Even ripples can show steady movement, but they do not prove strength. A MIG bead may have subtle marks; a TIG bead can show distinct marks from filler additions.
Pro Tip: Compare the two toes before judging the middle. The edges are where you may first spot undercut, overlap, or a bead that hasn’t tied into the steel.
What Do Bad Weld Beads Look Like?
Poor beads often show holes, cracks, sharp grooves, uneven width, or edges that look piled onto the steel rather than joined to it. Some faults, including lack of fusion inside a joint, stay hidden, so use surface clues to decide what needs checking instead of judging weld safety by looks alone.
| What you see | Possible problem and first check |
| Small pits or pinholes | Porosity, gas trapped in the metal. Check for dirt, moisture, drafts, or poor shielding gas coverage. |
| A groove beside the toe | Undercut, base metal melted away but not filled. Check travel speed, arc position, and heat input. |
| A lip rolling over the steel | Overlap or cold lap. The metal may have spread without fusing. Check travel speed and heat at the joint. |
| A tall, rope-like ridge | Too much buildup or poor tie-in. Review the settings, travel speed, and electrode angle. |
| A deep hollow or thin-looking section | Underfill or an unsuitable profile. Check whether enough metal was deposited for the joint. |
| A hole melted through thin steel | Burn-through. Heat input was too high for the material or joint conditions. |
| A visible split or crack | A serious defect. Stop and identify the cause rather than covering it with another bead. |
Miller Electric’s guide to common MIG weld defects explains why porosity, overlap, poor fusion, and bead shape problems can happen. The correct change depends on your process and the fault you’ve found.
Common mistakes beginners make
Moving too slowly can let the pool spill over the toes without proper fusion. Welding through paint, oil, or heavy rust can cause porosity.
Don’t fix every ugly bead by raising power. Check cleanliness, settings, and torch position first.
What Controls Weld Bead Width, Height, and Shape?
Bead shape comes from the balance of heat, travel speed, and where you aim the arc. Because MIG, TIG, and stick machines control heat in different ways, start with your welder’s setup chart or an approved welding procedure and change one thing at a time.
- Travel speed: Moving too fast can leave a narrow or underfilled bead. Going too slowly can pile metal onto the surface or overheat thin steel.
- Current and voltage: These affect arc behavior and melting. On many MIG machines, wire-feed speed strongly affects current while voltage affects the arc and bead profile.
- Arc length and stickout: A long arc or too much wire sticking out can make the bead less steady. The right distance depends on the process and consumable.
- Gun or electrode angle: A poor angle can push heat away from one toe, leaving that side with weak tie-in.
- Metal thickness and joint fit: A thin sheet, a thick plate, and a wide gap need different amounts of heat and filler metal.
How Can You Practice Making and Reading a Weld Bead?
Practicing on clean scrap steel shows you how travel speed and technique change a bead without risking a useful part. Begin with simple, flat stringer beads instead of a wide weave or an overhead joint so you can work on steady control, clear observations, and safe habits.
- Prepare a safe area. Clamp known, uncoated mild steel to a welding table. Clear flammable materials and arrange fume control.
- Set up for the metal. Follow the machine chart for your process, filler, and thickness. Put on proper welding protection.
- Run a short straight bead. Move steadily along flat scrap, watching the leading edge of the pool instead of the ripples behind it.
- Cool and clean it. The steel stays hot after the glow fades. Remove any slag, then inspect the face and toes.
- Compare practice beads. Keep the same material and settings. Change travel speed slightly and note the width, height, and toes.
Safety Note: Welding can injure your eyes, burn your skin, start fires, and produce harmful fumes. Use proper eye and skin protection, keep combustibles away, and provide suitable ventilation or fume extraction. OSHA covers these hazards in its welding, cutting, and brazing safety requirements. Don’t weld a sealed container or an unknown coated part.
Stay with scrap and noncritical work until trained. A load-bearing or safety-related weld needs the right procedure and qualified inspection, not just a nice-looking bead.
Frequently Asked Questions
Is a weld bead the same as a weld?
Not always. A weld bead is the result of one pass, while a finished weld may have one bead or several. For example, a small fillet weld on thin steel might be completed in one pass. A thicker joint may need a root bead, fill beads, and a final cap.
Can you make a weld bead without filler metal?
Yes. In TIG welding, some joints can be made by melting the edges of the base metal together without adding a filler rod. This is called autogenous welding. It still forms a bead when the pool cools, though the bead may sit nearly flush with the surface instead of rising above it.
How wide should a weld bead be?
There is no single correct bead width. The joint shape, metal thickness, weld size, filler, and welding process all affect it. A narrow stringer may work on one joint, while another needs several passes. Use the machine guidance for practice and the required weld procedure for finished work.
Why does my weld bead look like it’s sitting on top of the steel?
A tall, rope-like bead may mean the molten metal hasn’t blended well into the base metal. Common causes include unsuitable settings, slow travel, or aiming the arc away from the joint. This appearance can signal poor fusion, but you can’t confirm fusion depth from a surface photo alone.
Are stacked-dime weld beads stronger?
No. A stacked-dime pattern describes the rippled appearance of some beads, especially TIG welds with repeated filler additions. The pattern can look tidy while hiding poor fusion or other faults. Strength comes from sound fusion, suitable weld size, joint design, and meeting the requirements of the job.
Does every weld bead need to be ground smooth?
No. Grinding is not required just because a bead is visible or slightly raised. Some joints are designed to keep the weld face as deposited, while others have a flush-finish requirement. Grinding away needed weld metal can weaken a joint, so follow the drawing or welding procedure instead of guessing.
What to Remember About Weld Beads
Once you see a weld bead as the result of one pass, the other shop terms make more sense. The face is the surface you see, the toes are where it meets the steel, and the root is down at the joint. Stringers travel mostly straight. Weaves move side to side. Neither style is automatically stronger.
Pay attention to the edges before admiring the ripples. Even width and smooth toes are encouraging, but holes, undercut, overlap, and cracks need a closer look. A clean face can’t prove that the metal fused properly inside. For joints that carry weight or protect people, follow a qualified procedure and get the required checks.
Next, make three short stringer beads on clean scrap, let them cool, and compare their faces and toes. If you still mix up terms like root, toe, and filler metal, revisit Basic Welding Terms Every Beginner Should Know, linked earlier in this guide.